Account and Project creation
Account Creation
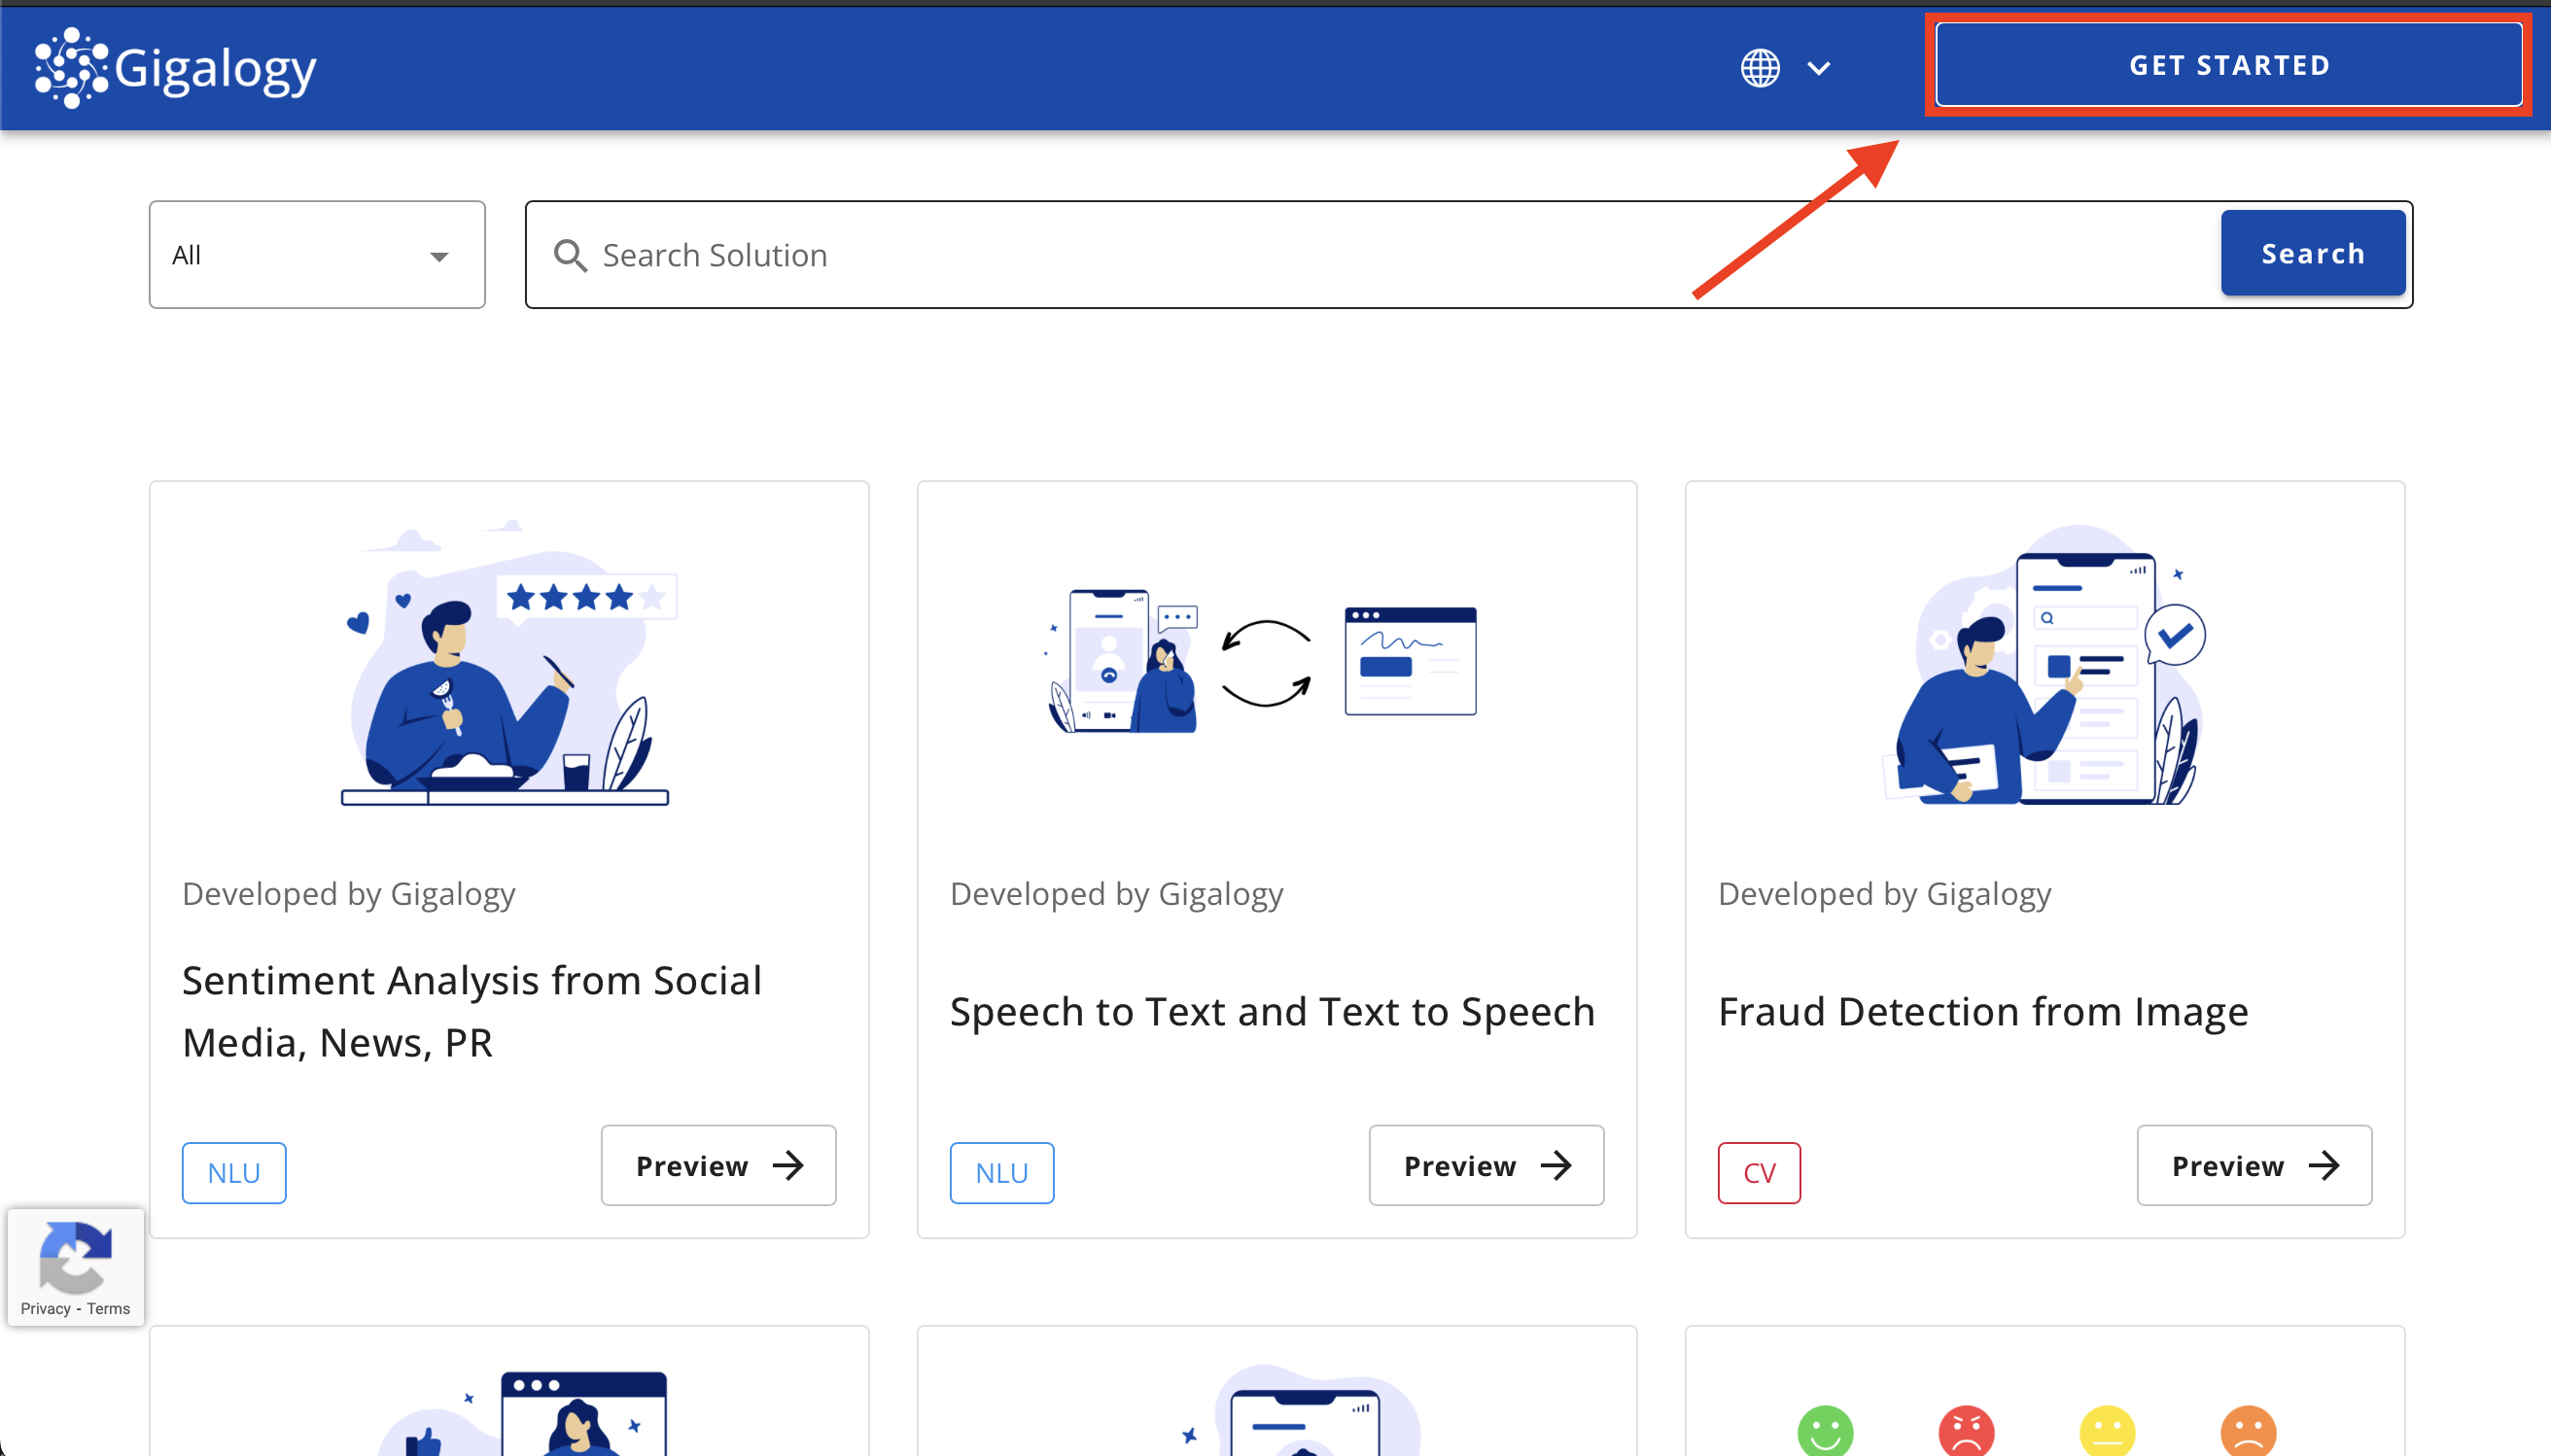
To create an account on the Gigalogy AI platform (GAIP), first, from your web browser, go to platform.gigalogy.com and click the GET STARTED button on the top right
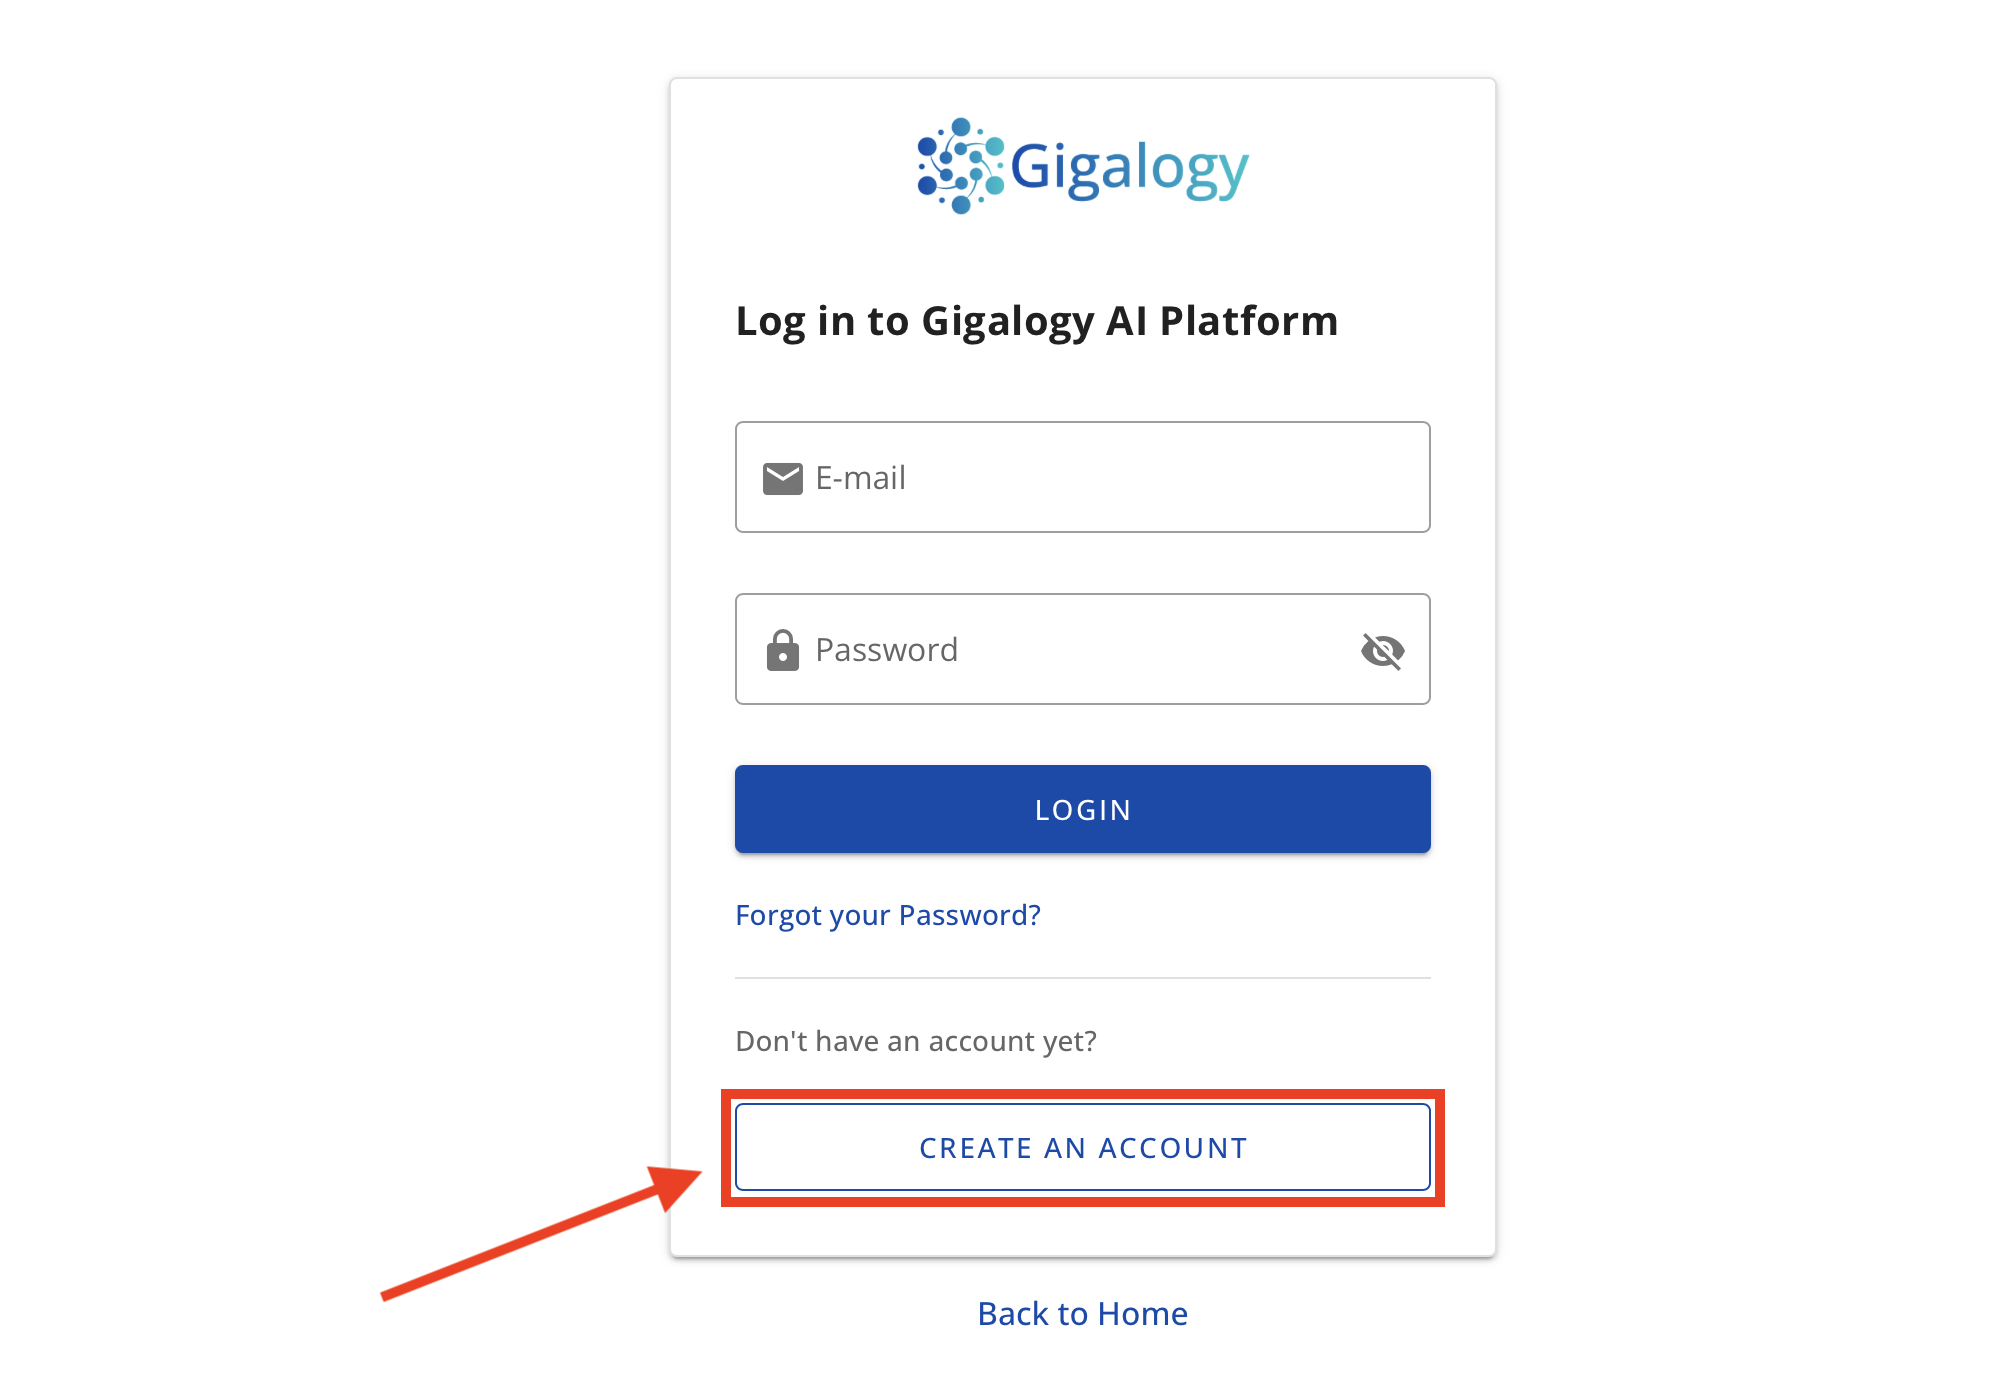
On the next screen, click on CREATE AN ACCOUNT
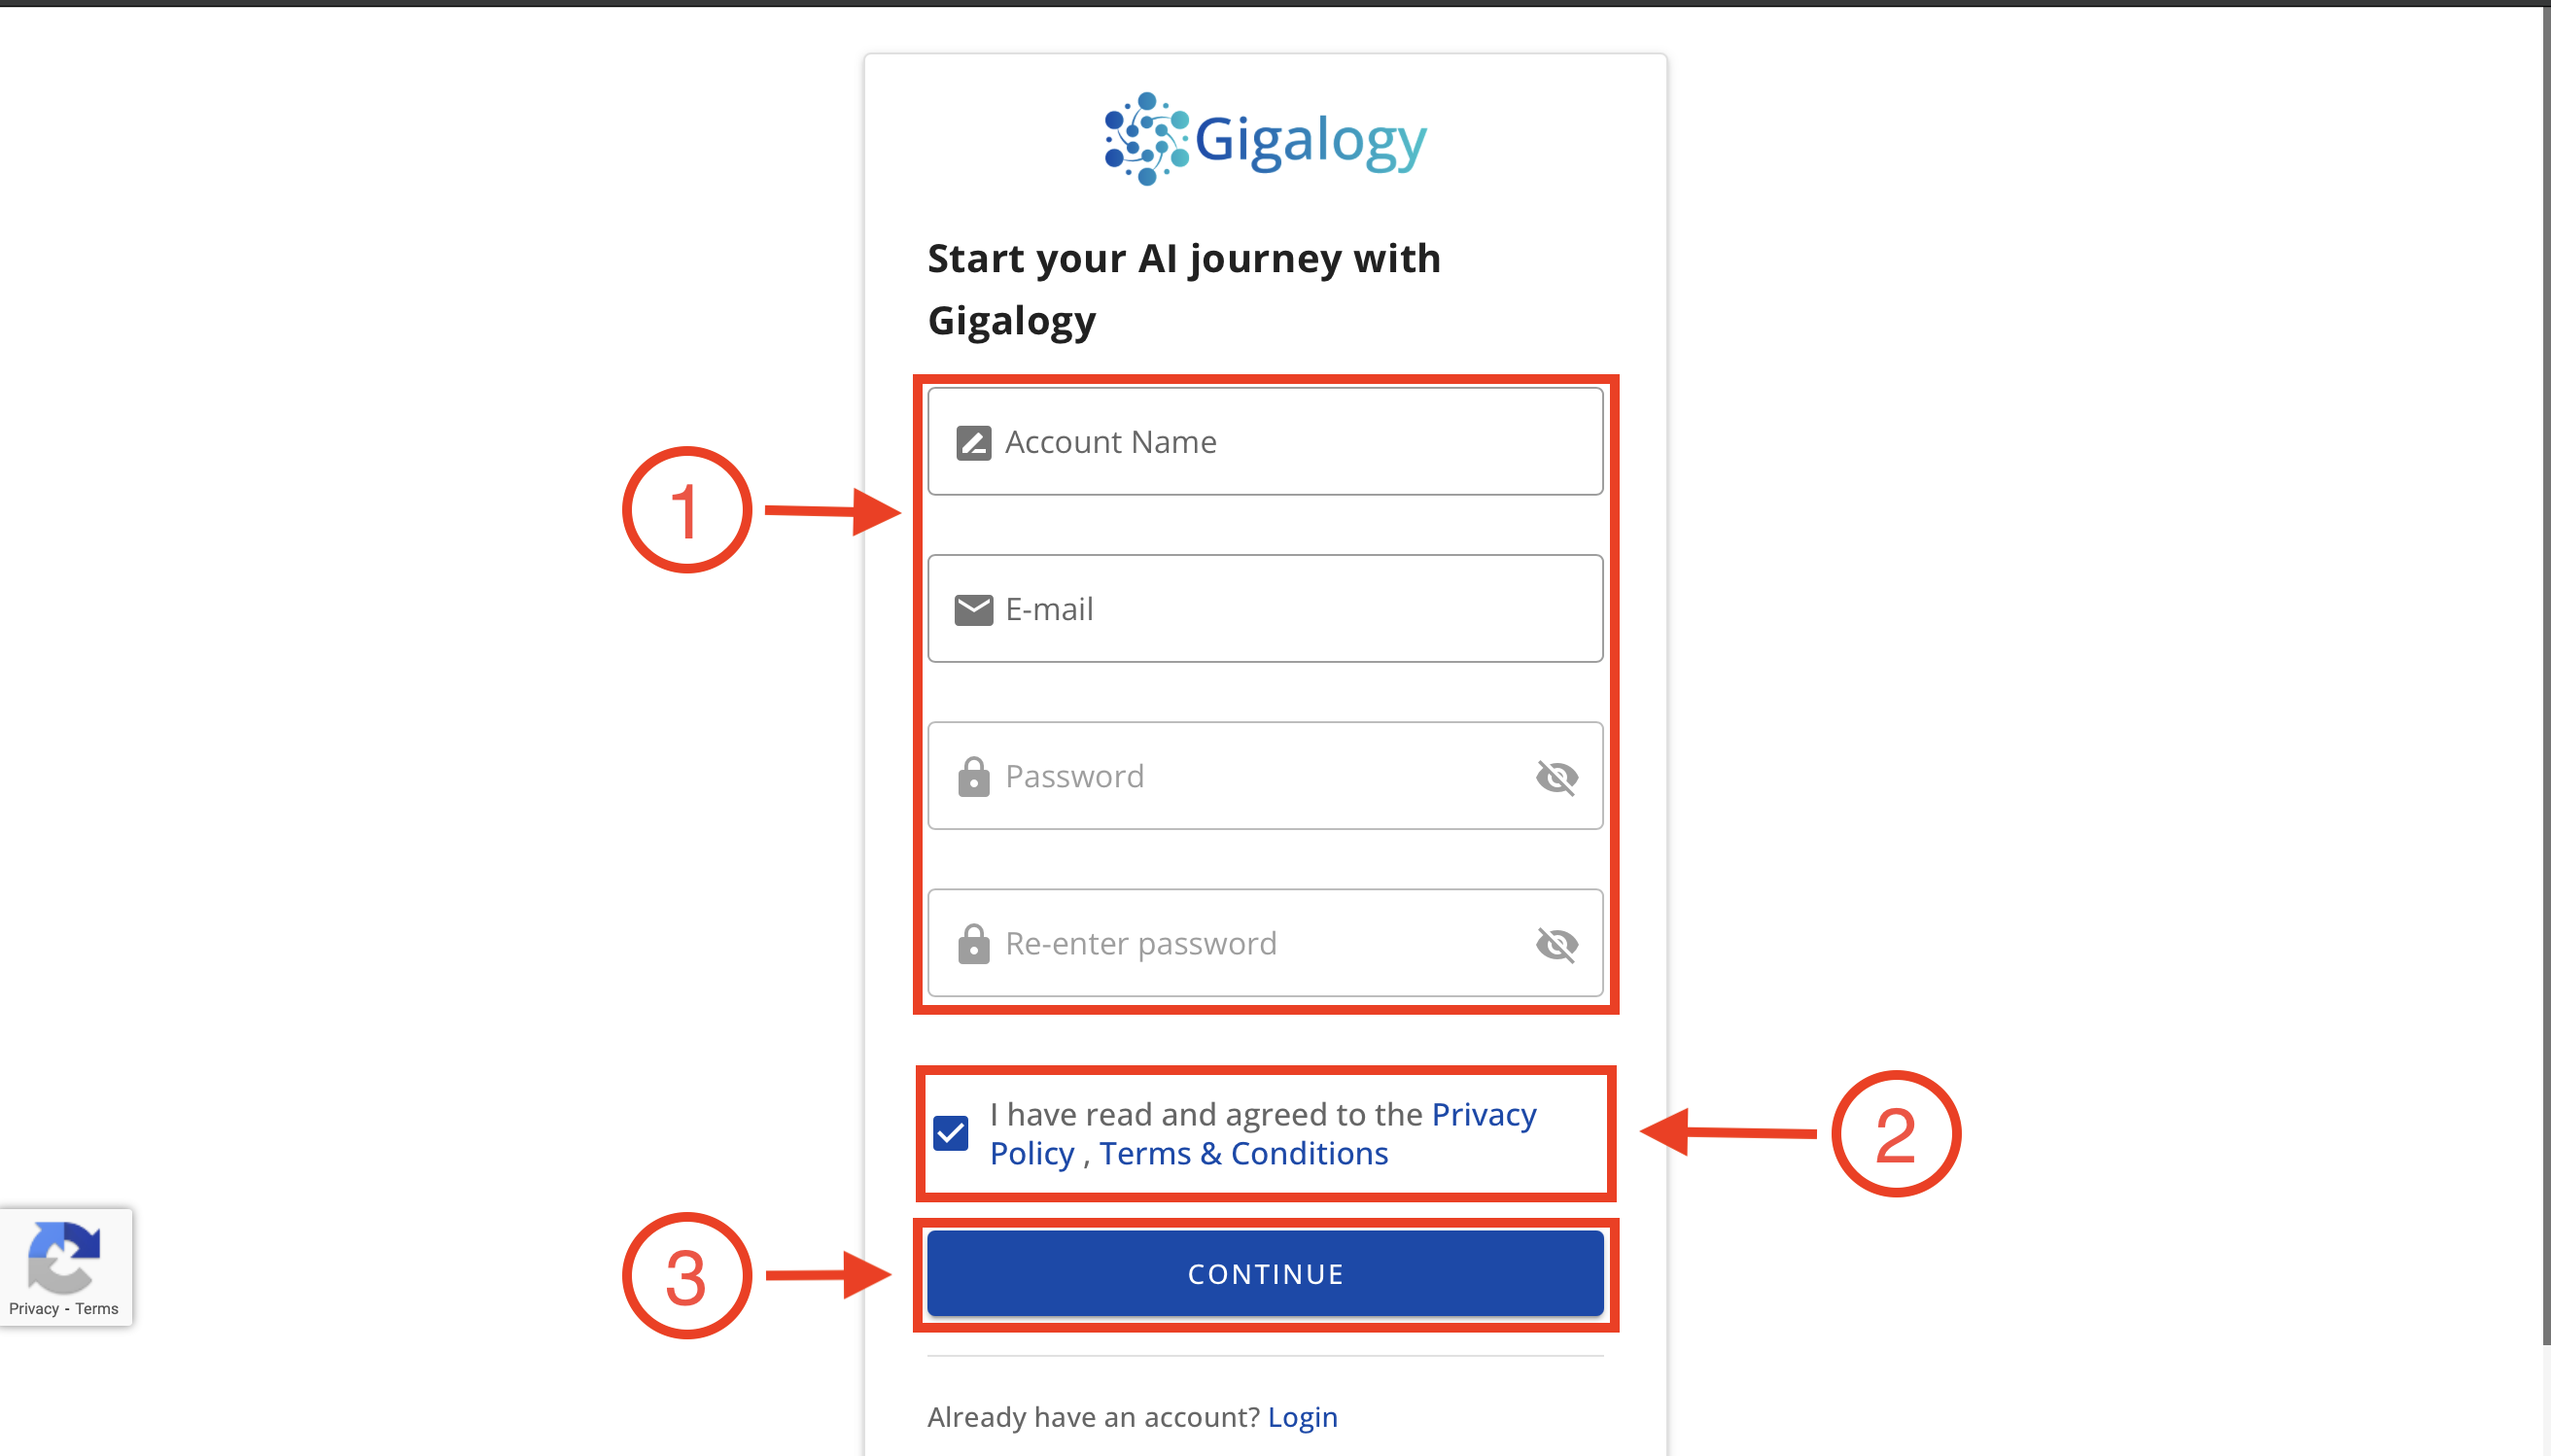
Next, you will be asked to enter the account name, email address, and set a password. Note that the account name cannot consist of numbers only; it must be alphanumeric or contain letters only. You will also find links to the Privacy Policy and Terms and Conditions on this page. Once finished, click the Continue button.
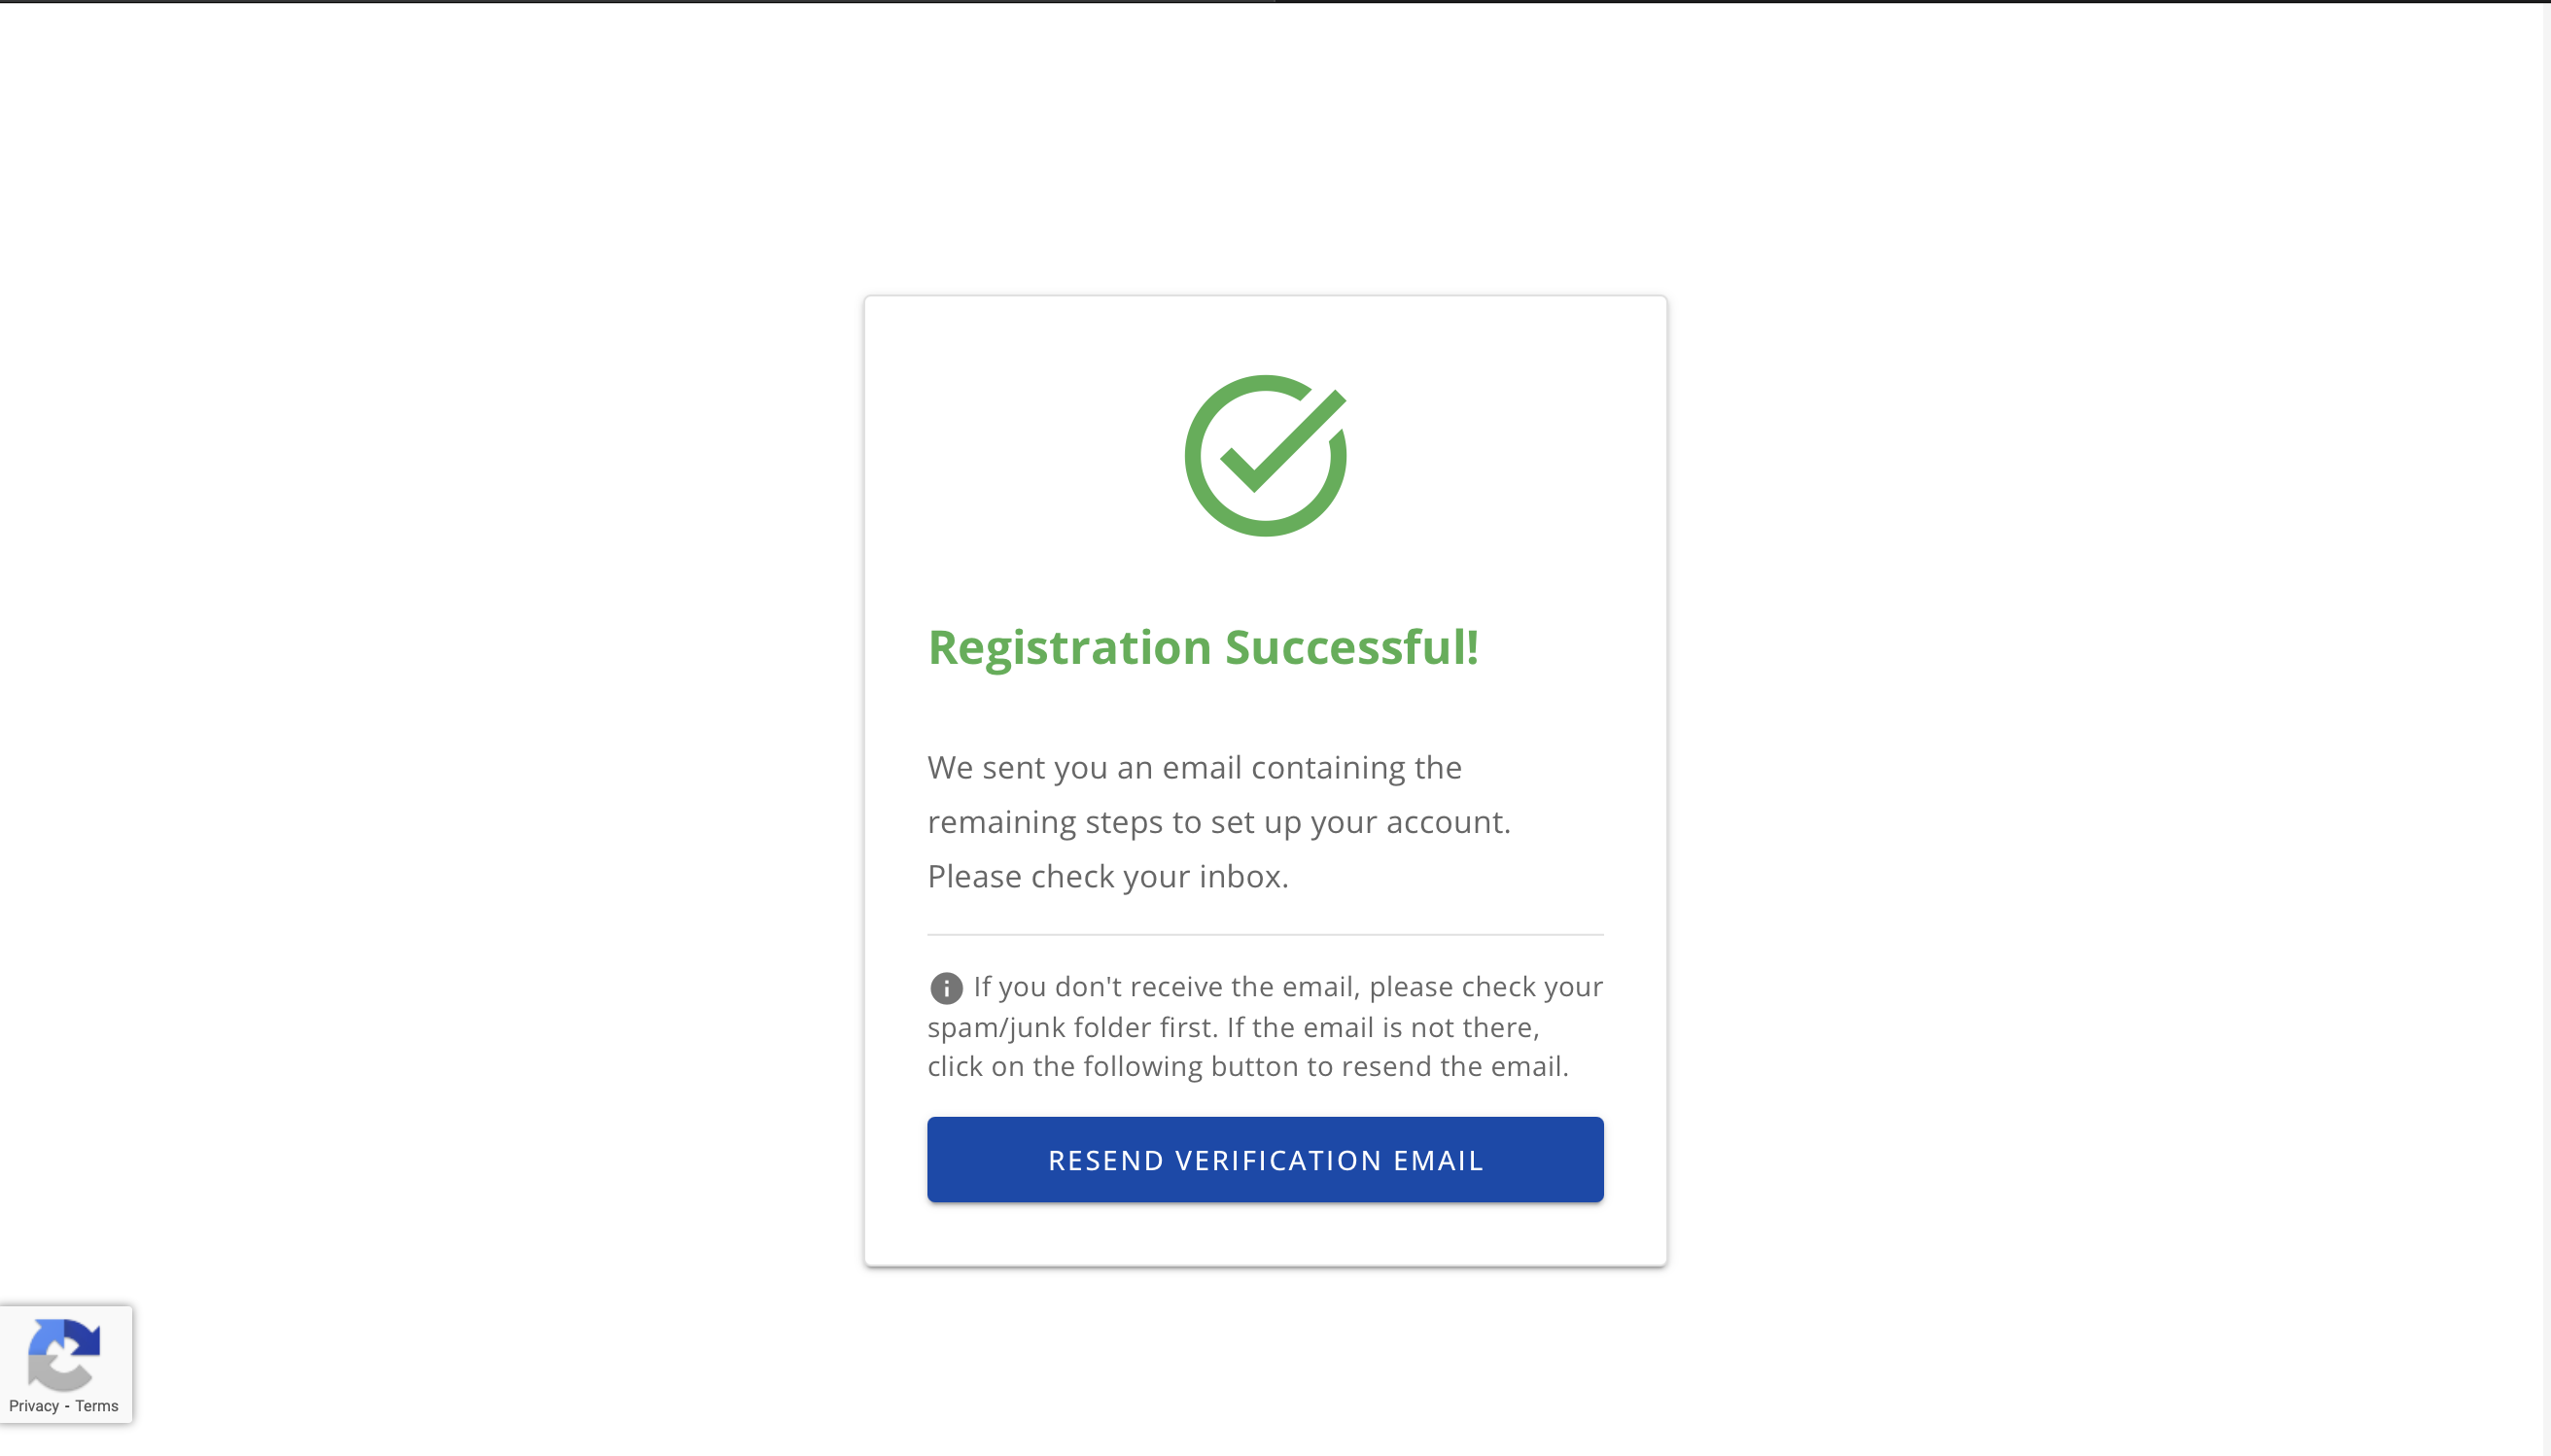
You will then see a Registration Successful screen,
indicating that verification mail was sent to the mentioned E-mail address in the previous step.
Check the Email for account verification and click the Activate your account button to complete the account verification.
Note: If you don't see the email, check your spam folder or contact support at info@gigalogy.com.
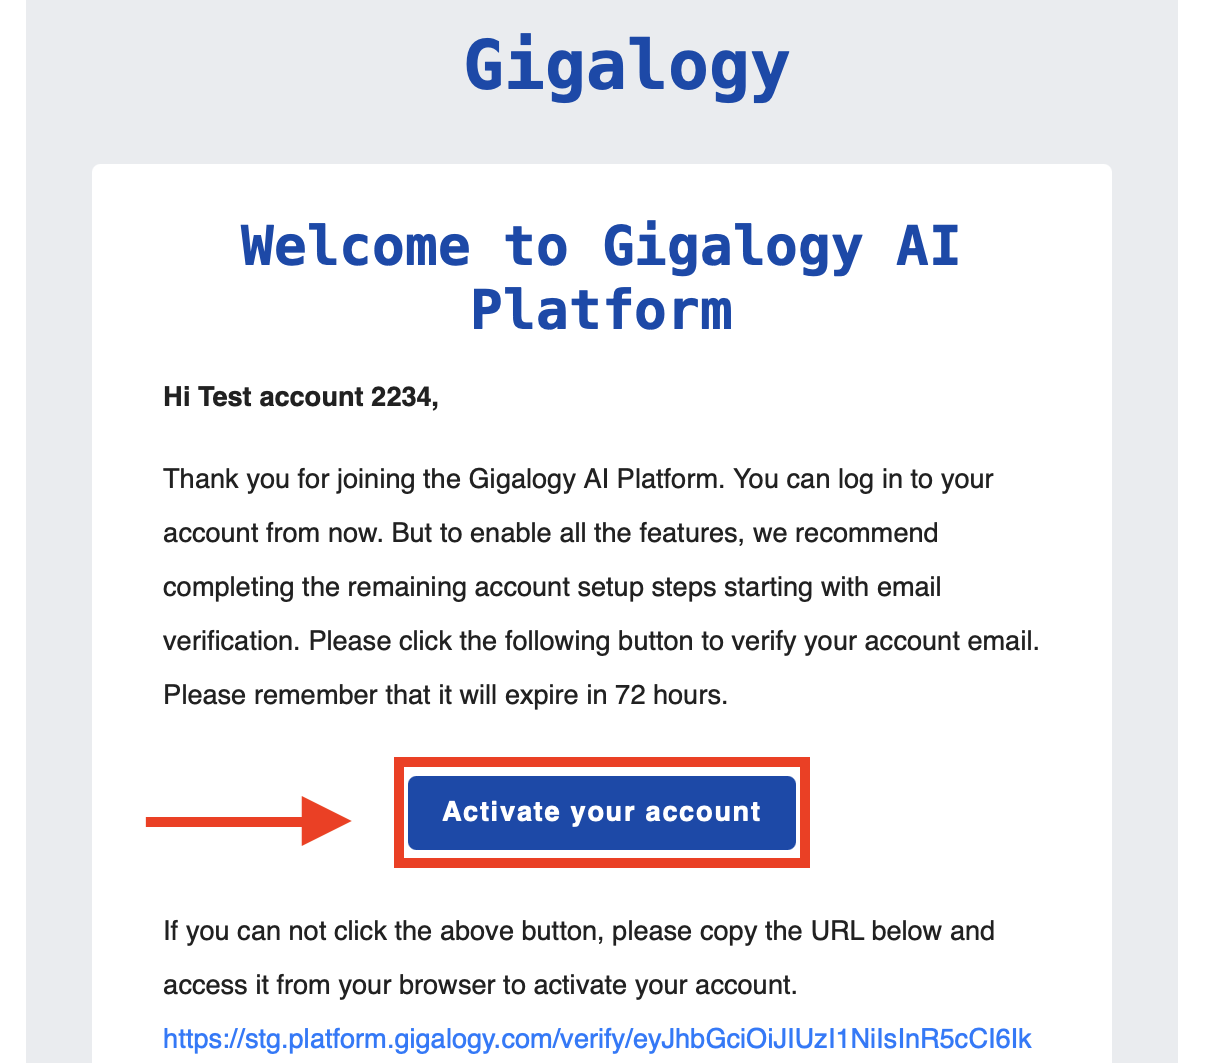
Once you click on the button in your Email,
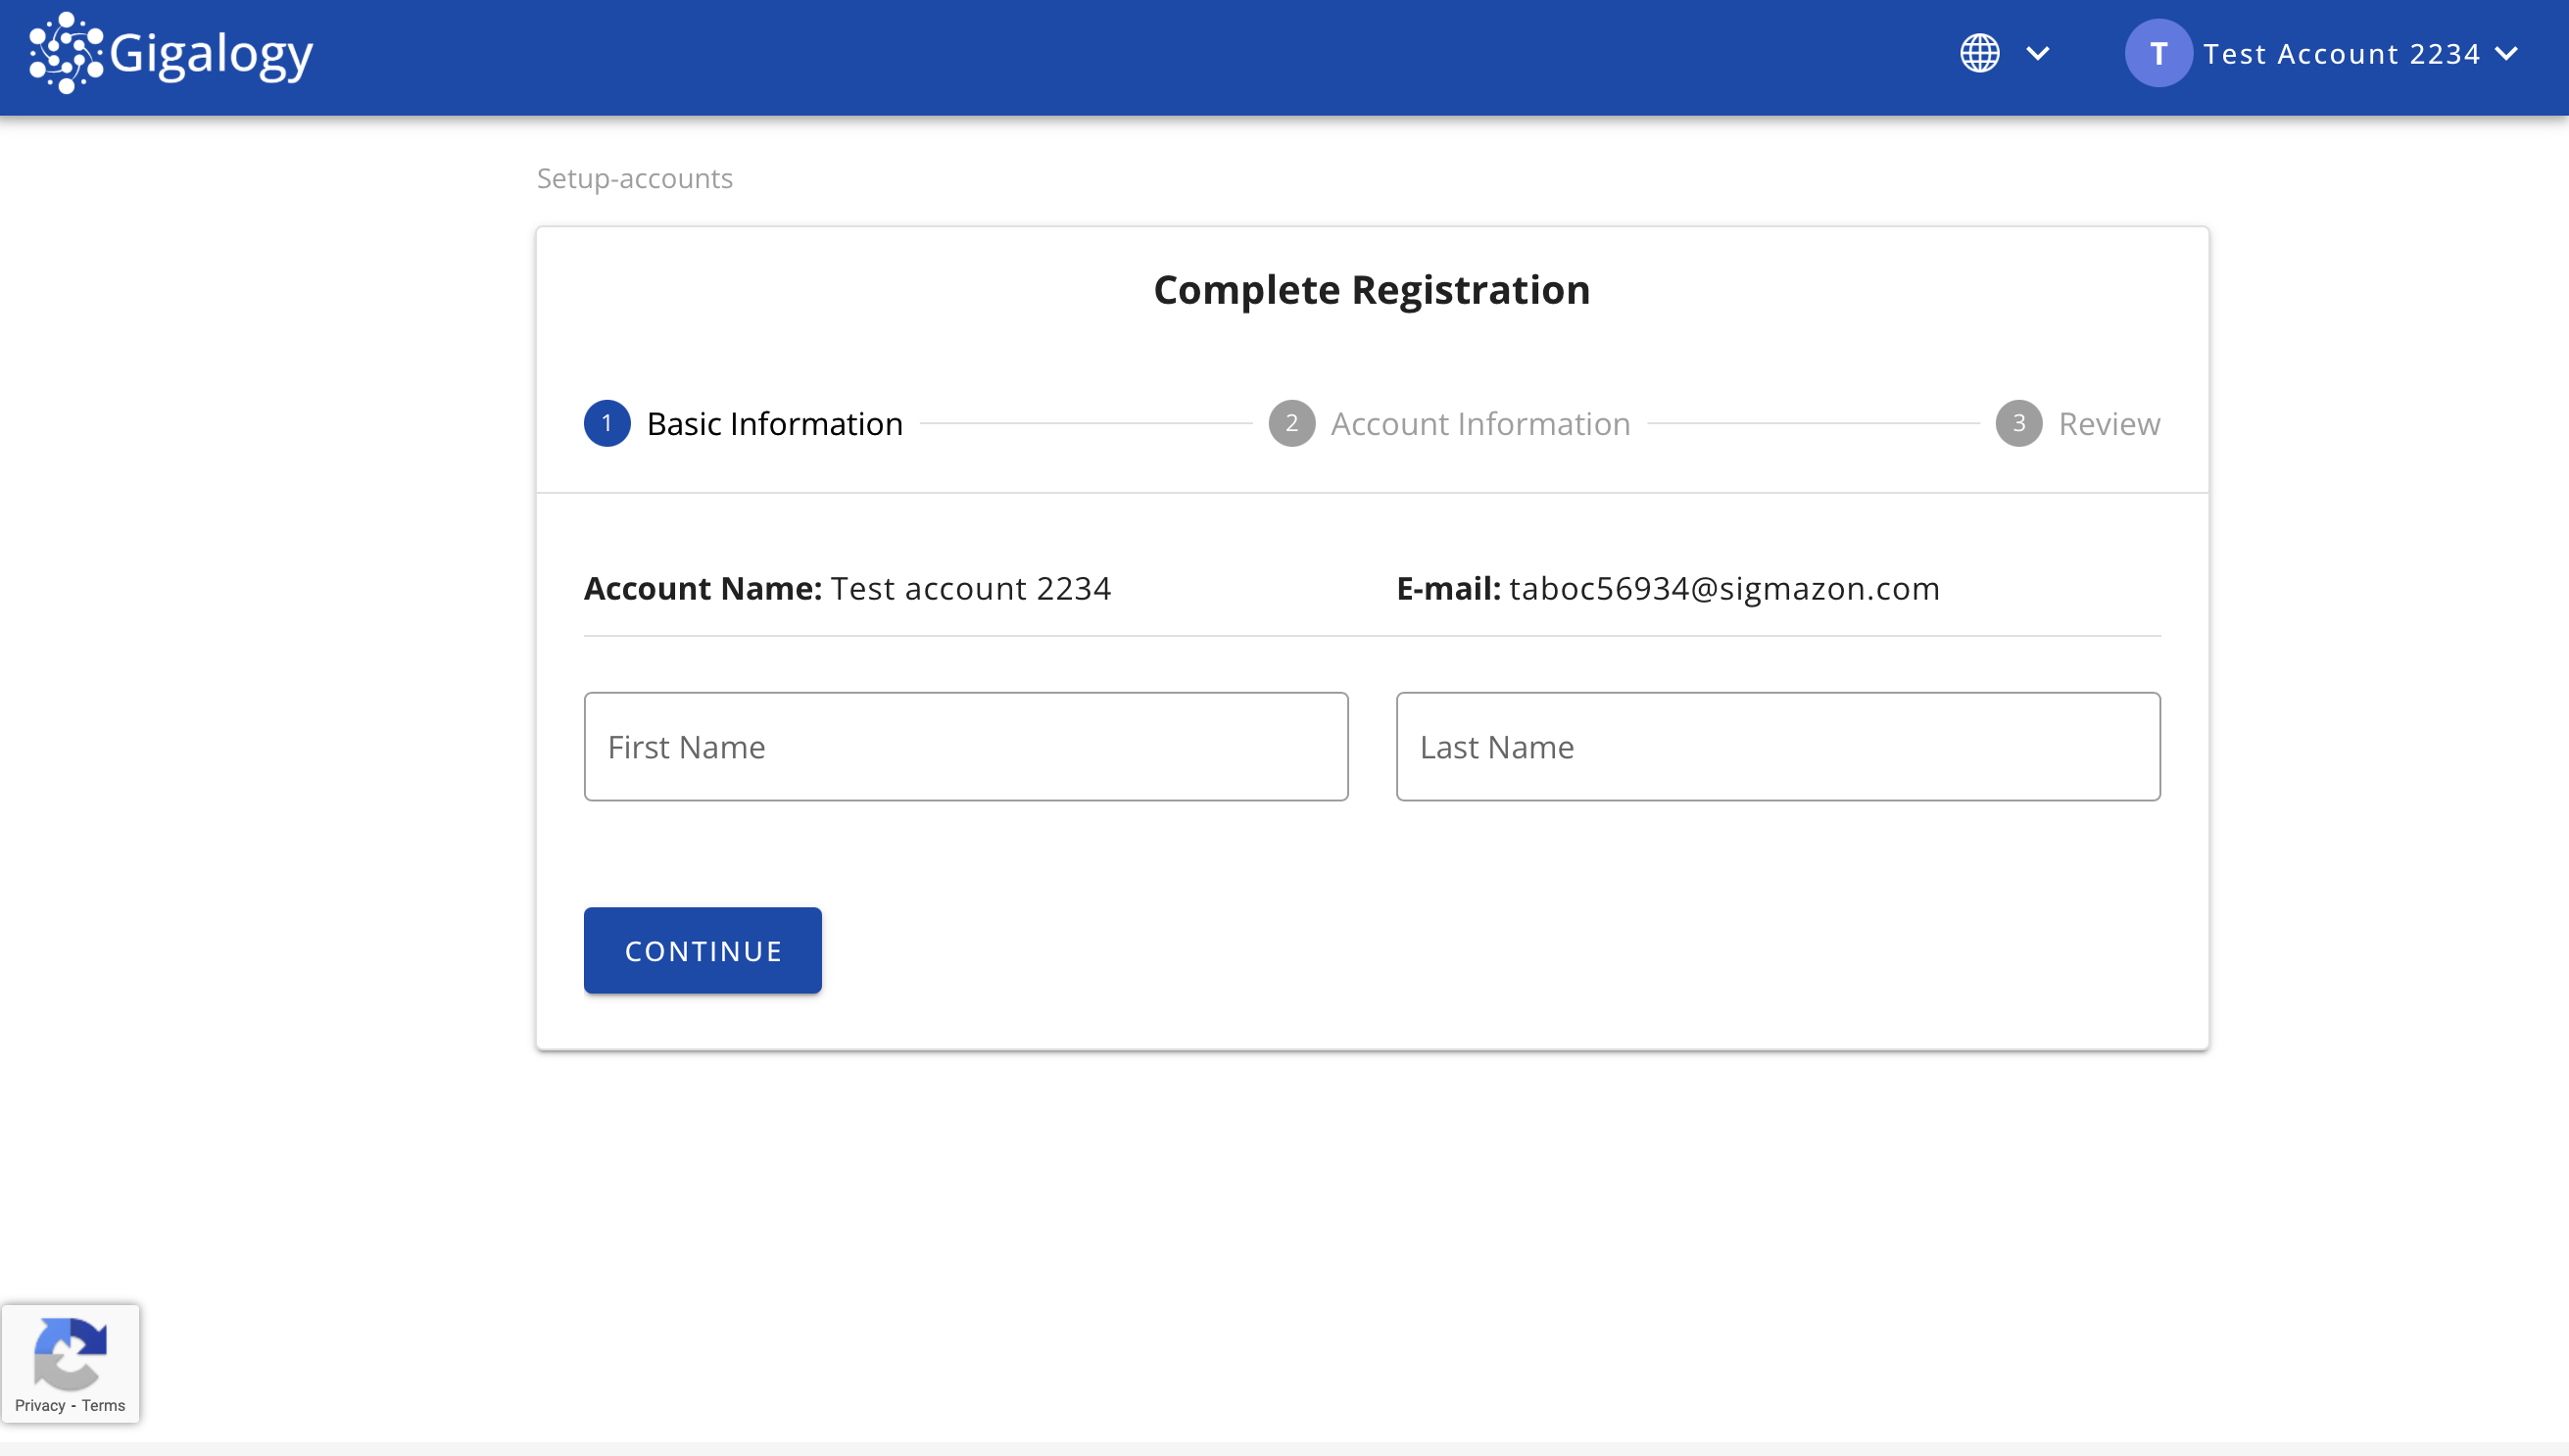
you will be brought back to the platform to complete the account registration.
Fill in your first and last name in the Basic information step.
To proceed, click Continue
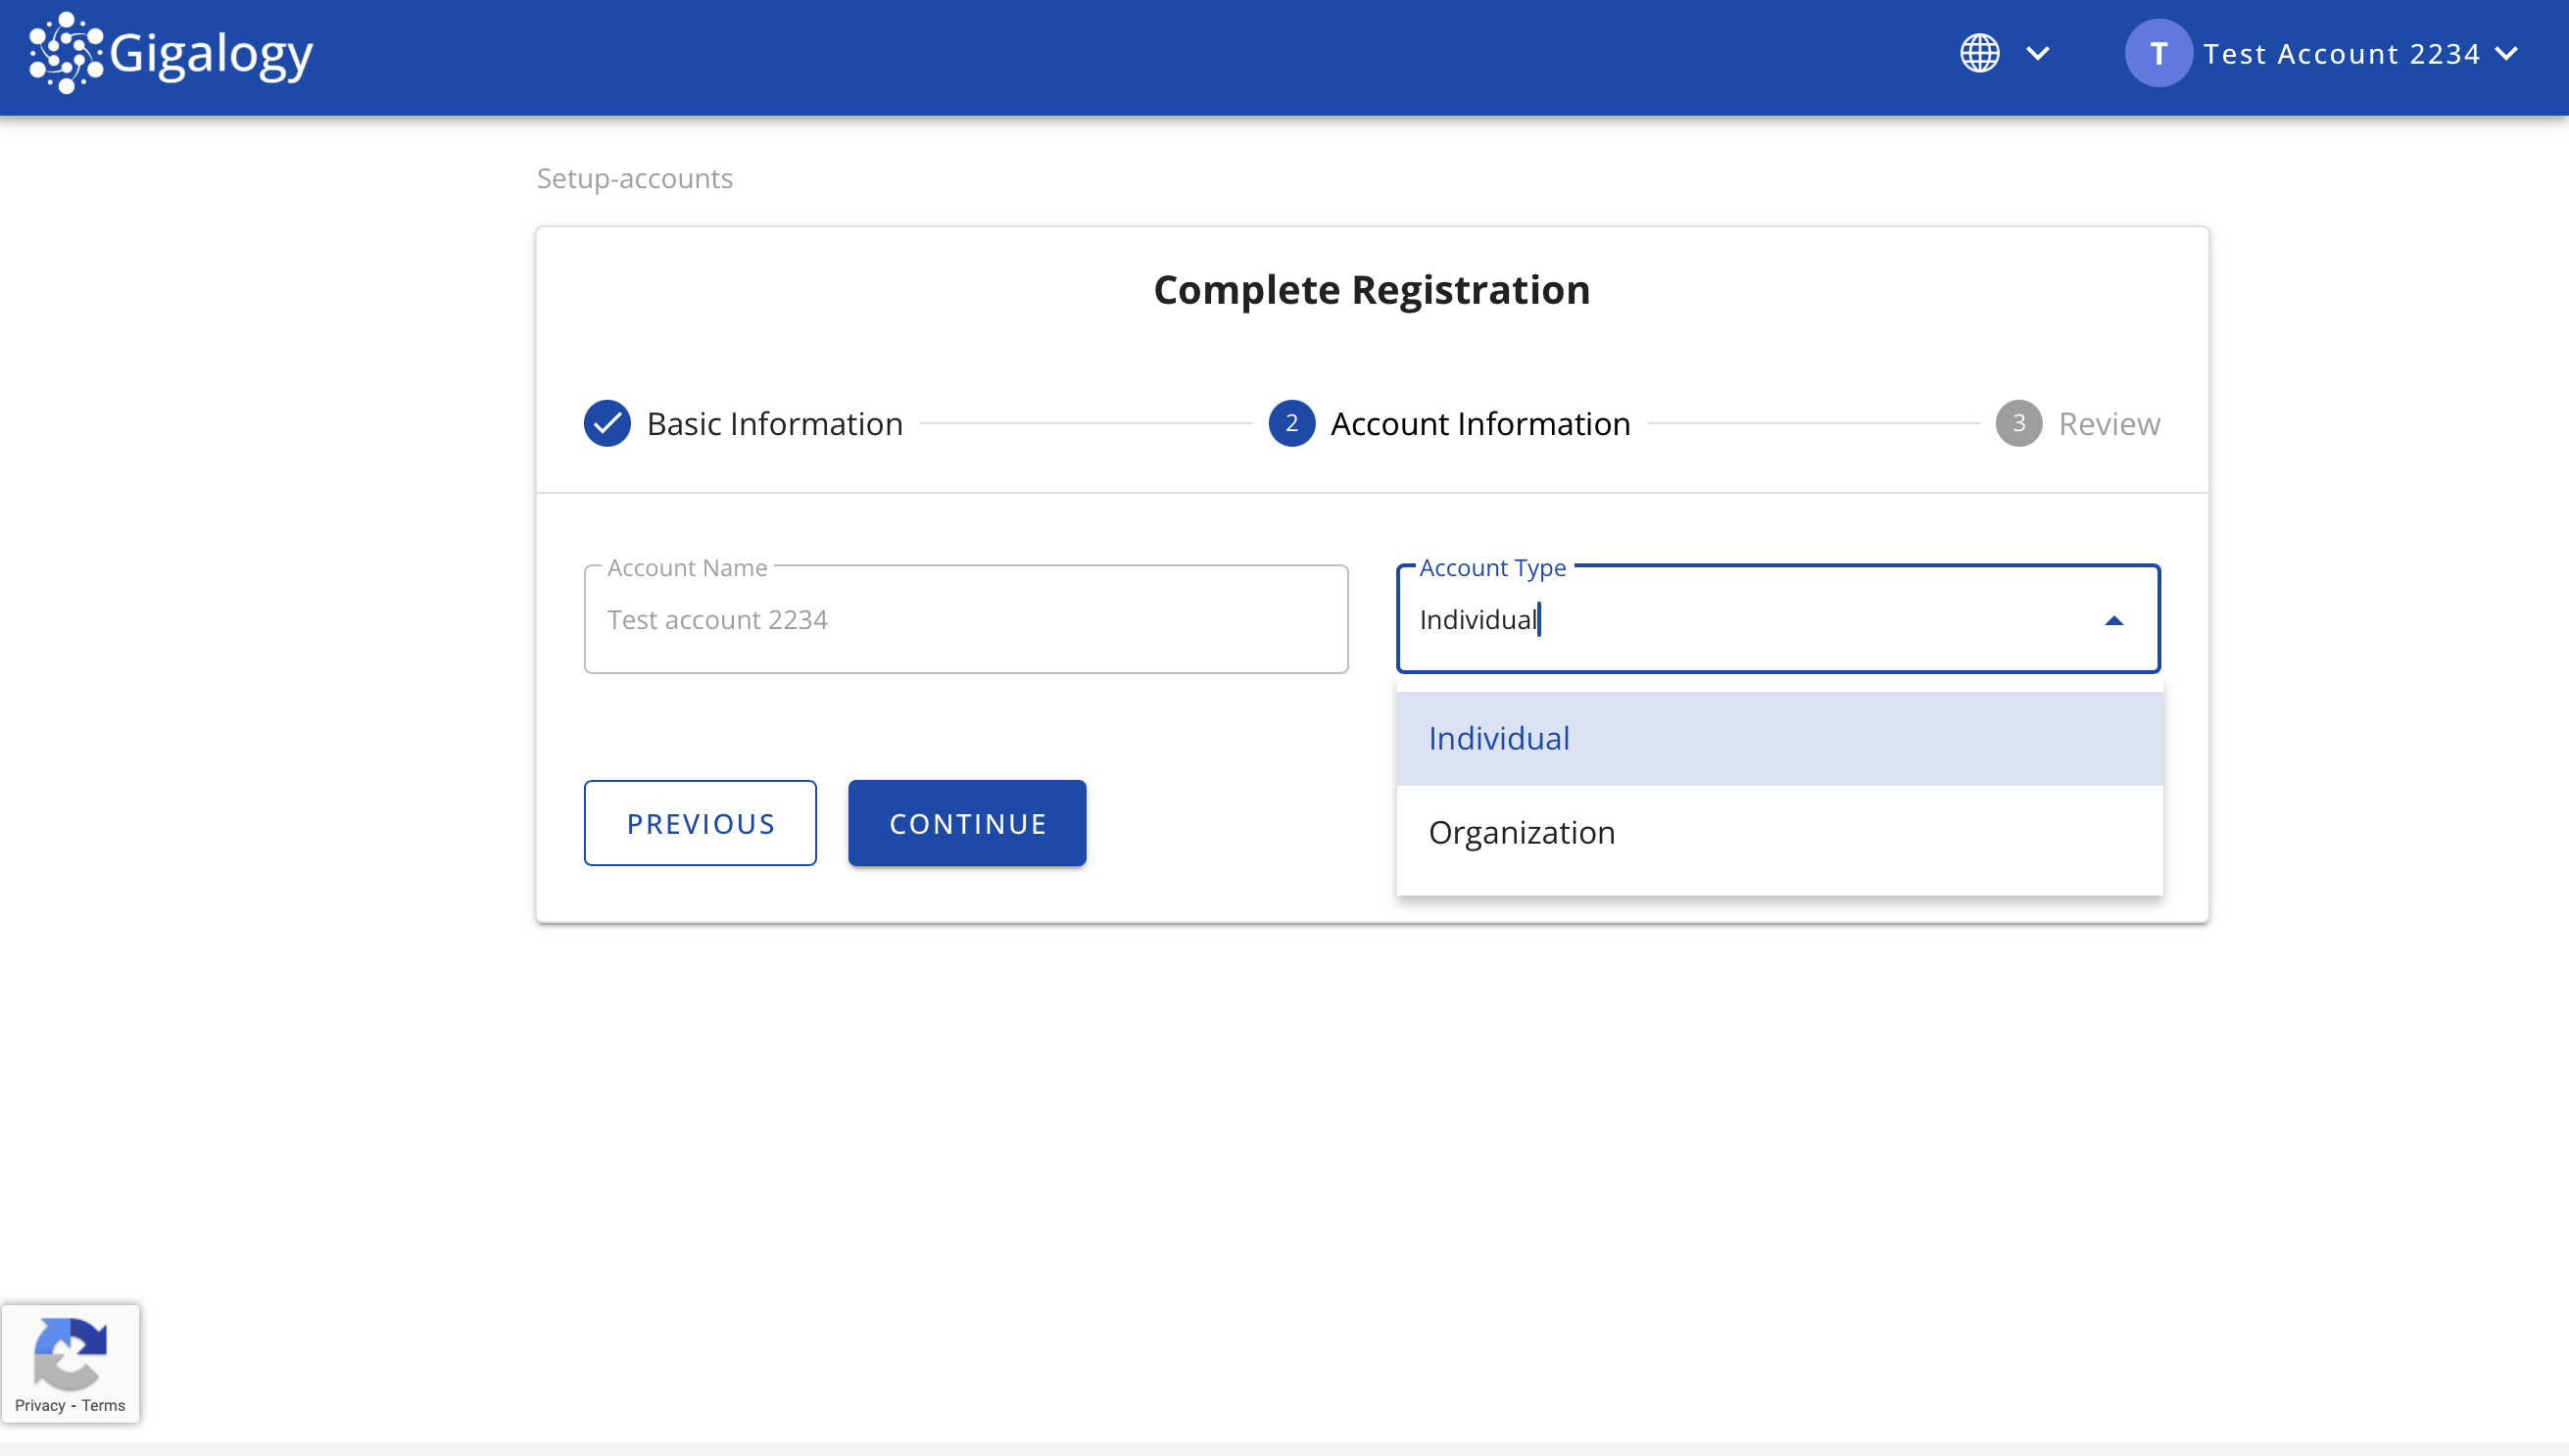
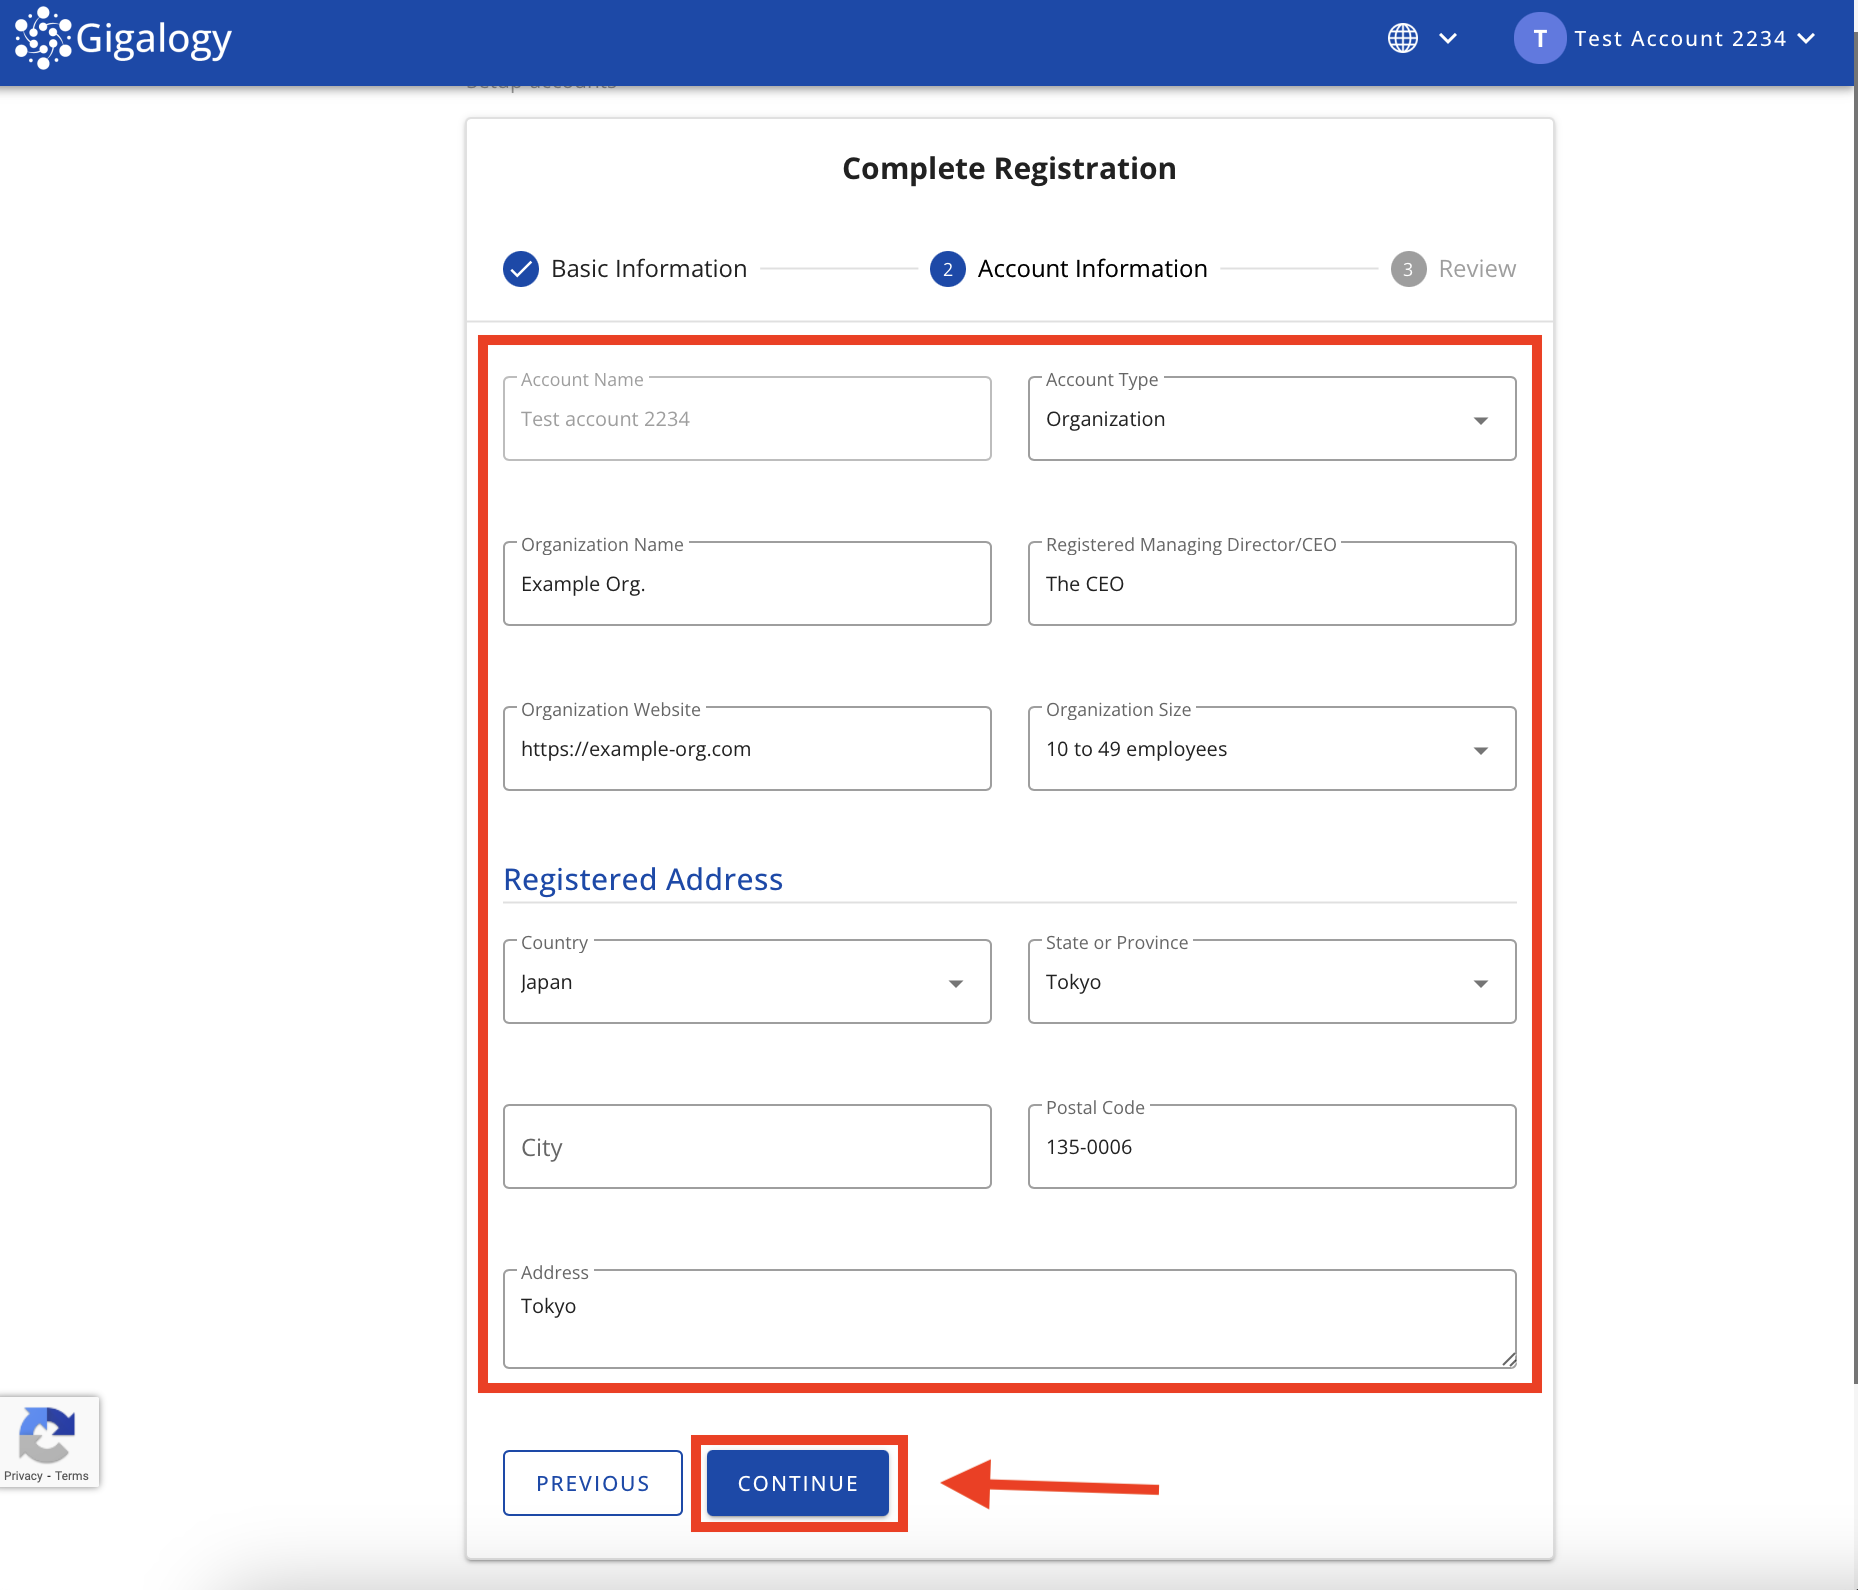
On the following page, you will be prompted to select either an Individual or Organization account type.
If you choose Individual, no additional information is necessary, and you can proceed to the next step.
If you opt for Organization, you will be prompted to provide some basic details about your organization.
After filling in the information, click Continue.
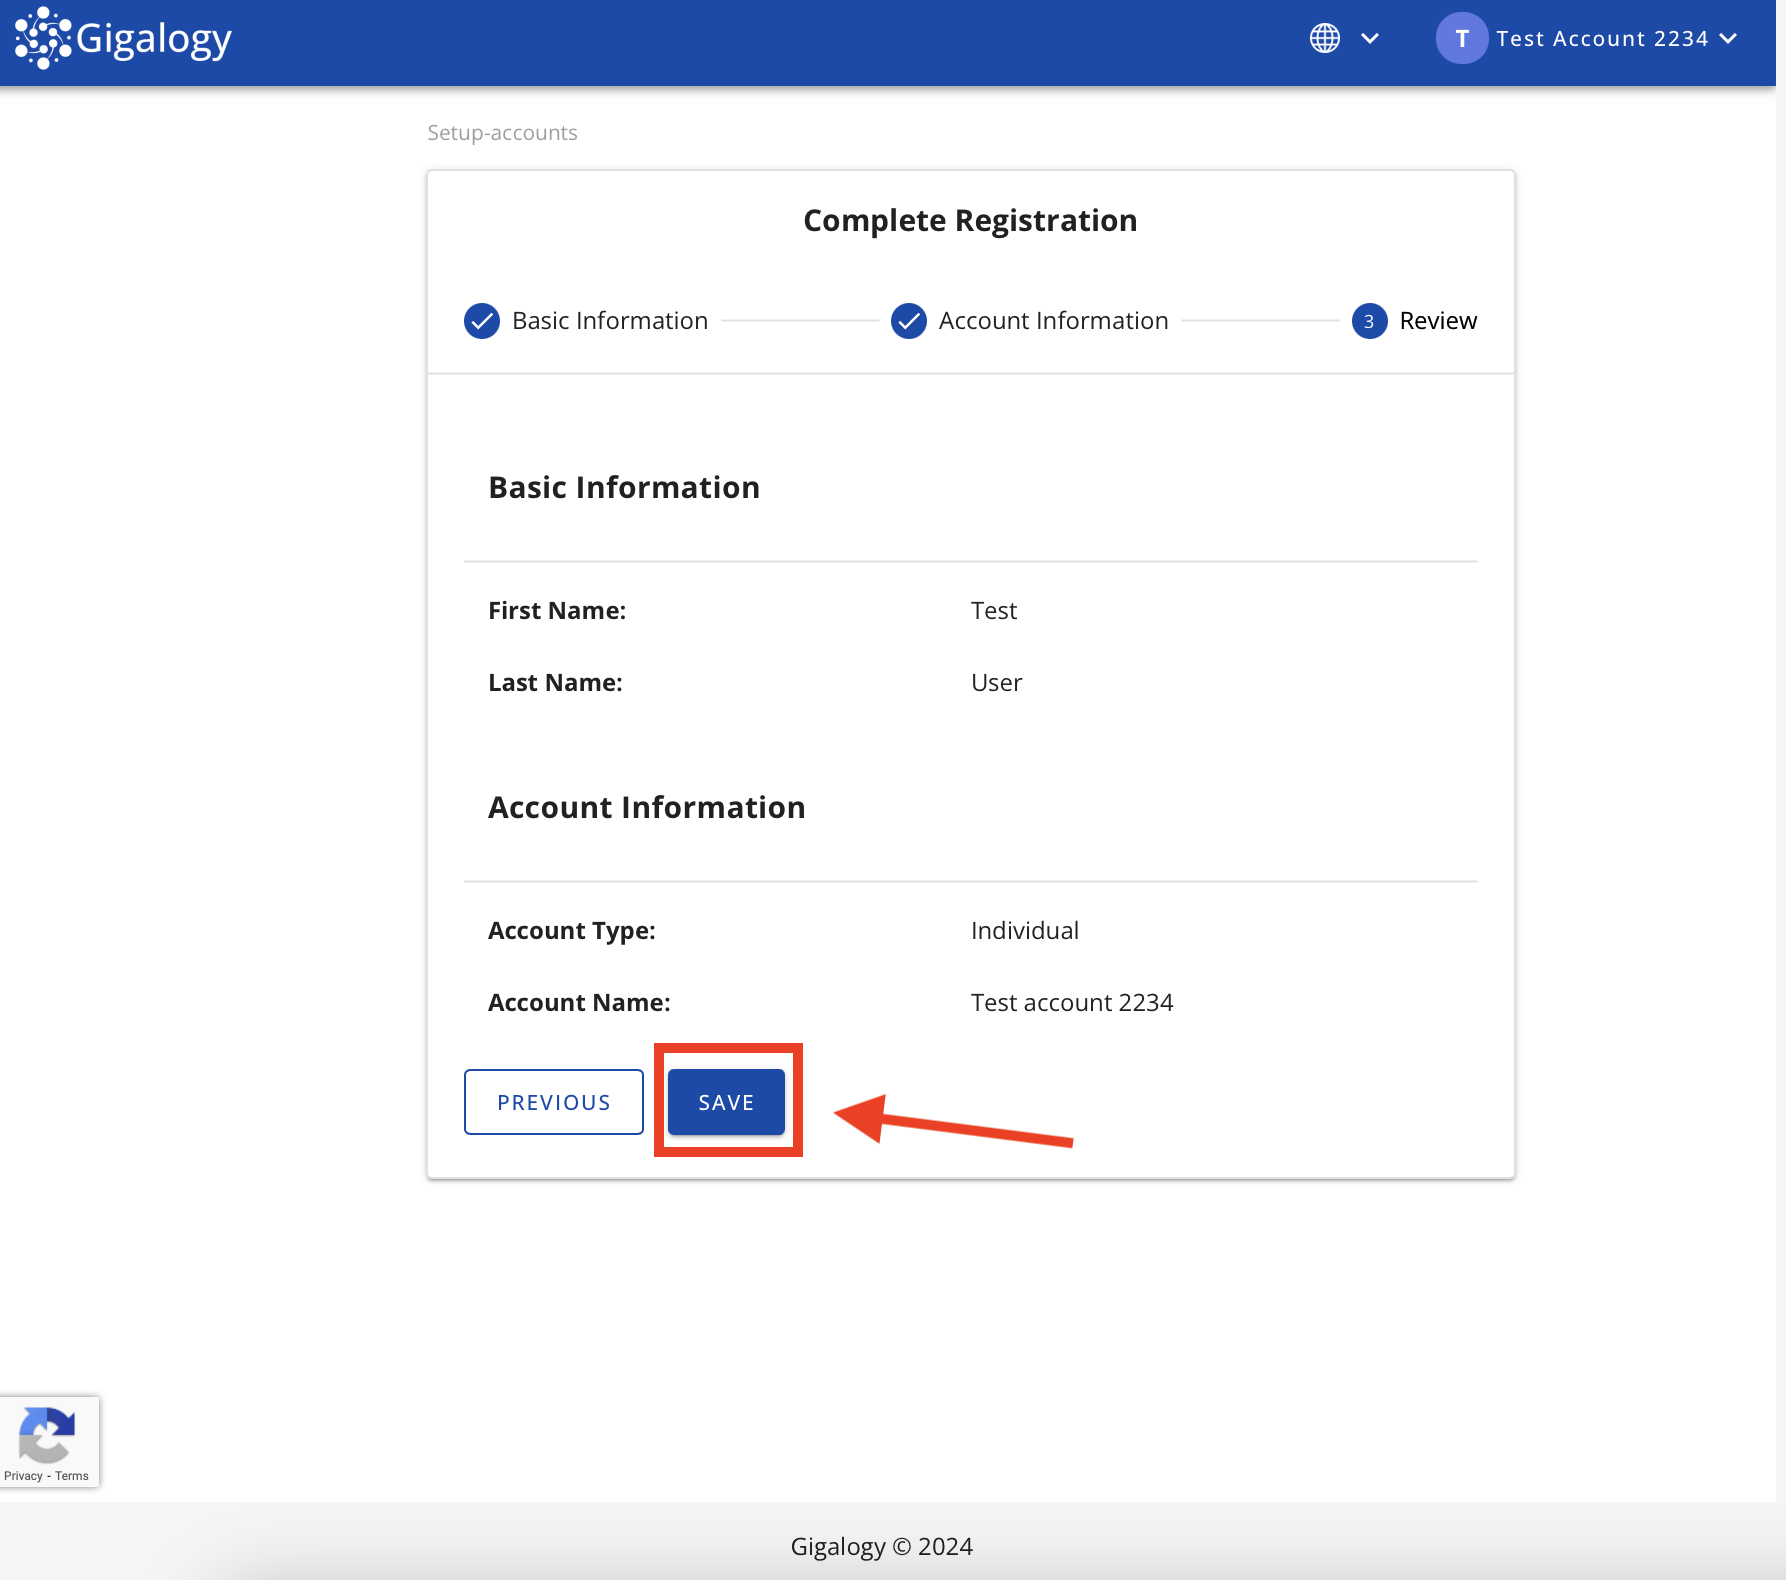
Finally, review all the information and click Save to finish the account registration.
Then you will be taken to the dashboard / homepage of your account in GAIP.
Project Creation
Personalizer
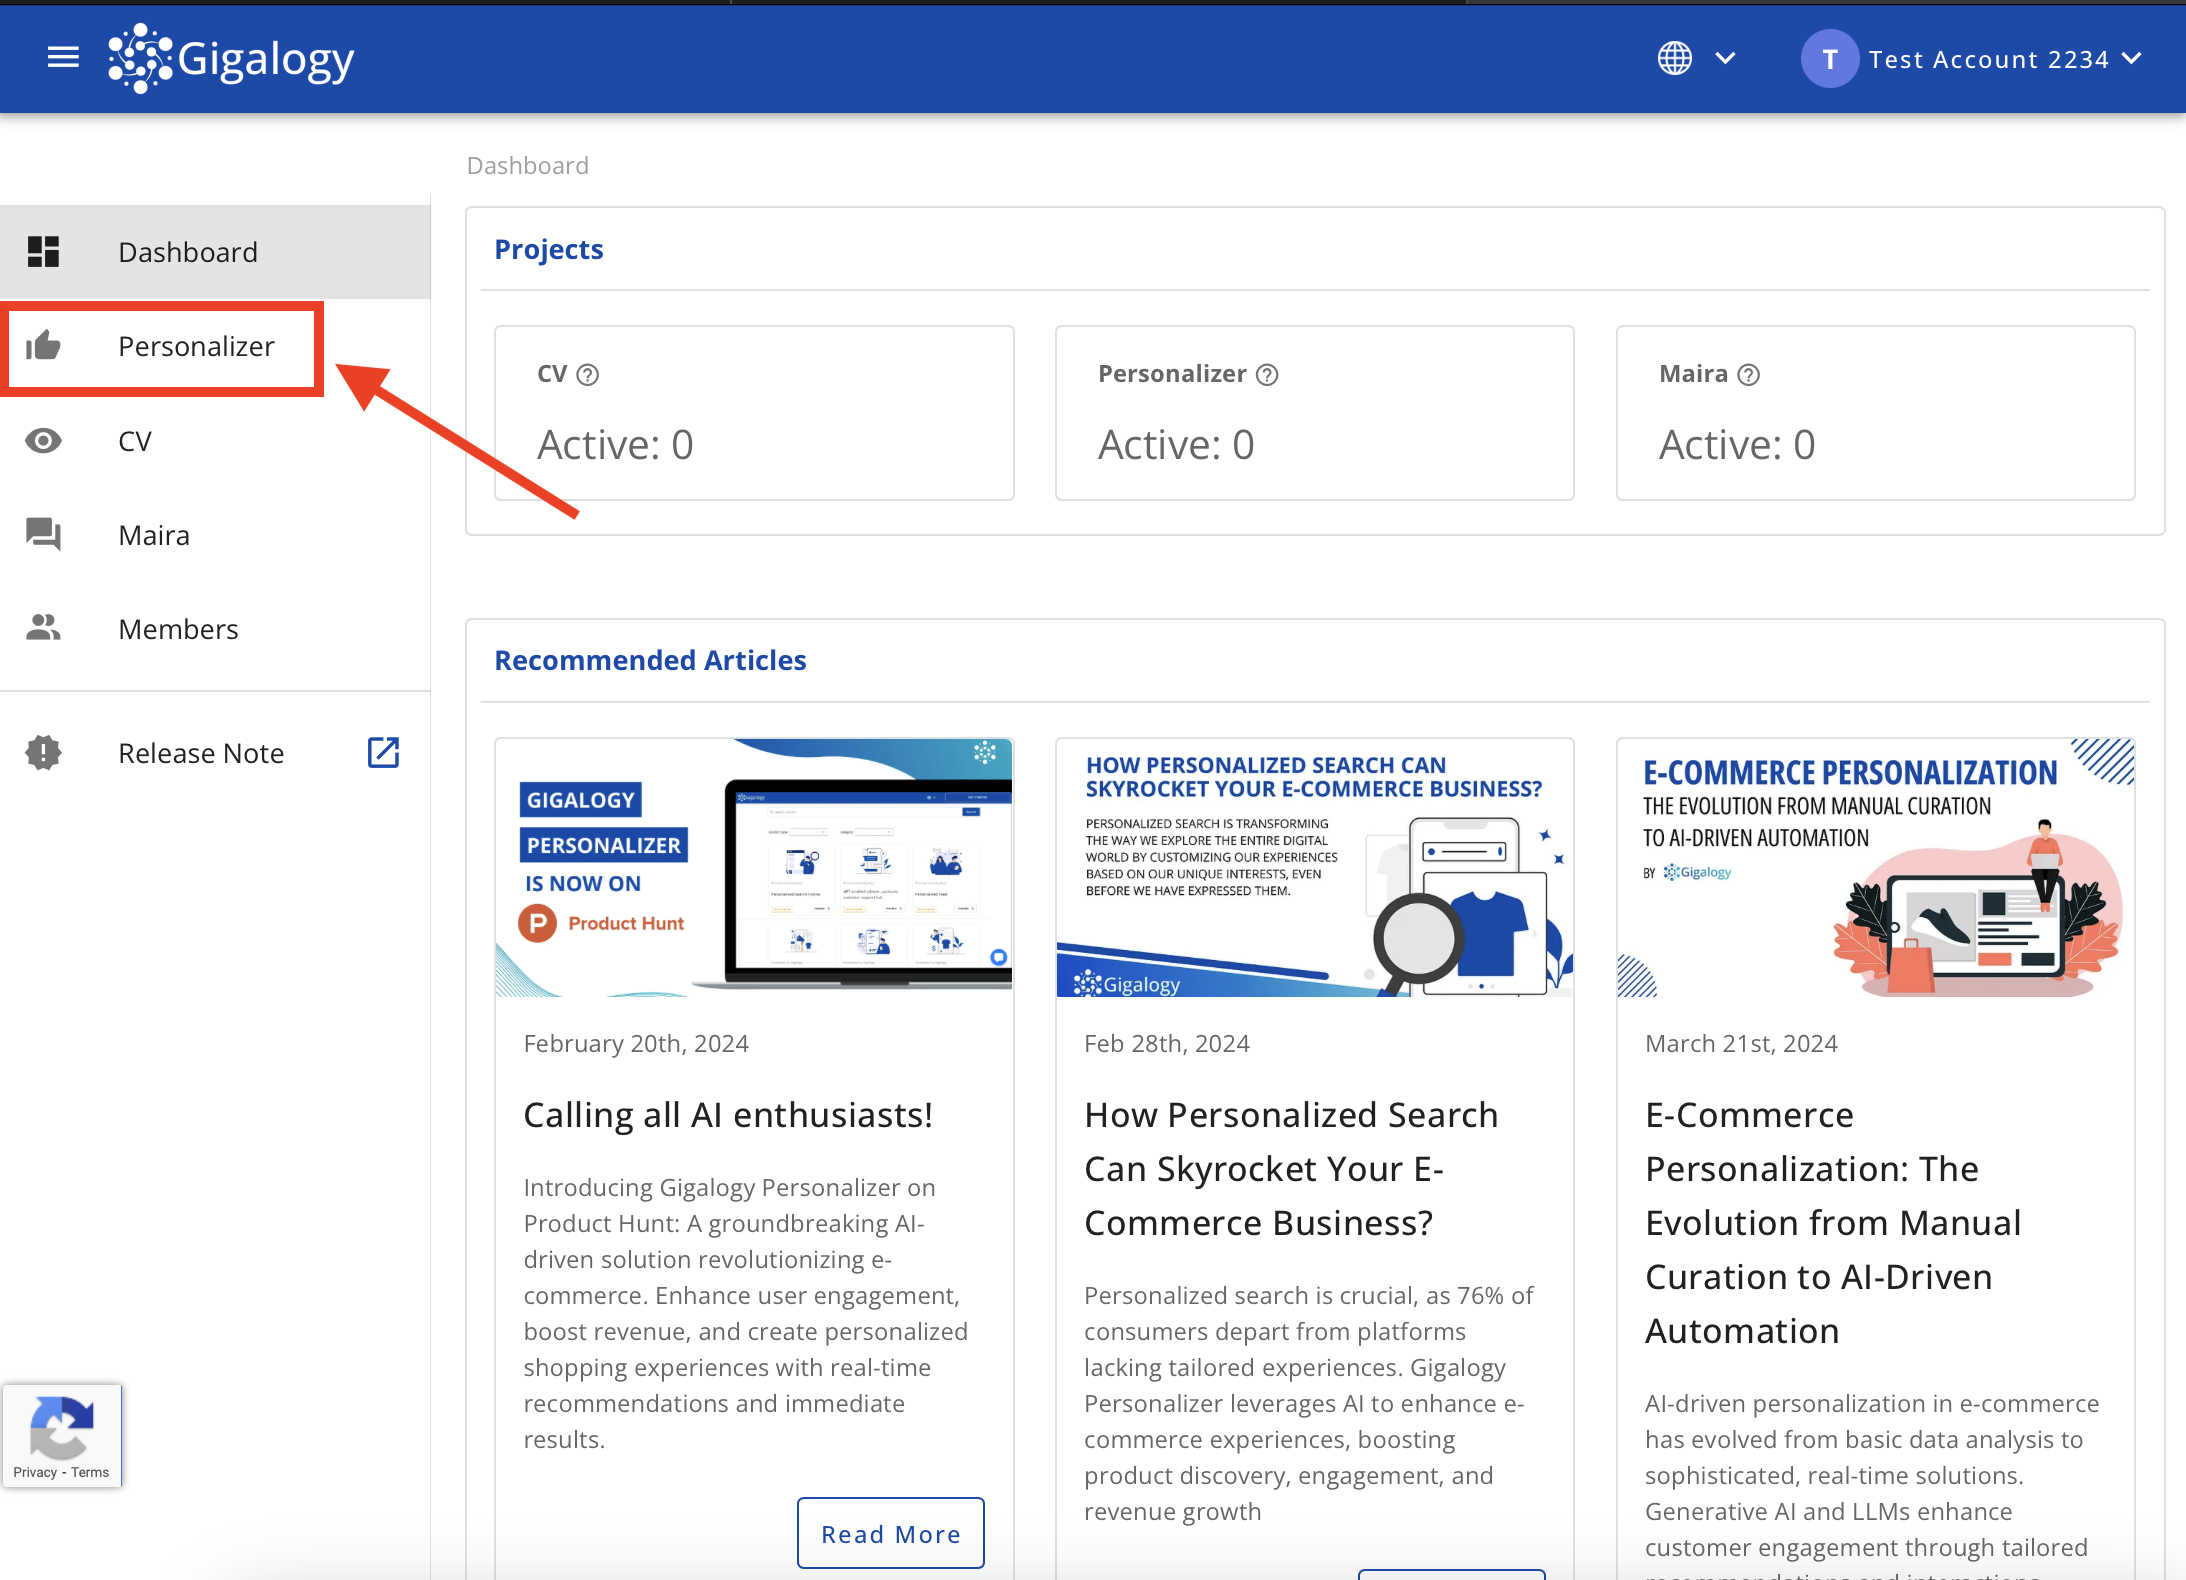
In the platform homepage (dashboard), on the left navigation bar,
GAIP's solutions are listed: Personalizer, CV, Maira.
Click on Personalizer.
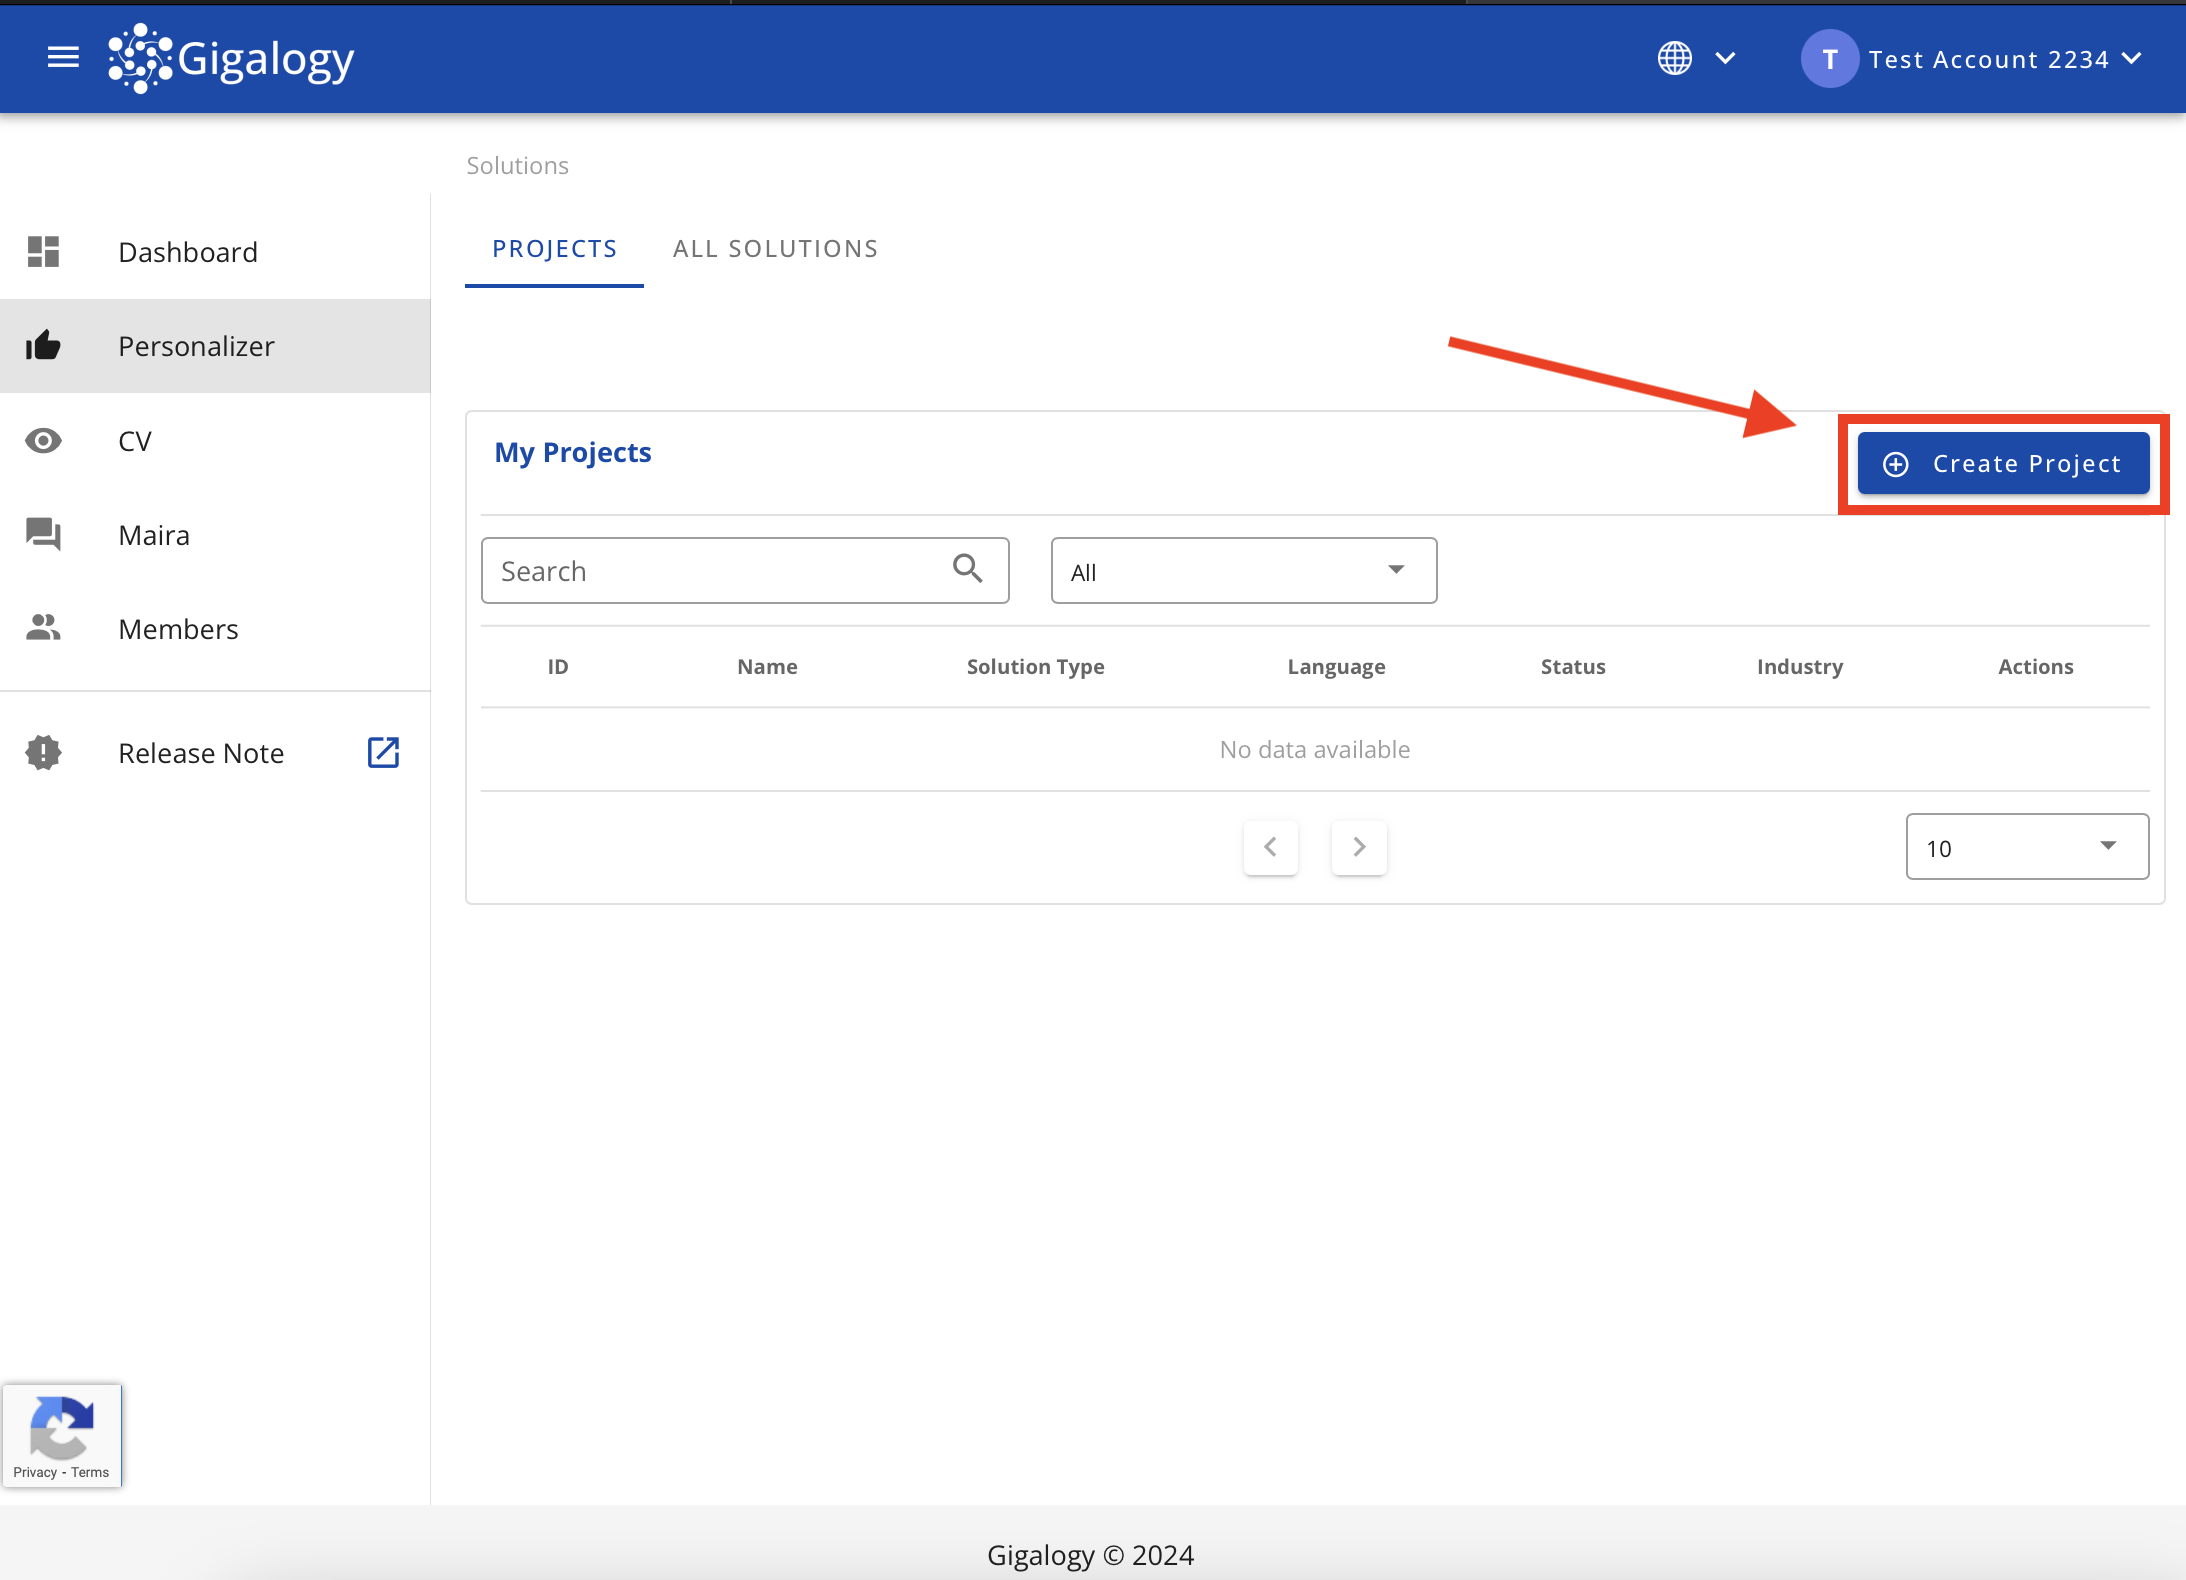
Next, click on the button Create Project to start creating a new project.
In the next screen, you will be asked to fill in some details about your new project.
- Project name: Can be anything, recommended to use something easier to track later.
- Language: Can be English or Japanese, based on the content of your catalog information
- Industry: Select the industry the project is intended for.
- Enabled solutions: Select the solutions you want to use.
After filling in the information, click Continue
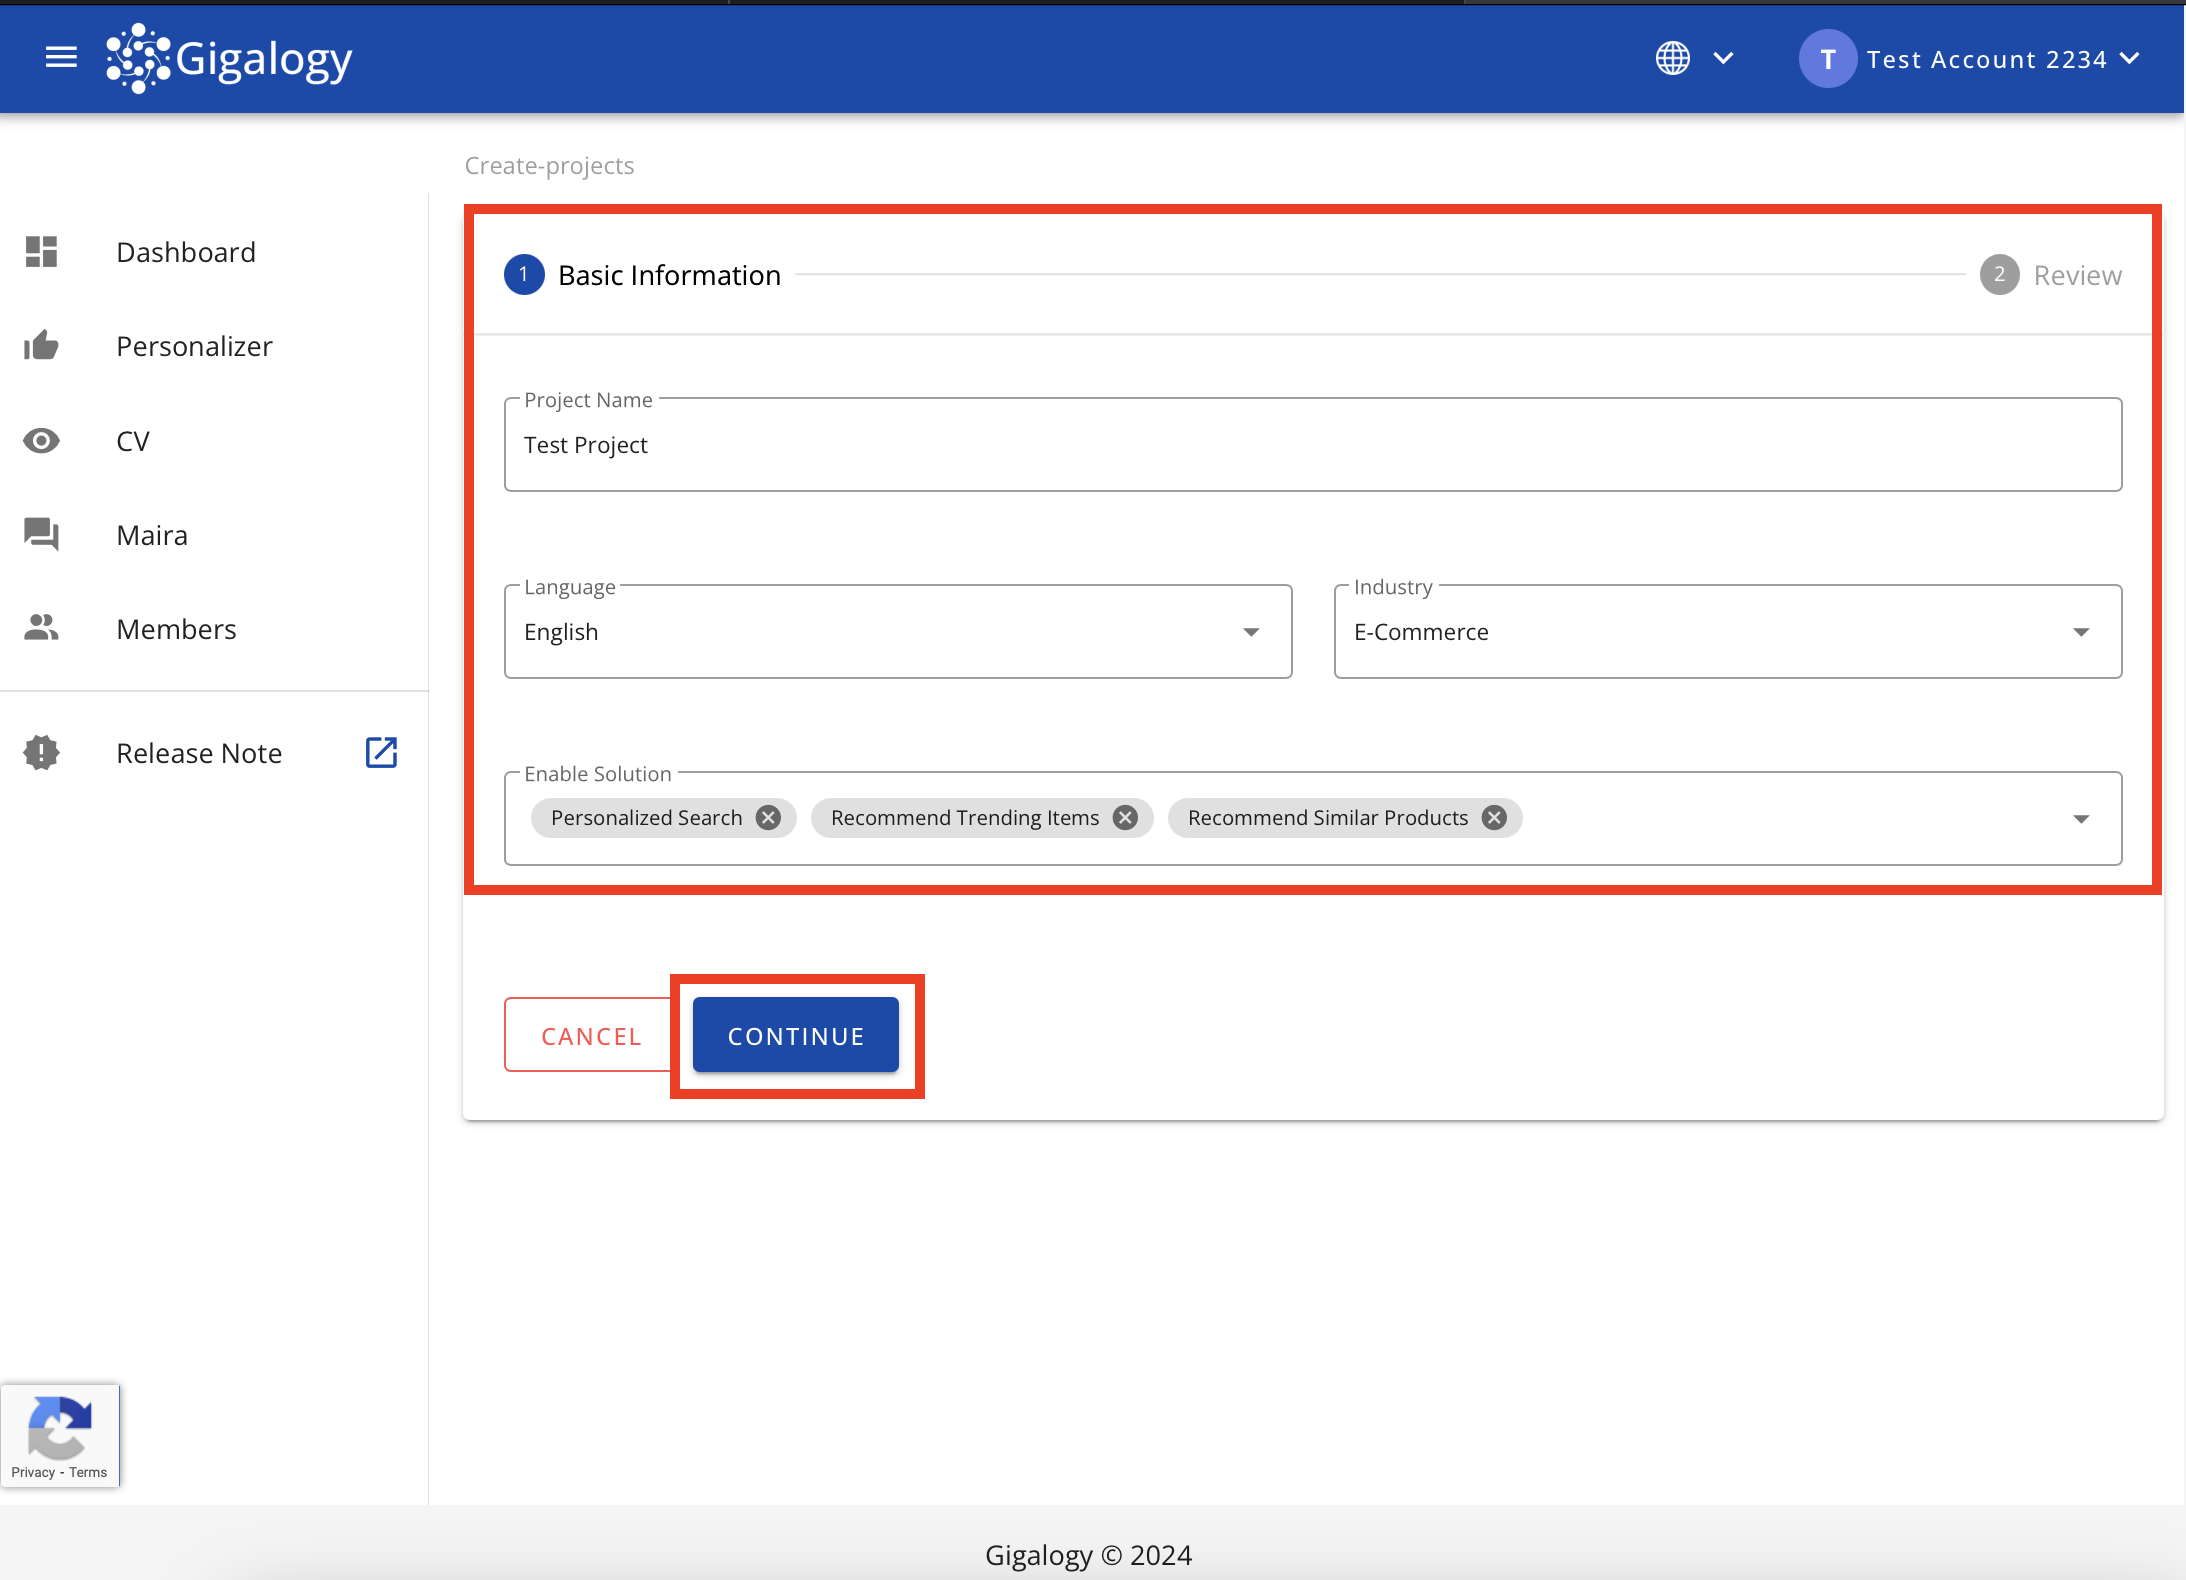
Finally, on the confirmation page, check and click "Save" to complete project creation.
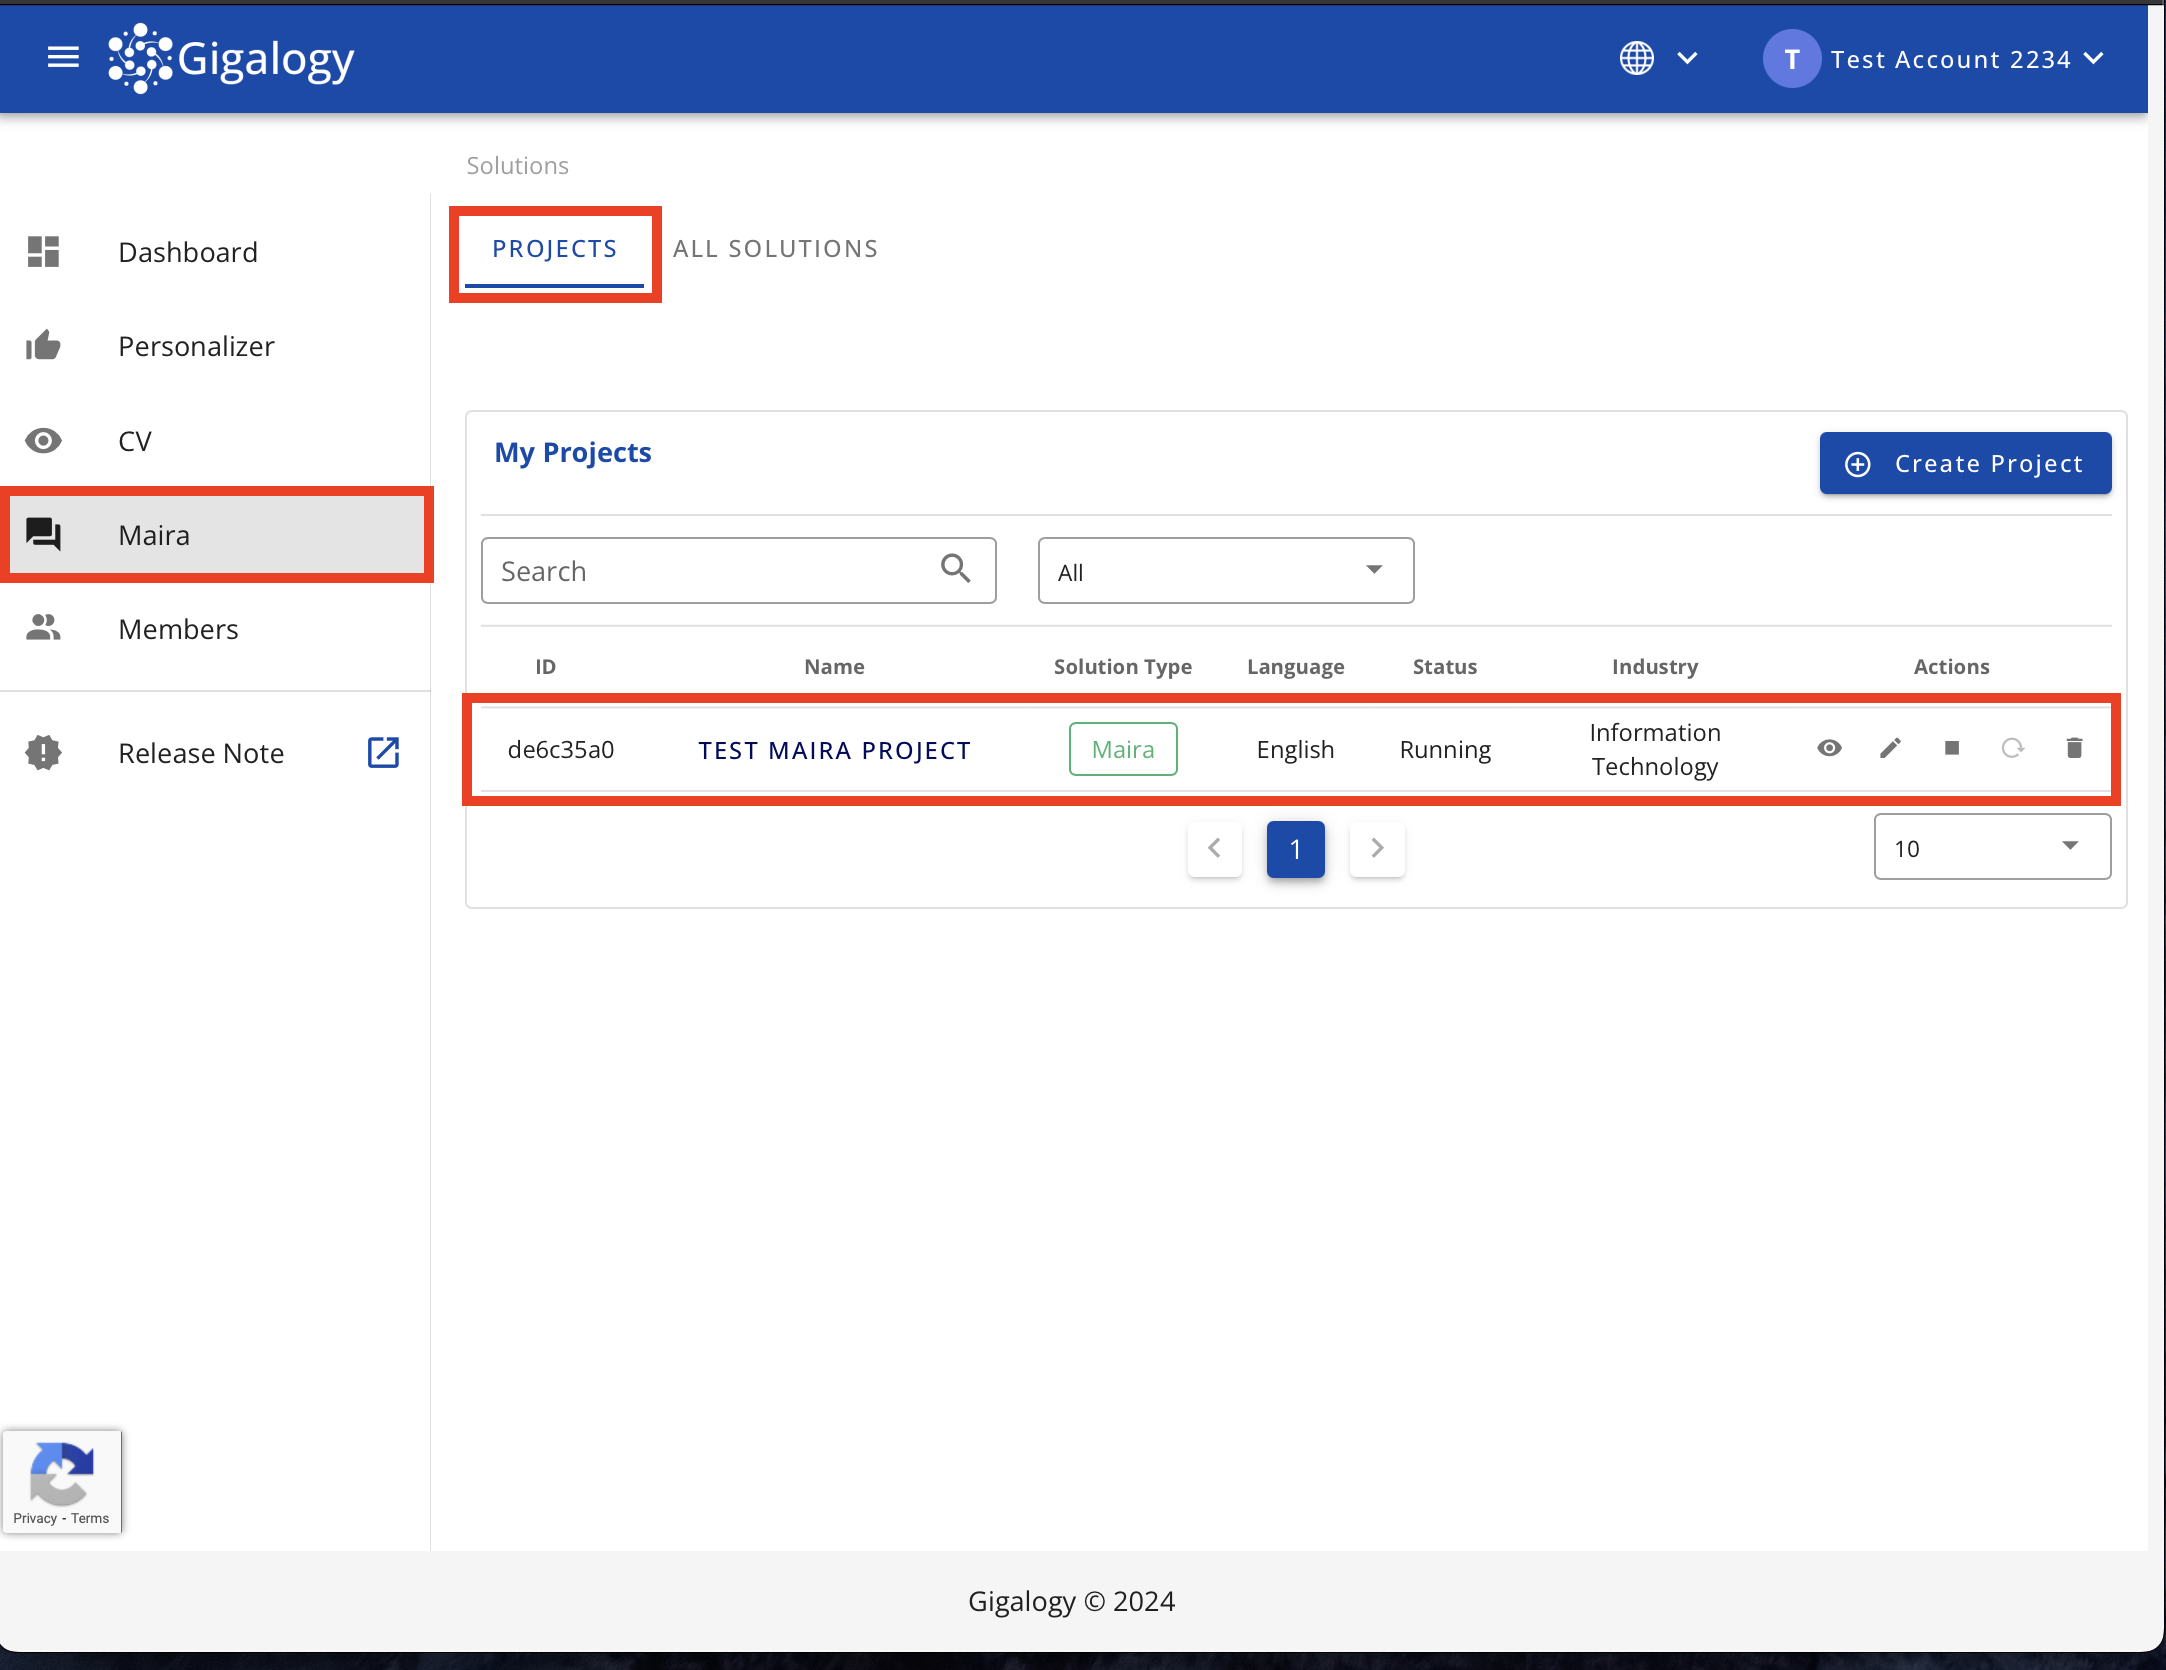
Now when you click on Personalizer in the next Navigation bar, you will see the project is listed in the My Projects table.

Maira
In the platform homepage (dashboard), on the left navigation bar,
GAIP's solutions are listed: Personalizer, CV, Maira.
Click on Maira
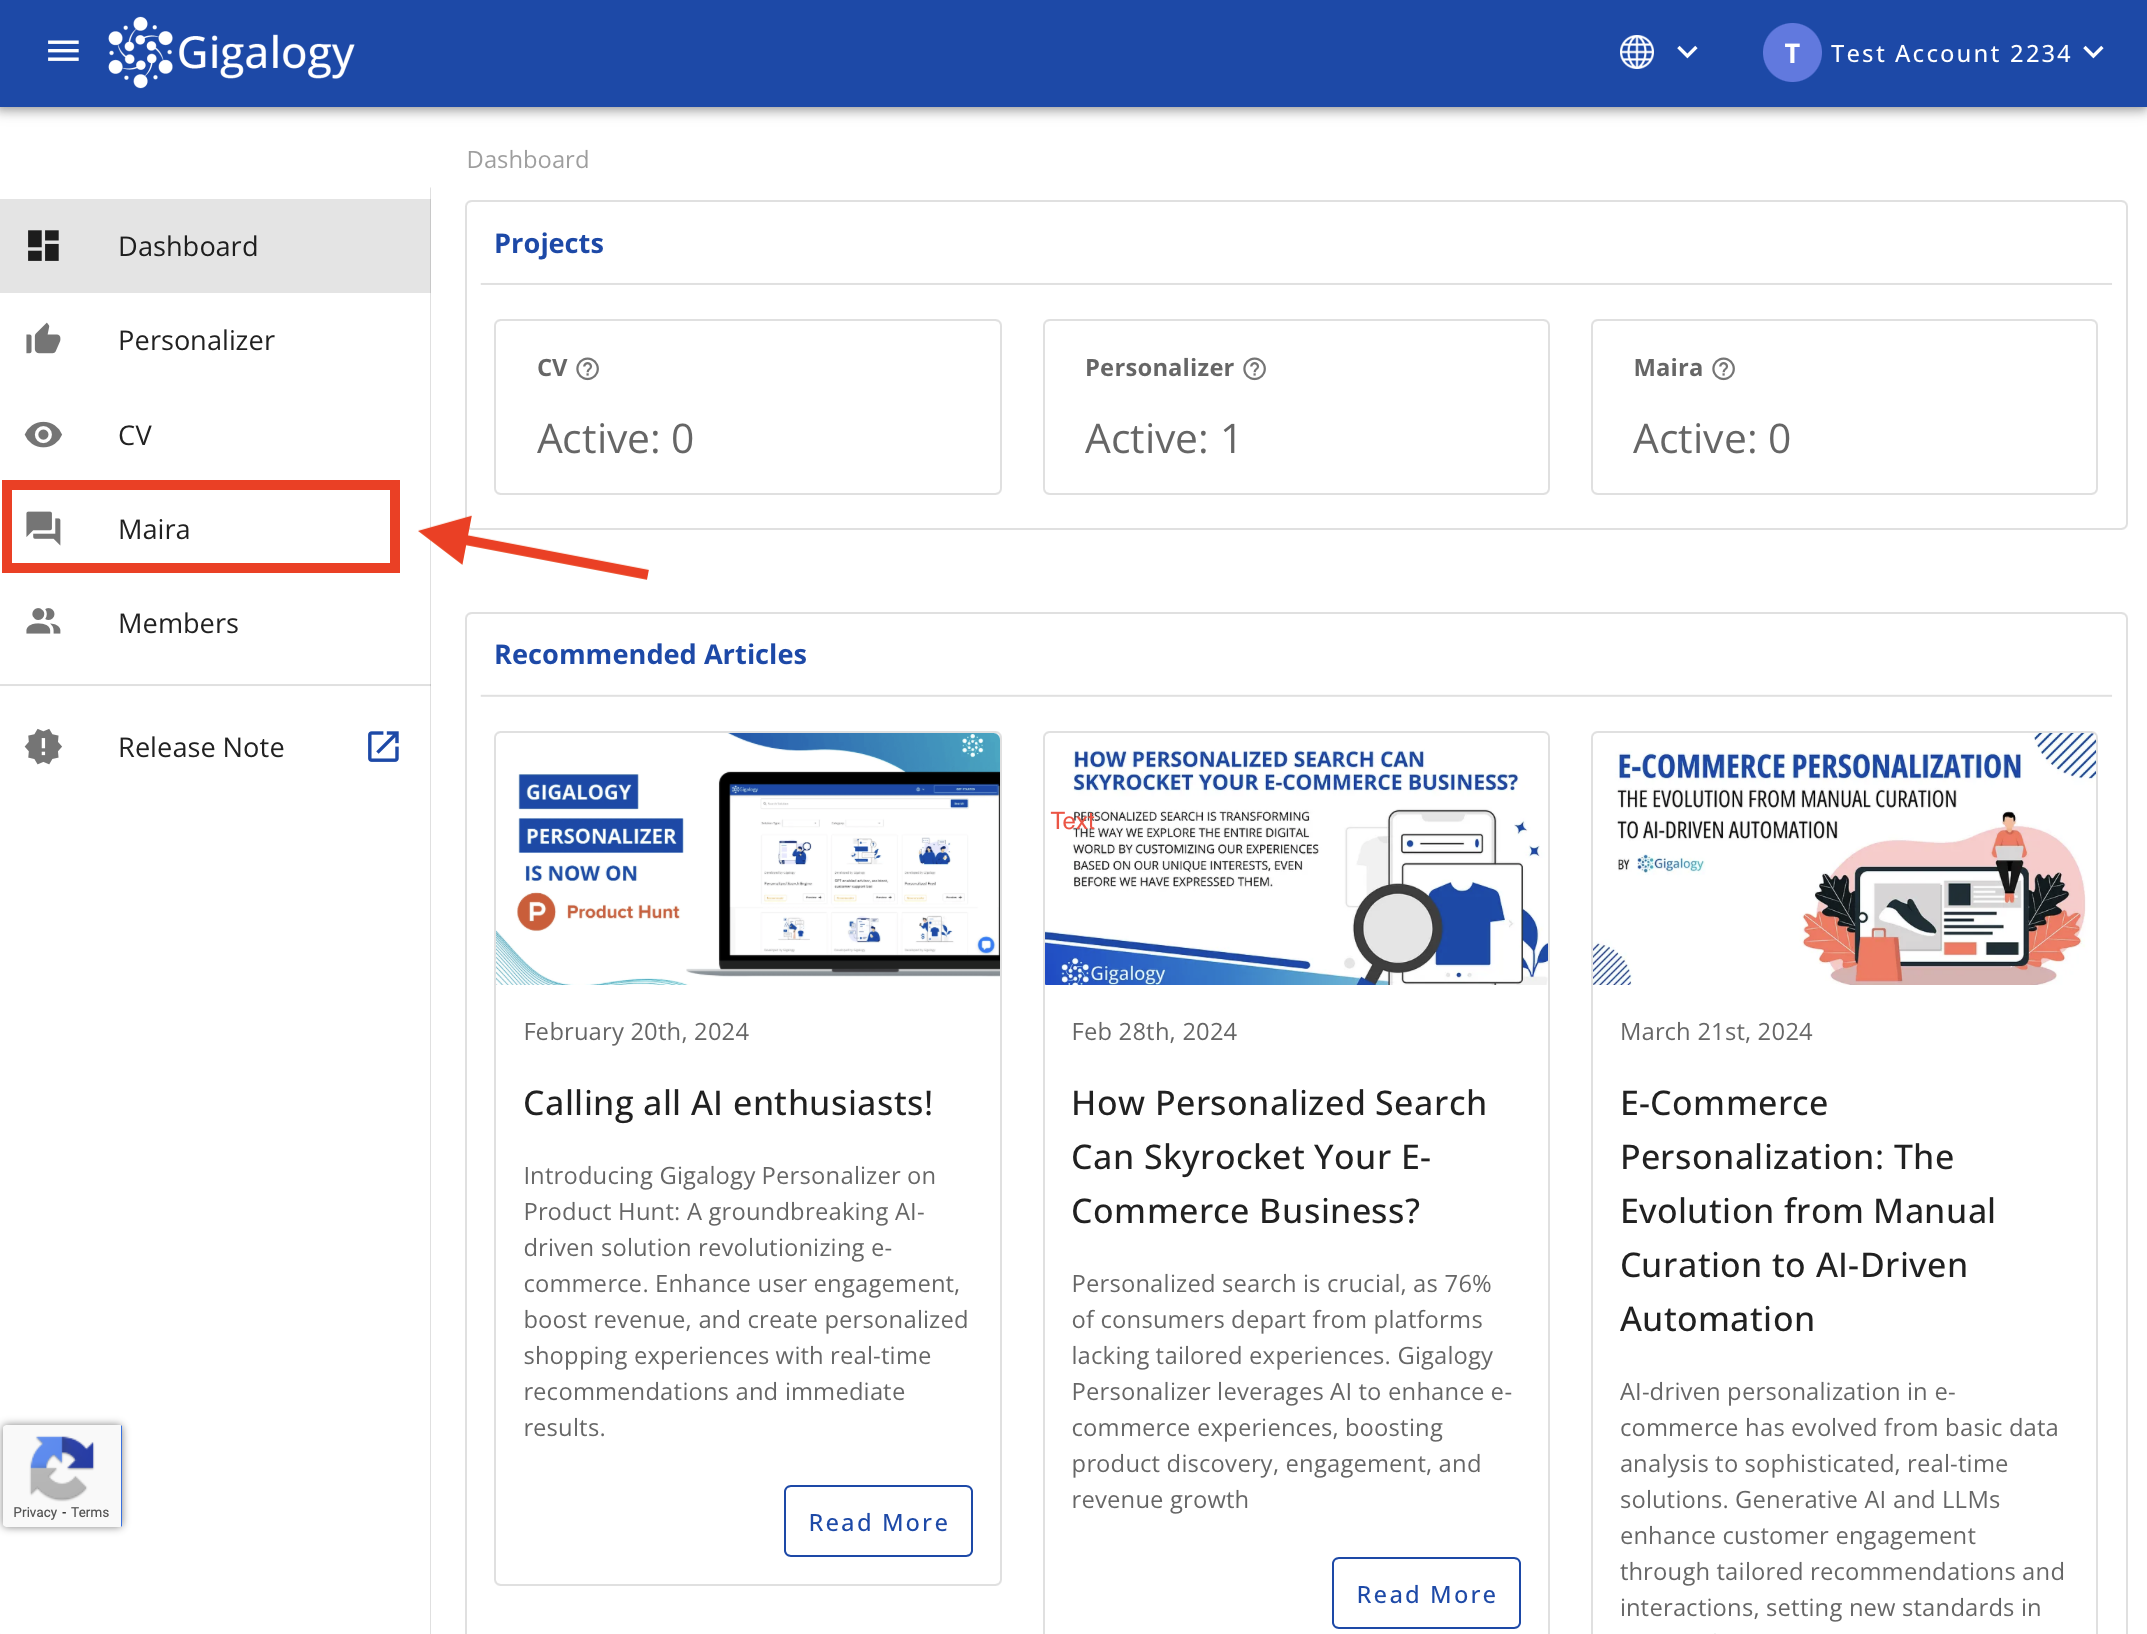
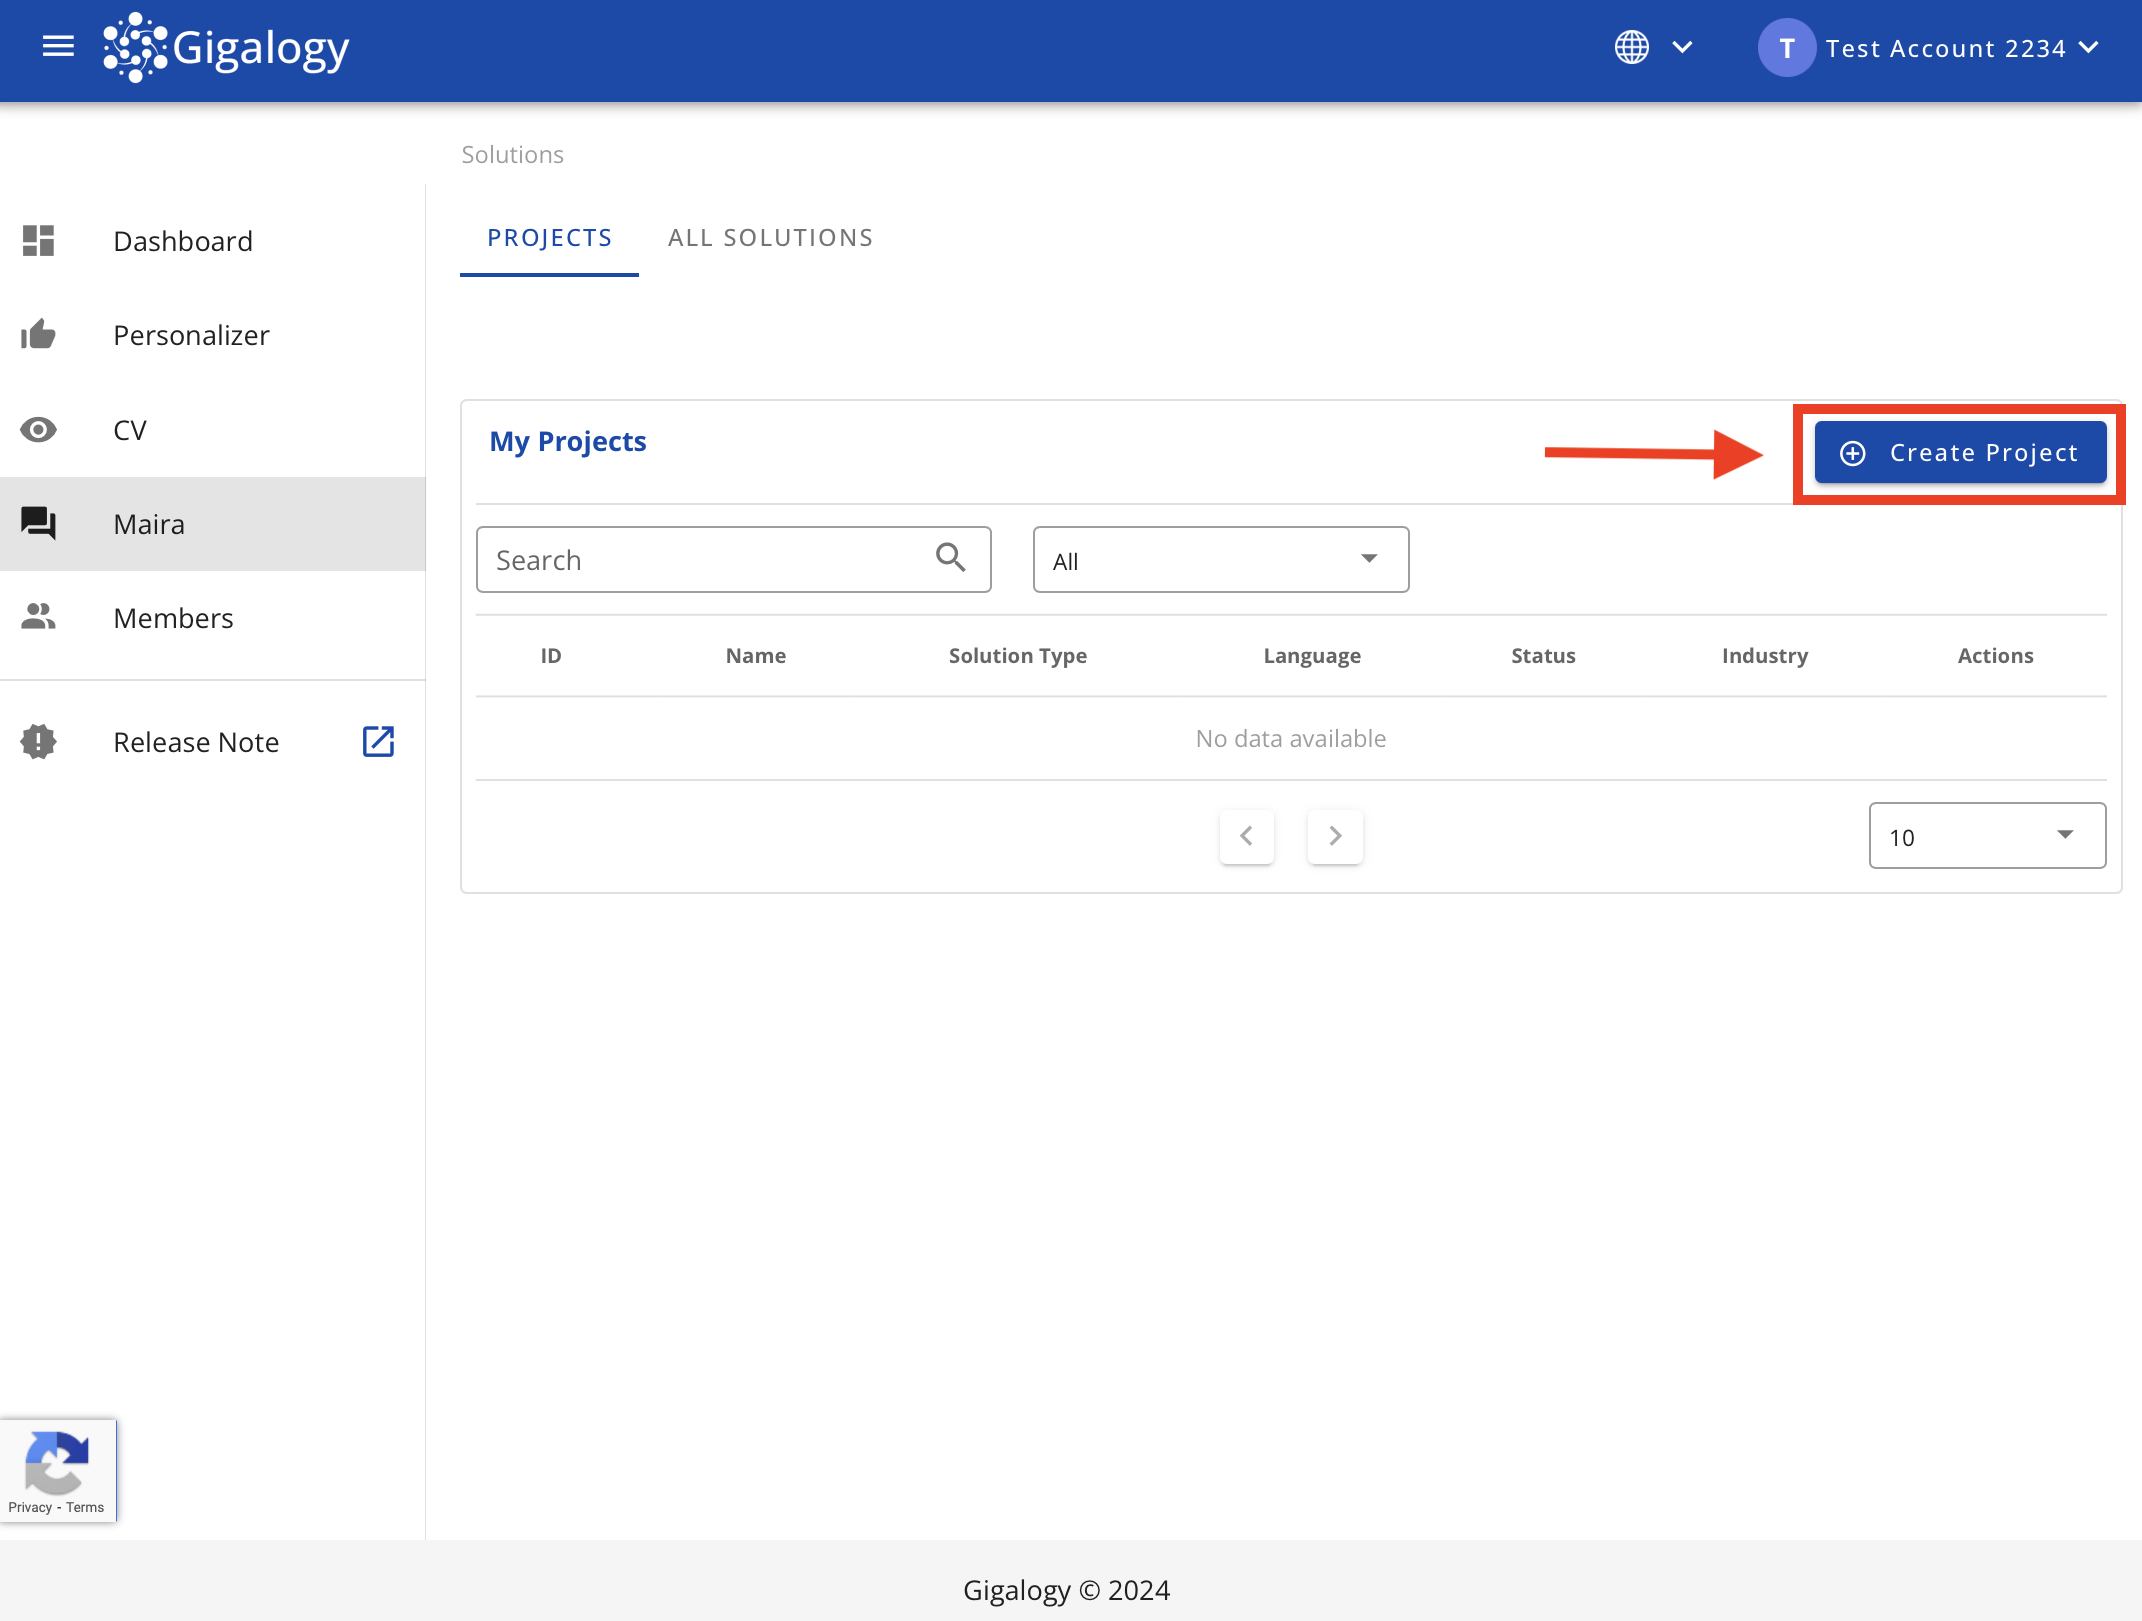
Next, click the button Create Project to start creating a new project.
In the next screen, you will be asked to fill in some details about your new project.
- Project name: Can be anything, recommended to use something easier to track later.
- Language: Can be
EnglishorJapanese, based on the content of your data. - Industry: Select the industry your project is intended for.
- Purpose of the GPT: Fill in the purpose of this GPT. Such as (Internal knowledge sharing or customer support assistant etc.)
- Randomness: Determines whether the answer generation is based solely on the provided data or can also include general data.
- Enabled solutions: Select the solutions you want to use.
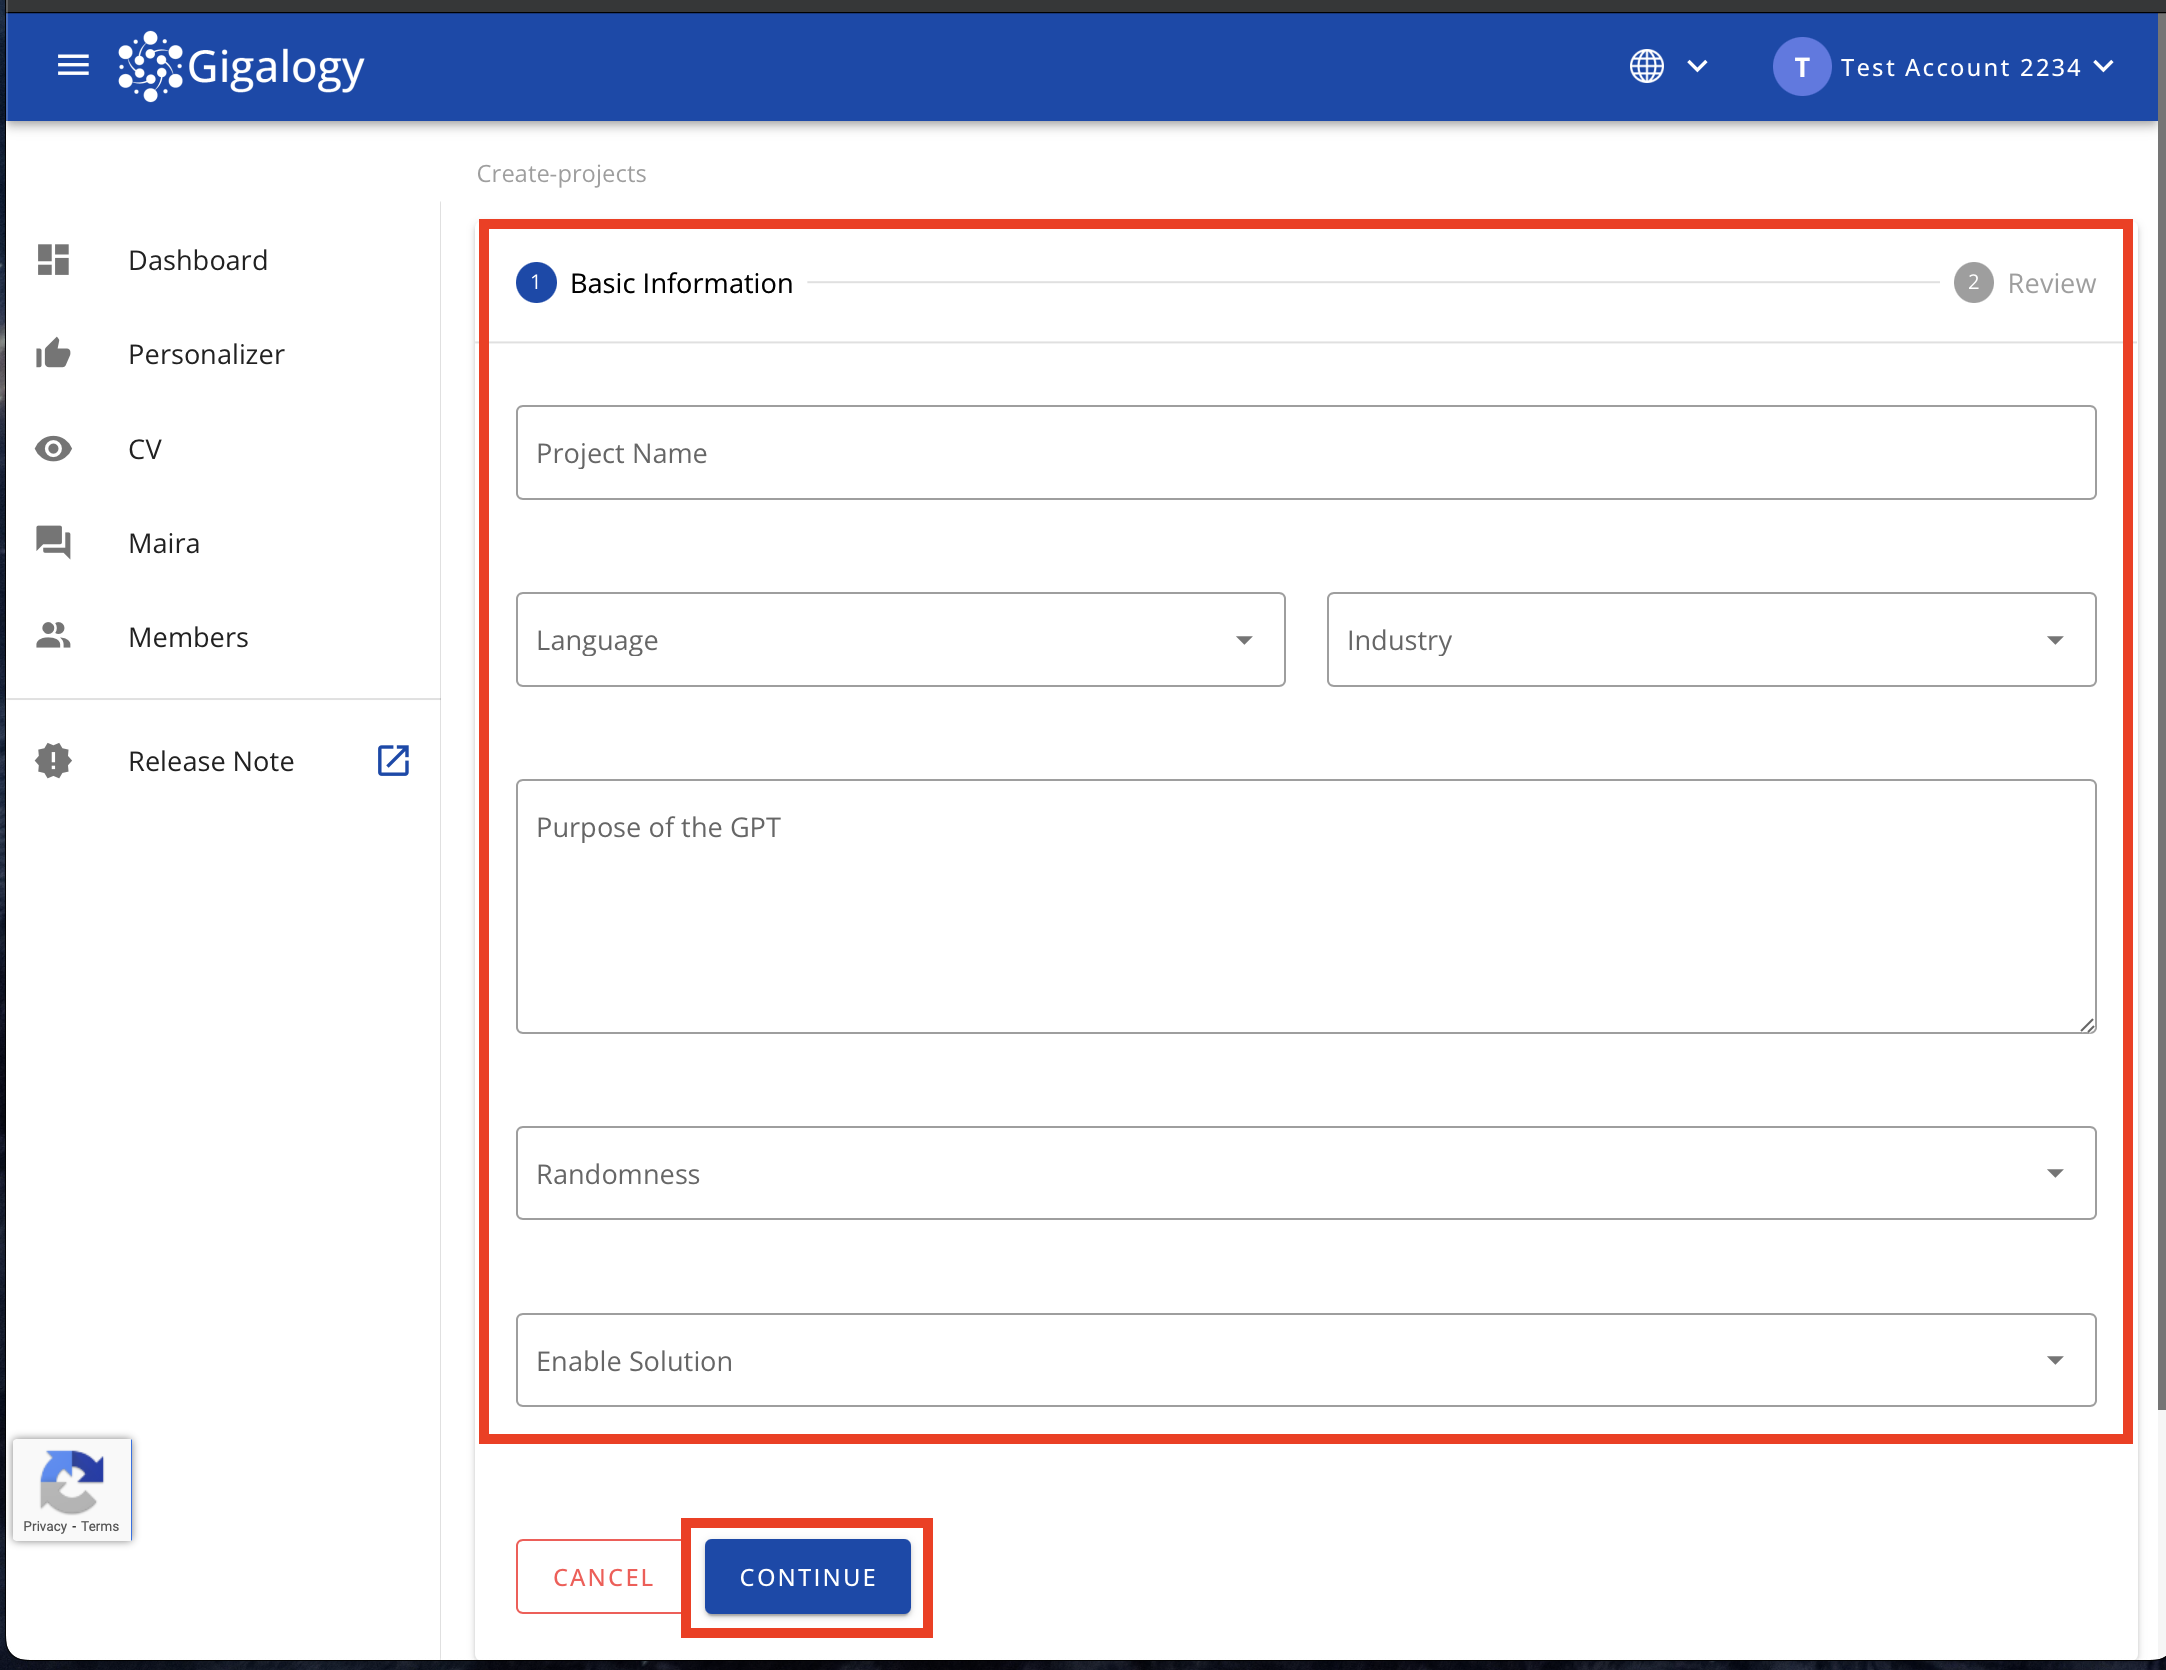
After filling up the details, click Continue
Finally, on the confirmation page, check and click Save to complete project creation.
Now when you click on Maira in the left Navigation bar, you will see the project is listed in the My Projects table.
