Maira User Management
Maira platform has three types of members:
- Owner
- Admin
- User
Owner
- Has read and write permissions
- Has access to all projects by default
- Can perform all platform actions:
- Creating, updating, and deleting projects
- Generating credentials
- Inviting other members
Admin
- Has read and write permissions
- Does NOT have access to all projects by default
- Has access to projects that are:
- Created by themselves
- Explicitly added to by an Owner
- Can perform all platform actions on accessible projects:
- Creating, updating, and deleting projects
- Generating credentials
- Inviting other members
User
- Has read-only permissions
- Only has access to projects they are explicitly added to
- Cannot create new projects or invite members
Guest
There is another type of user, called "Guest", who only has access to Maira playground, to specified projects and profiles. This is discussed in a seperate Tutorial.
A detailed user role permissions matrix can be found at the bottom of this tutorial, for Maira Console.
Adding New Members to an account
To add new members to your Maira account, an Admin member needs to send an invitation, and the invited member needs to accept the invitation. Let's go through the steps below.
Sending Invitation
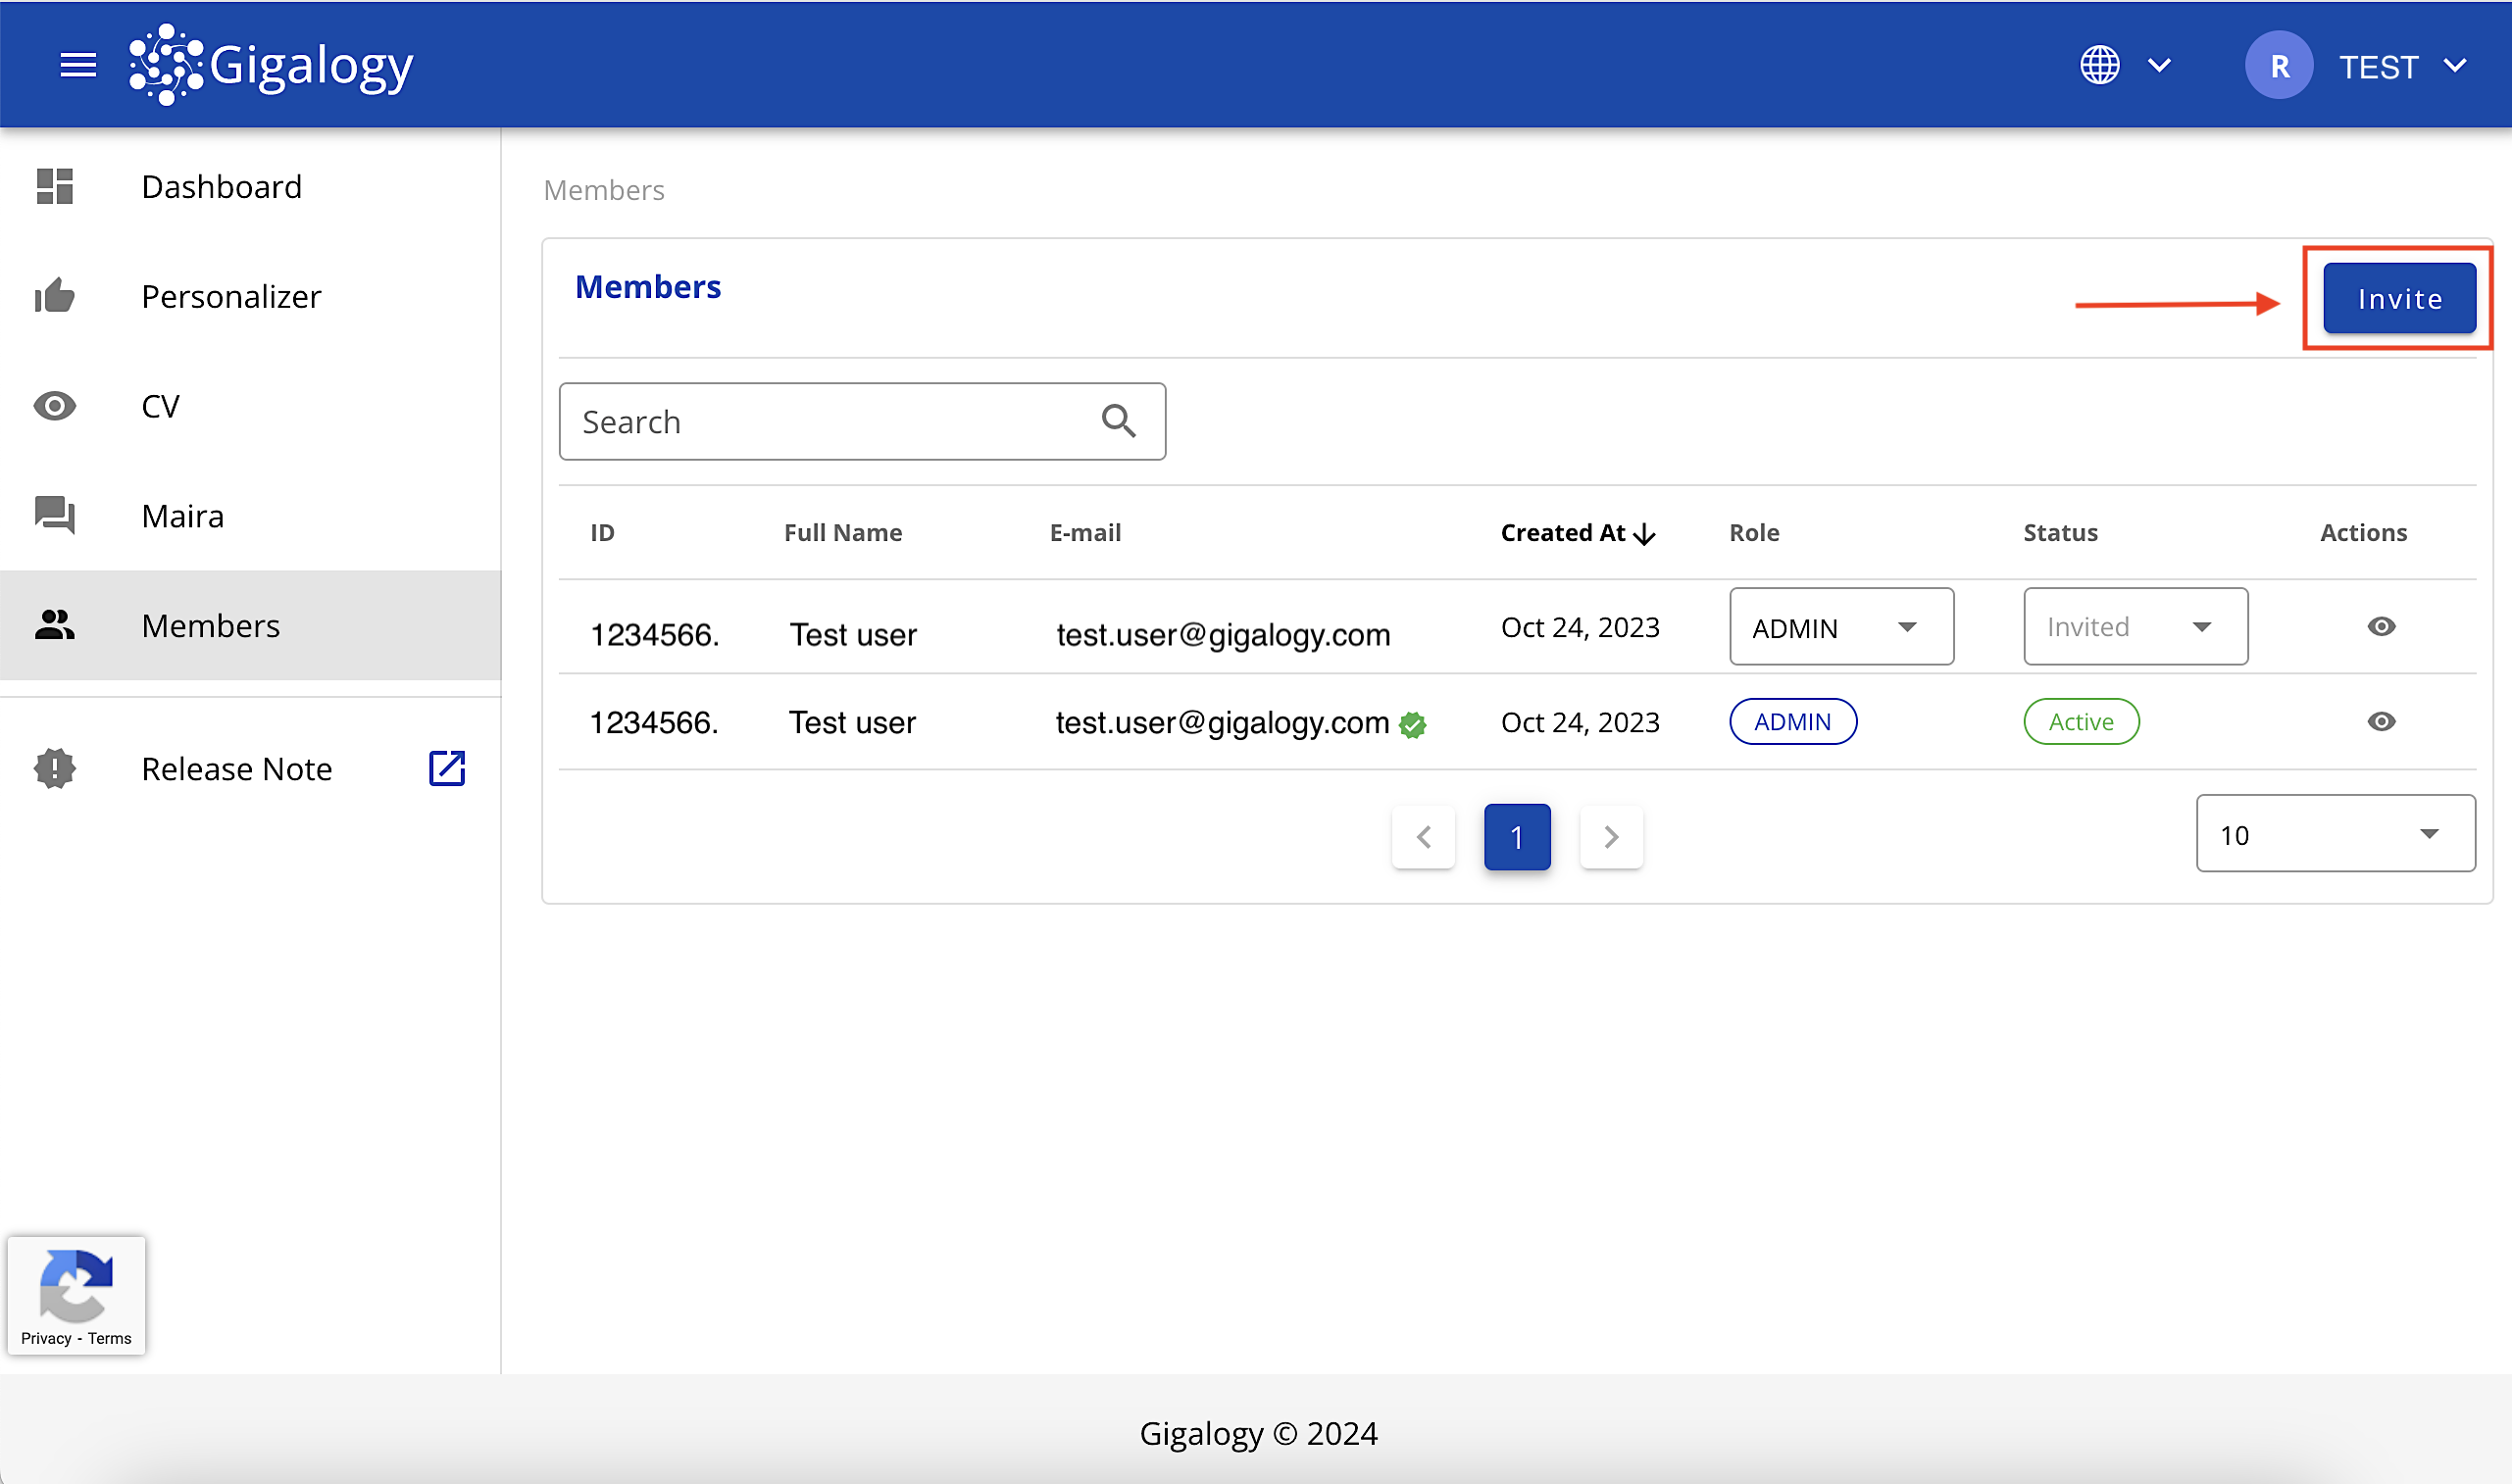
To invite a member, click on "Members" in the left navigation bar.
Here, you can see all the members of your account in the Members table.

Next, click on the "Invite" button in the top-right corner.
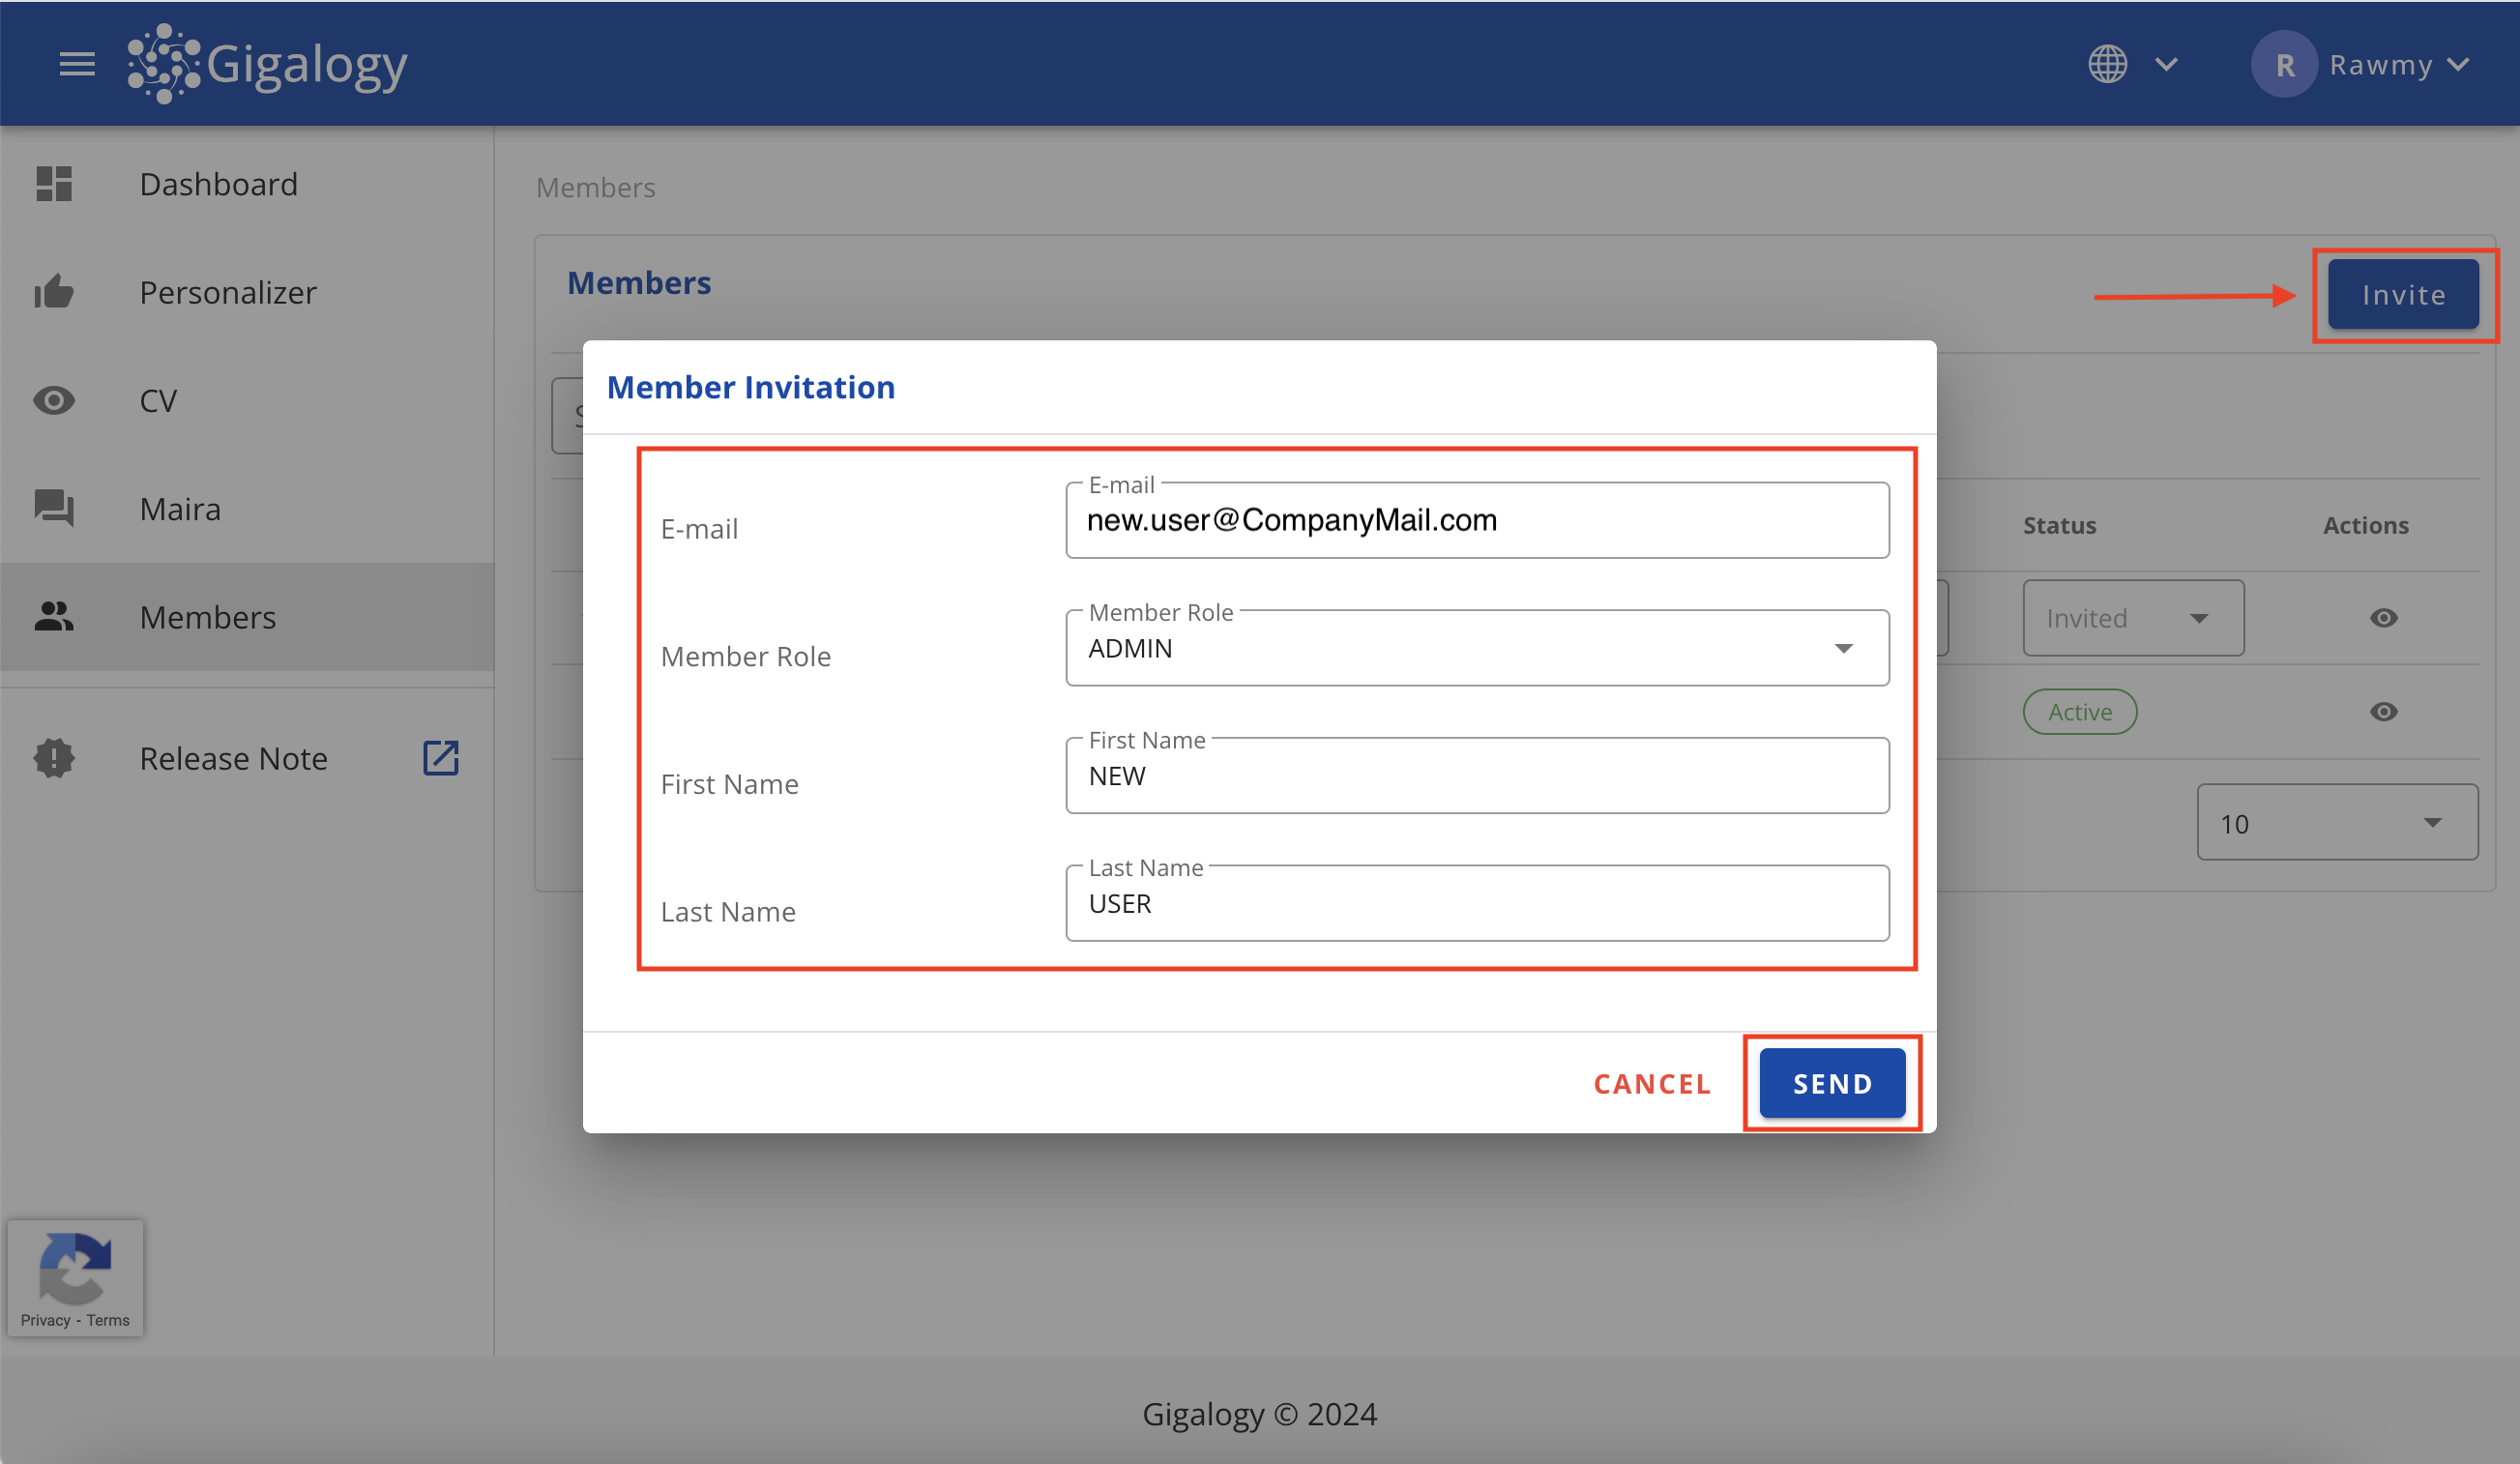
In the pop-up window, enter the member's Email address, Role, First name, and Last name.
Note: The invited member will receive the invitation at the provided email address.
Accepting Invitation
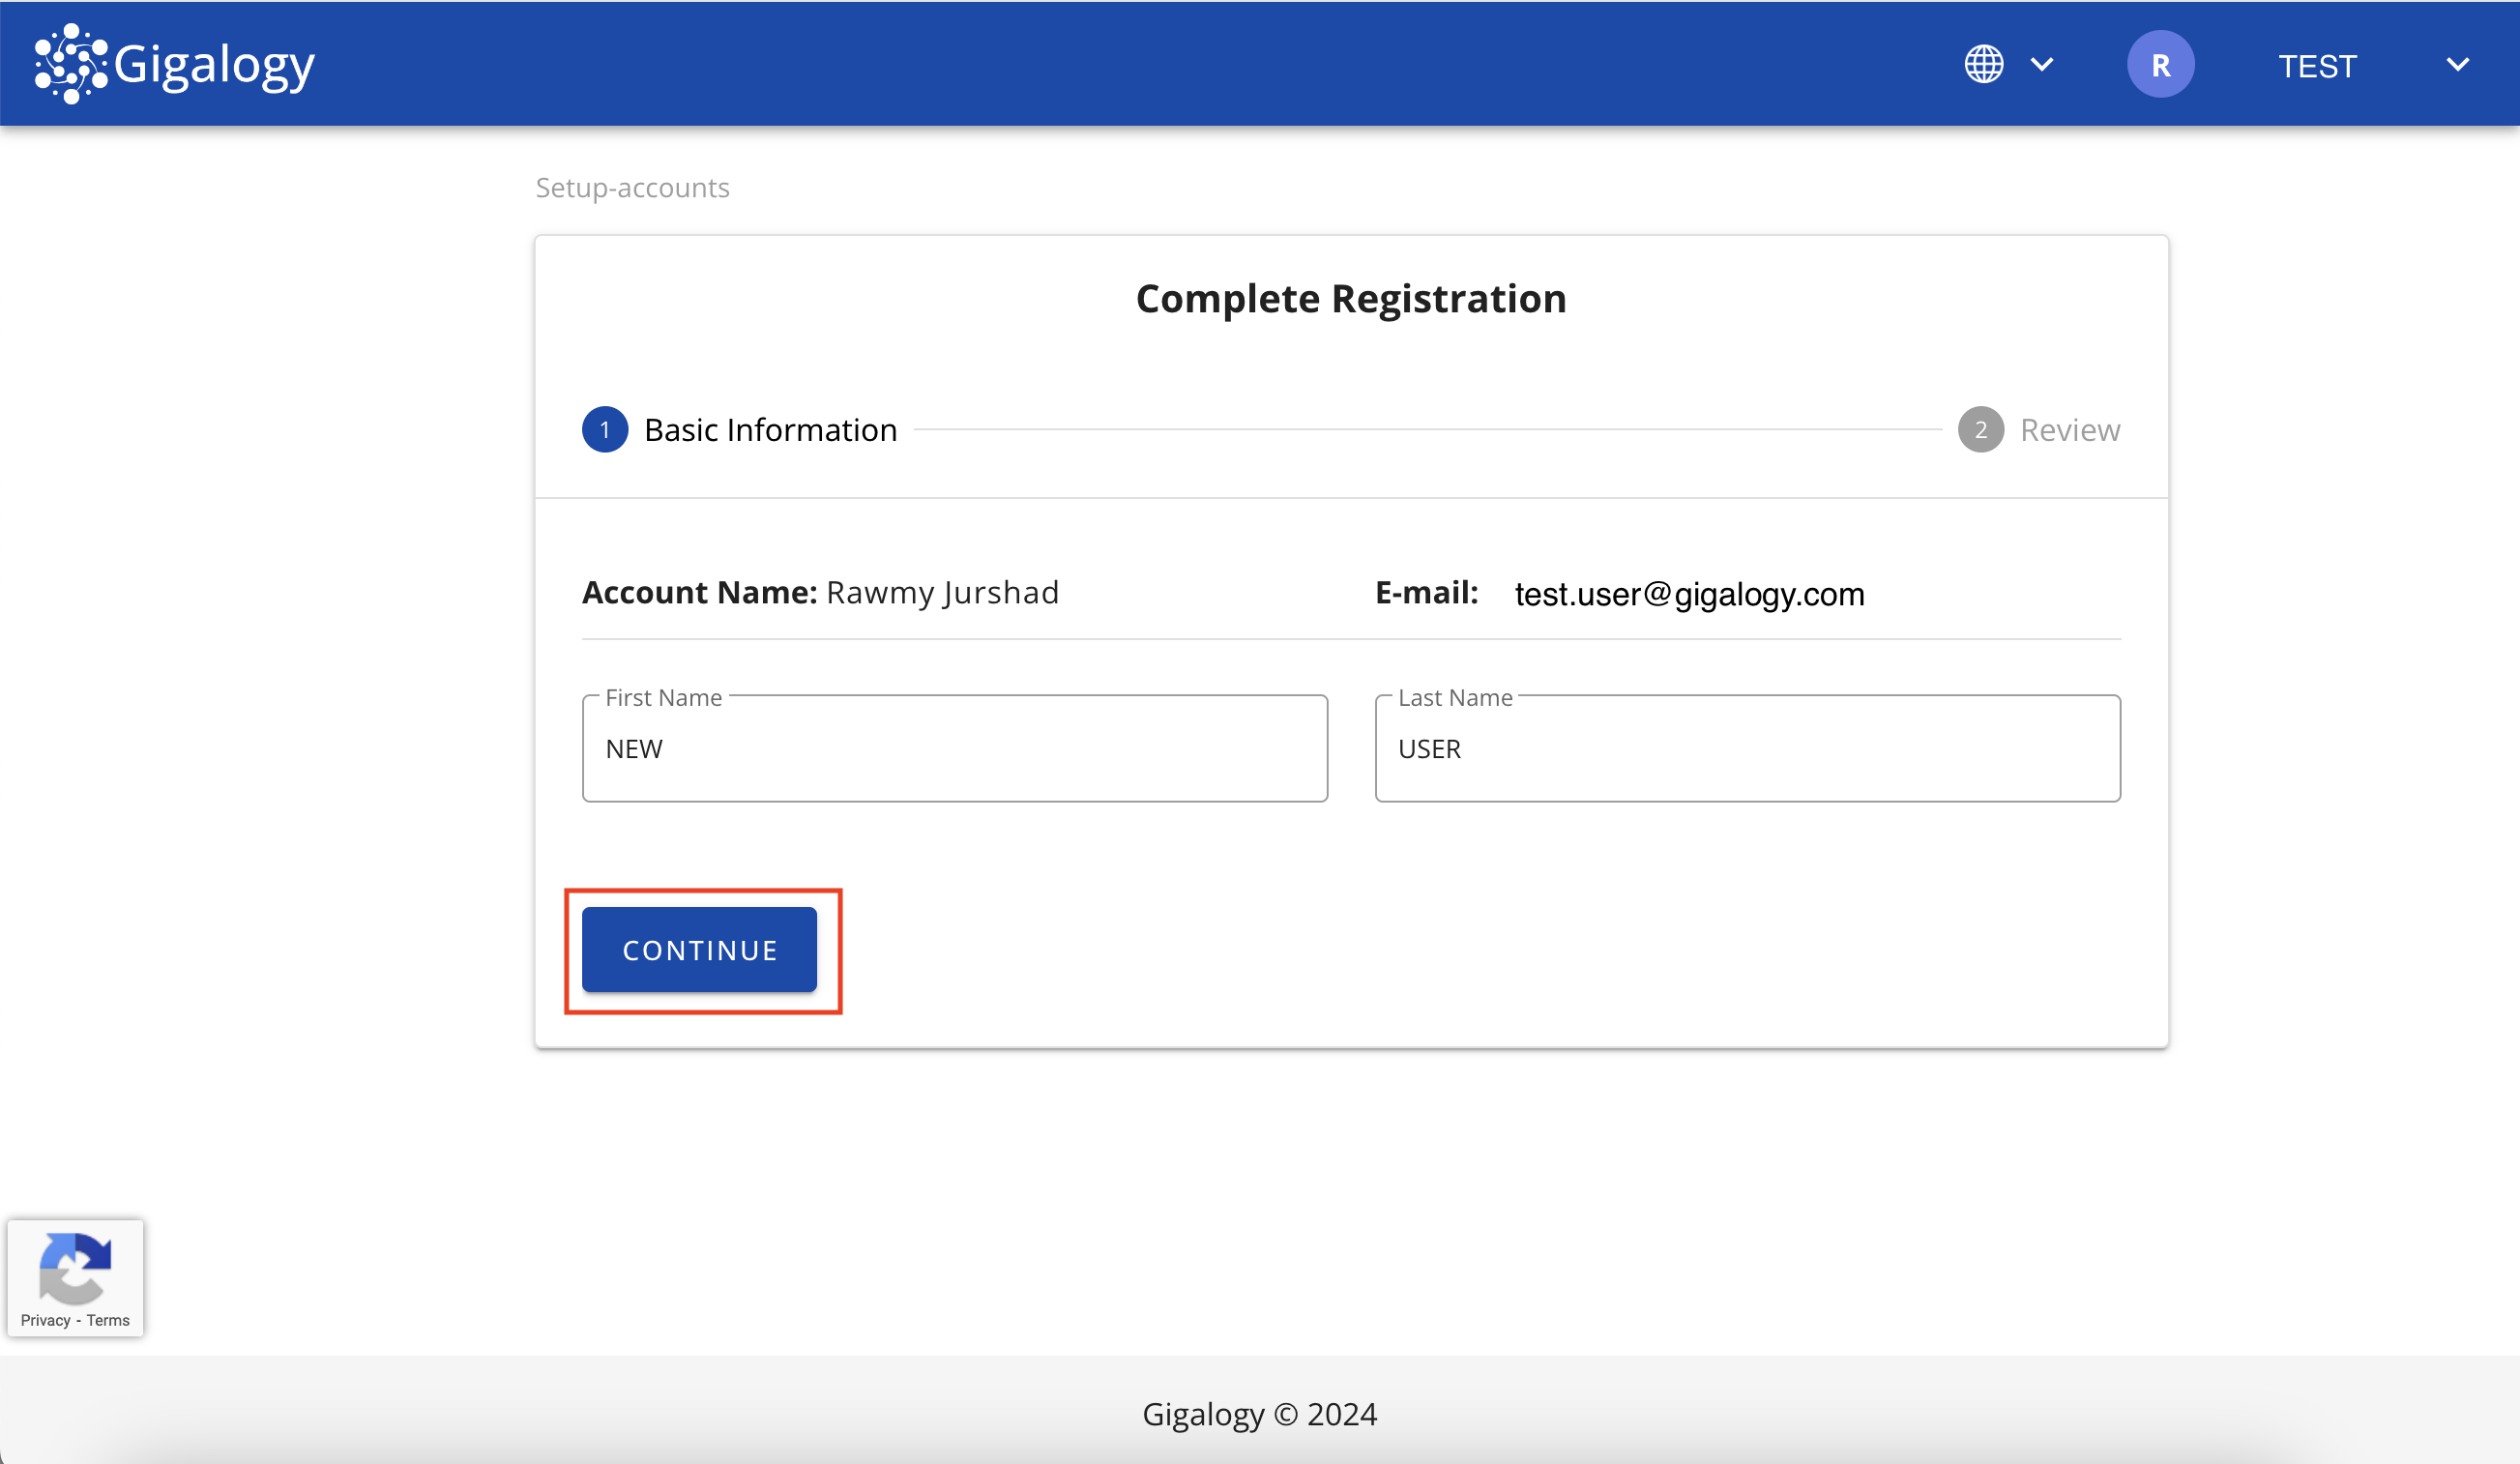
The invited member will receive an email with an activation link. They should click on the link to activate their account.
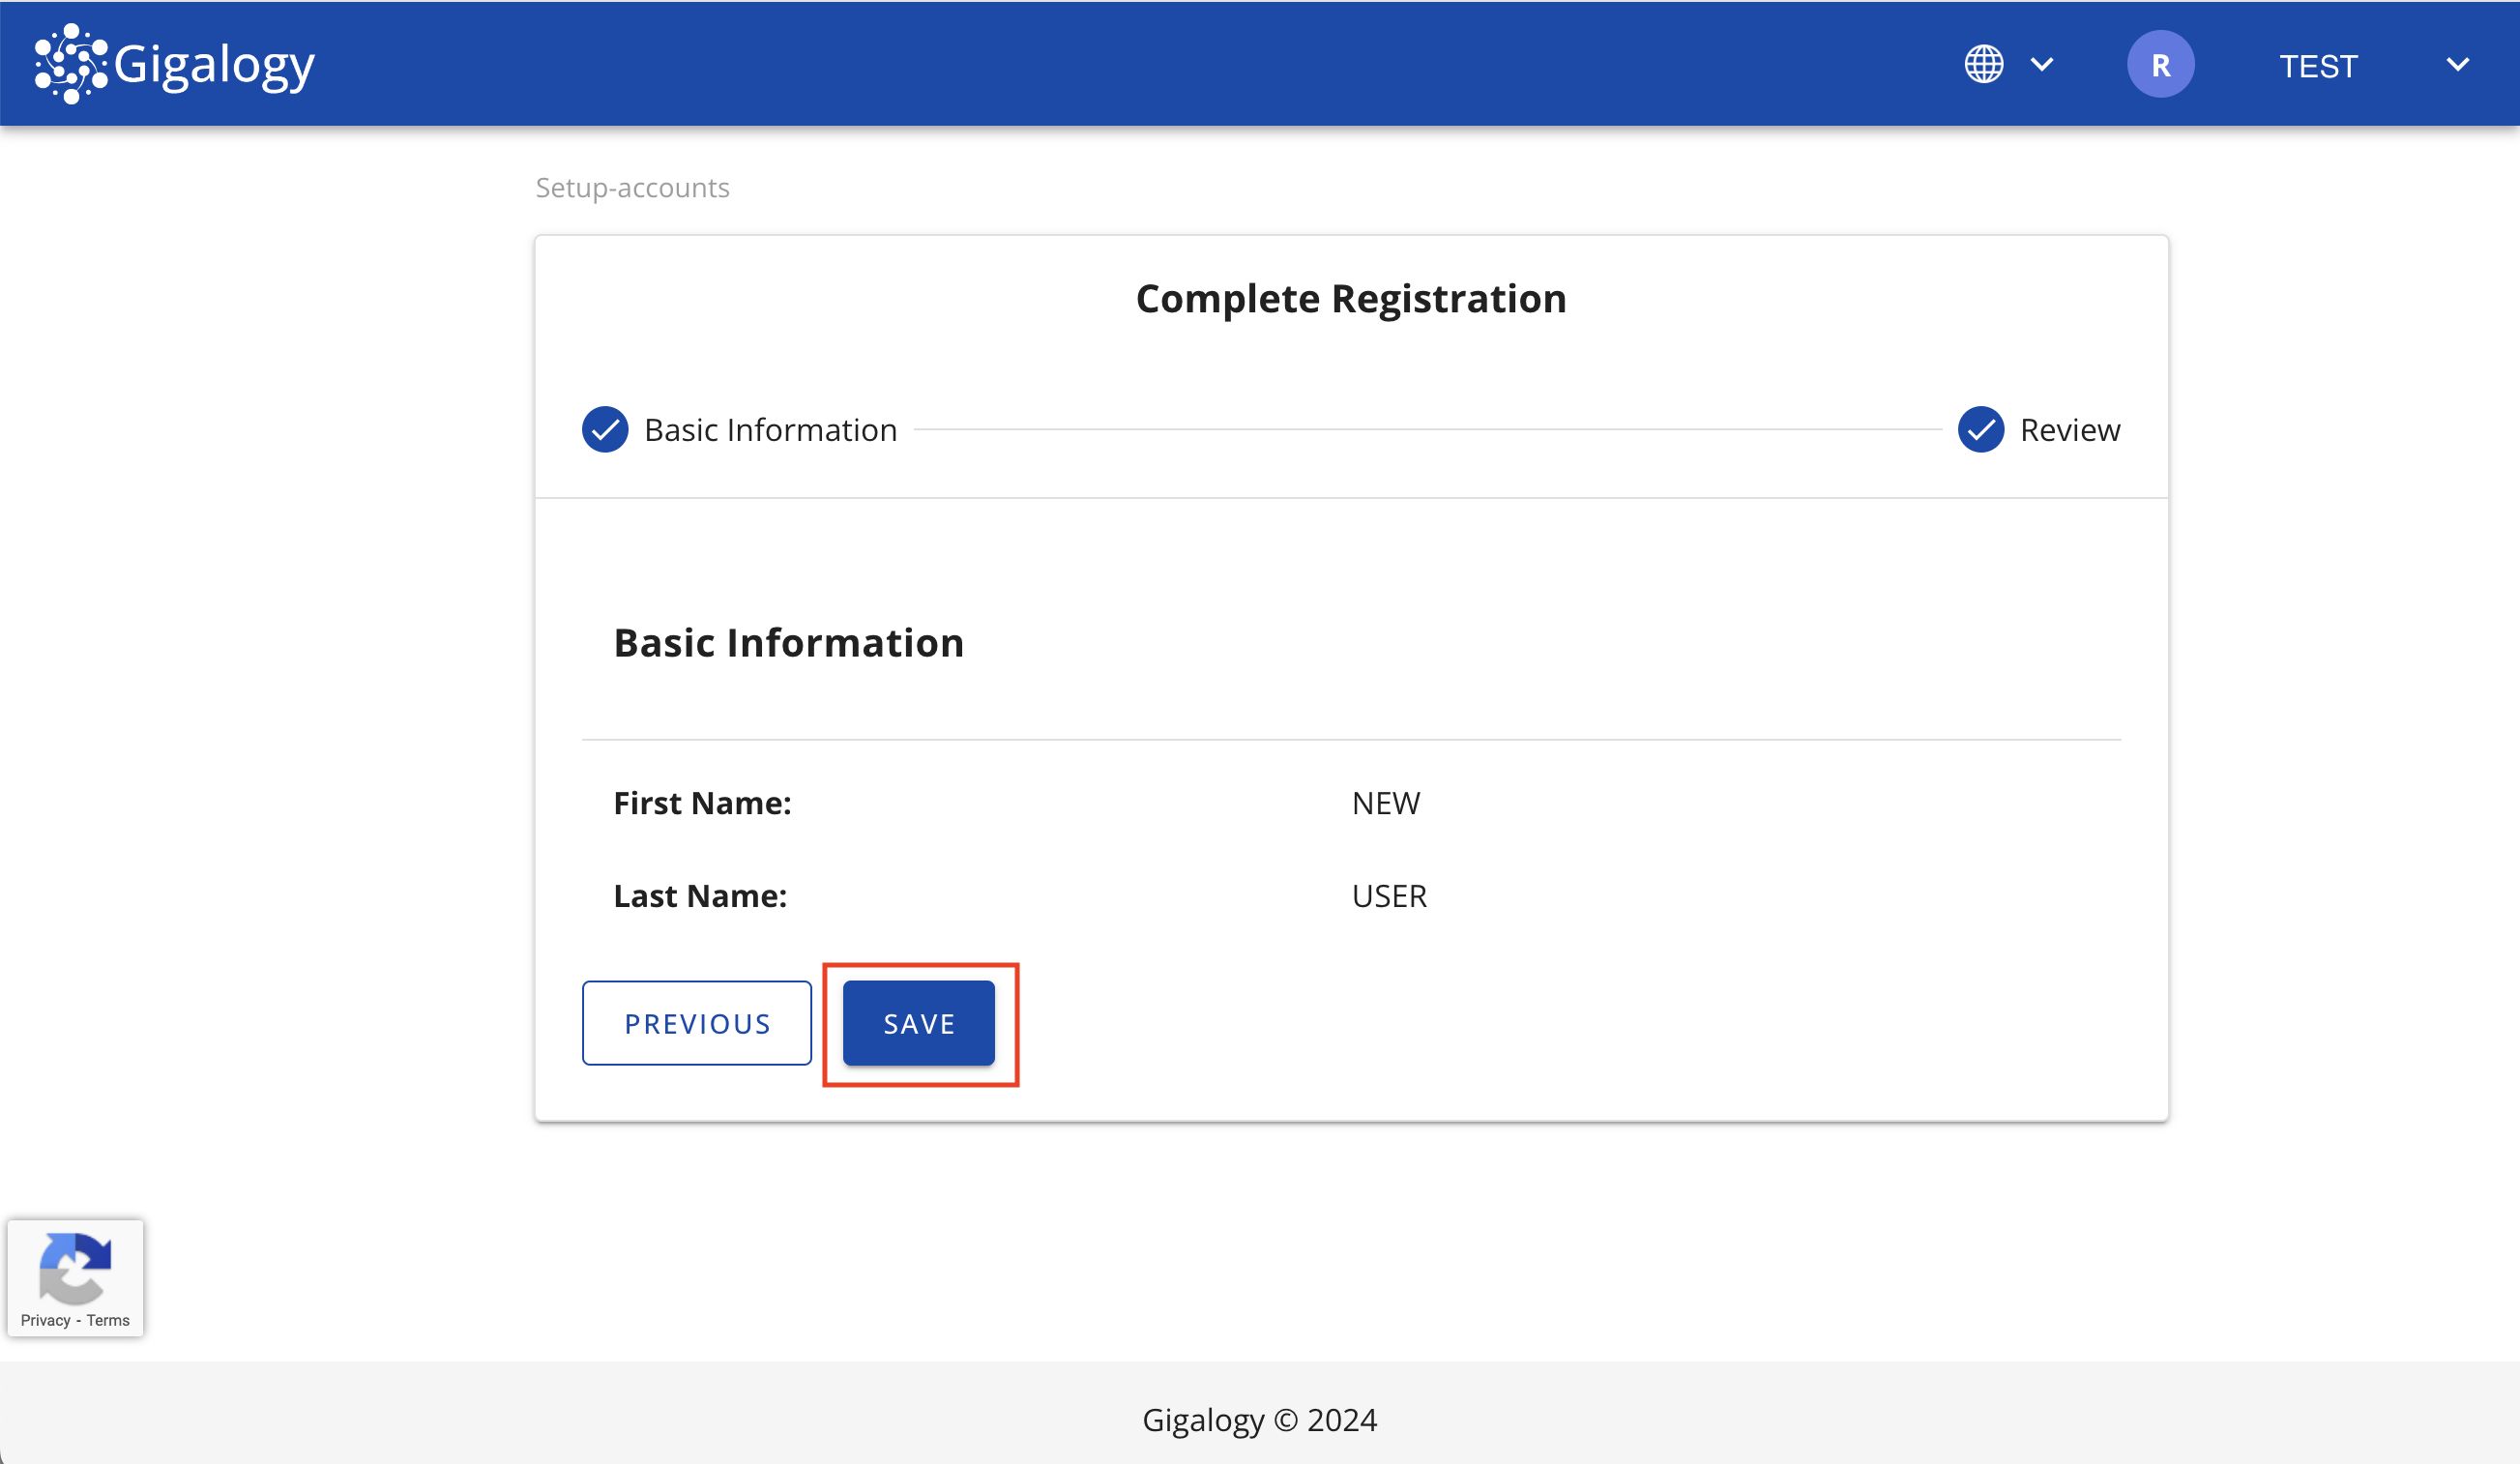
After clicking the link, they will be redirected to GAIP, where they will need to complete their account details.
Once the details are filled in, the account will be ready for use.
Adding New Members to a Project
To add a new member to your project, follow these steps:
Navigate to your Project
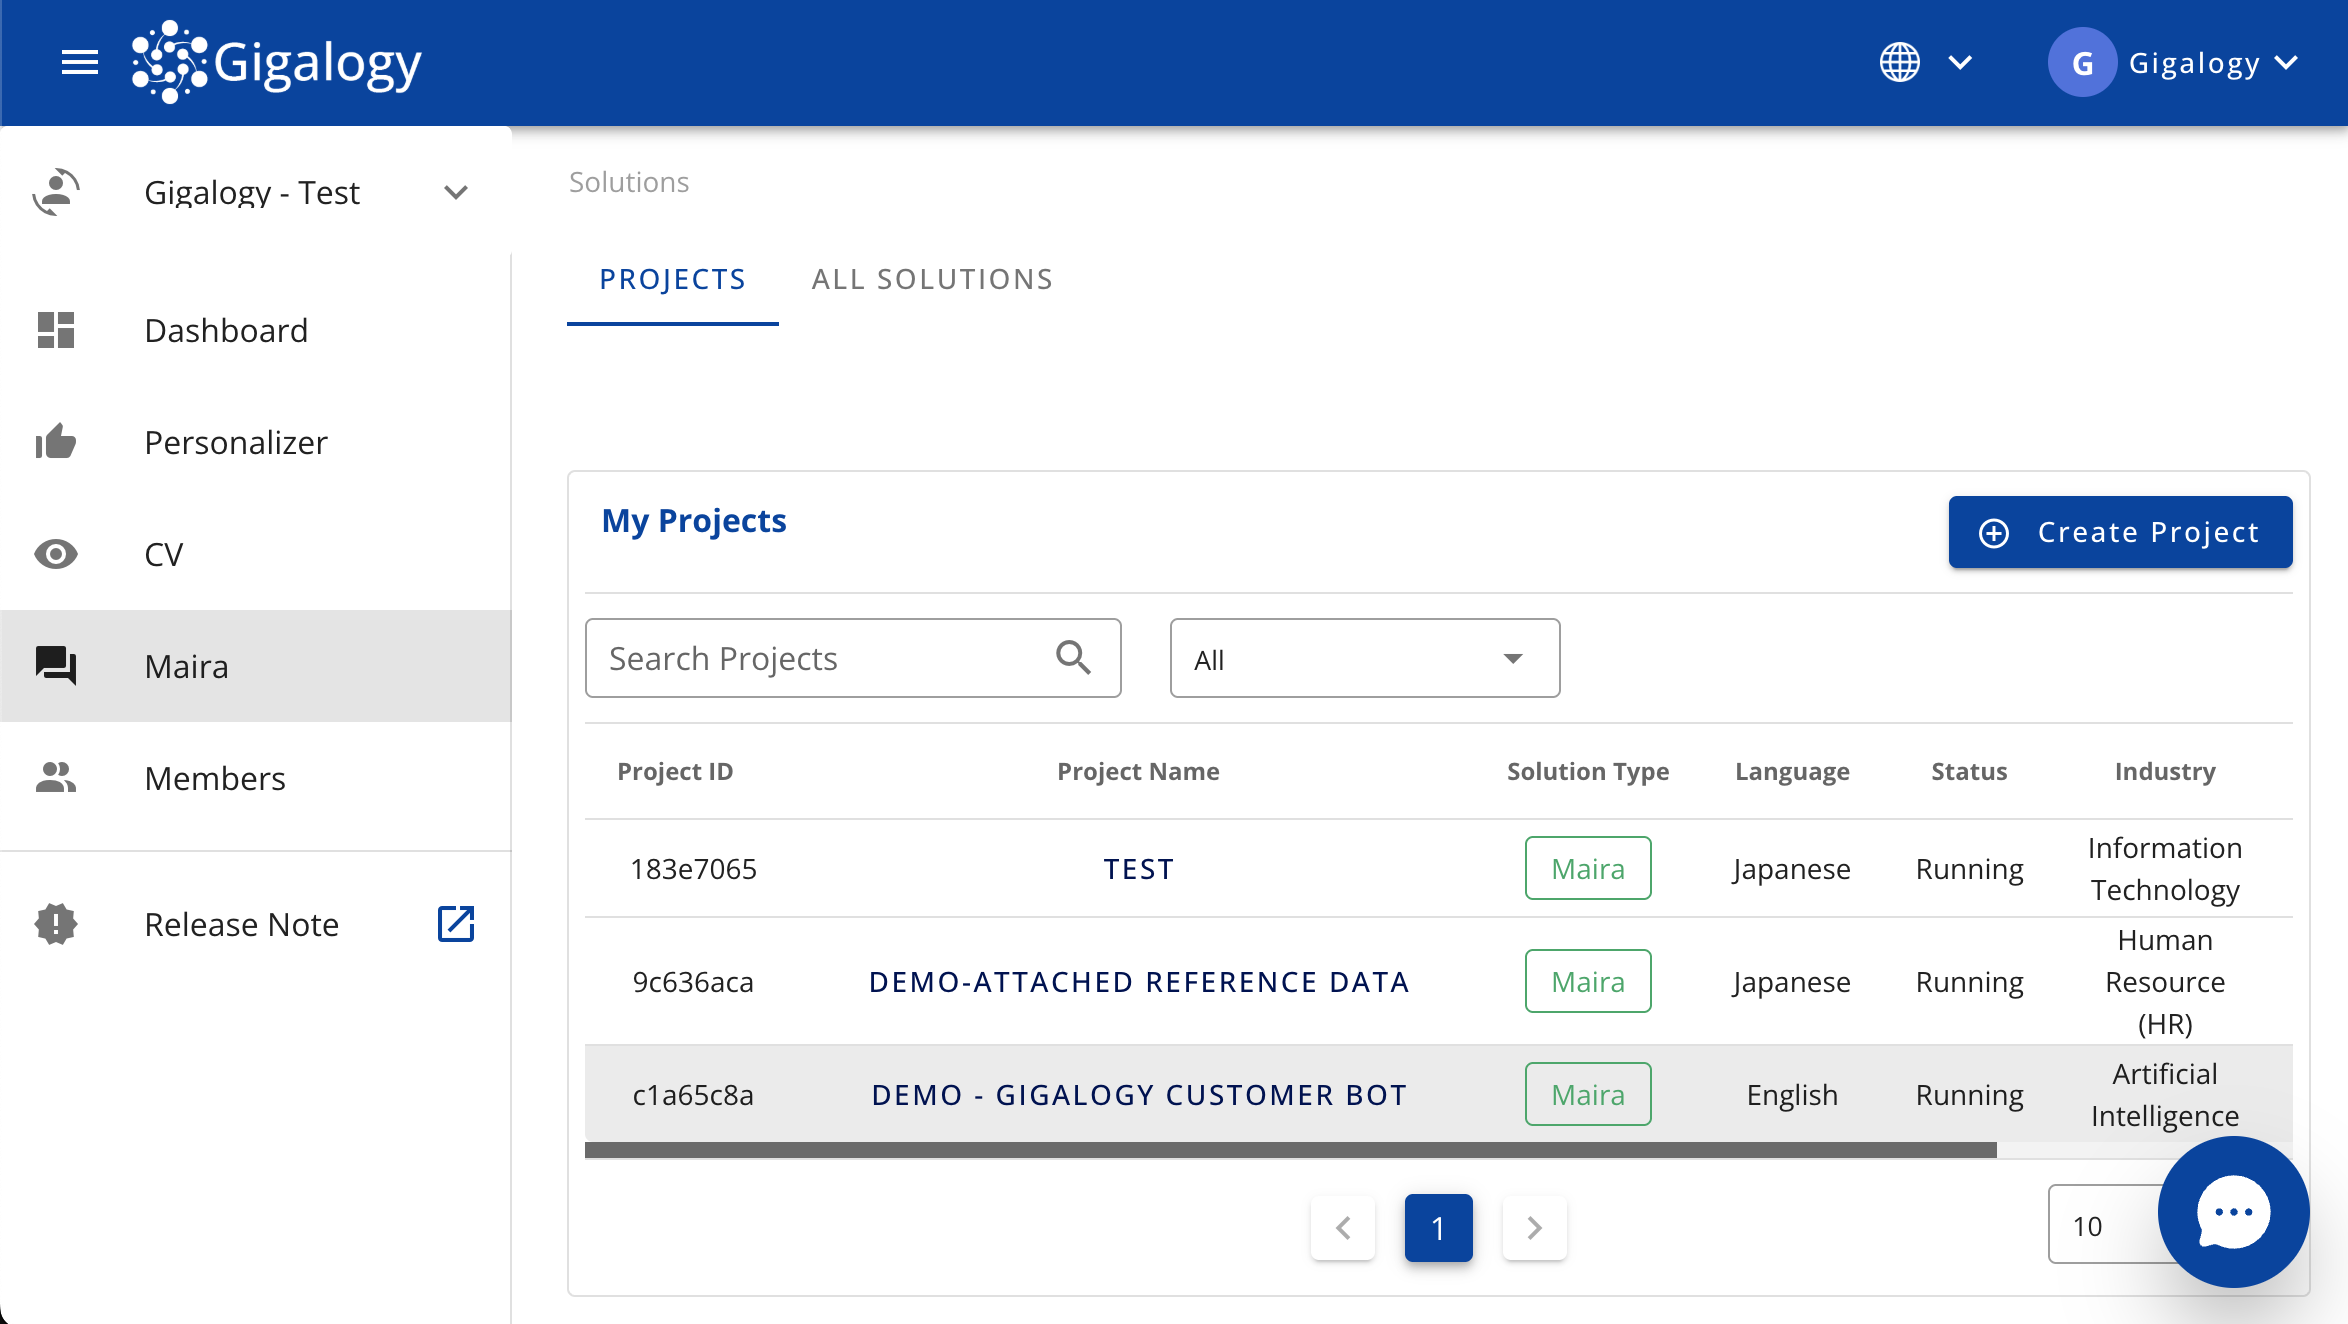
Go to the project's Access Tab
Scroll down to the Access Control section and Click the circular plus button (➕) to add a new member
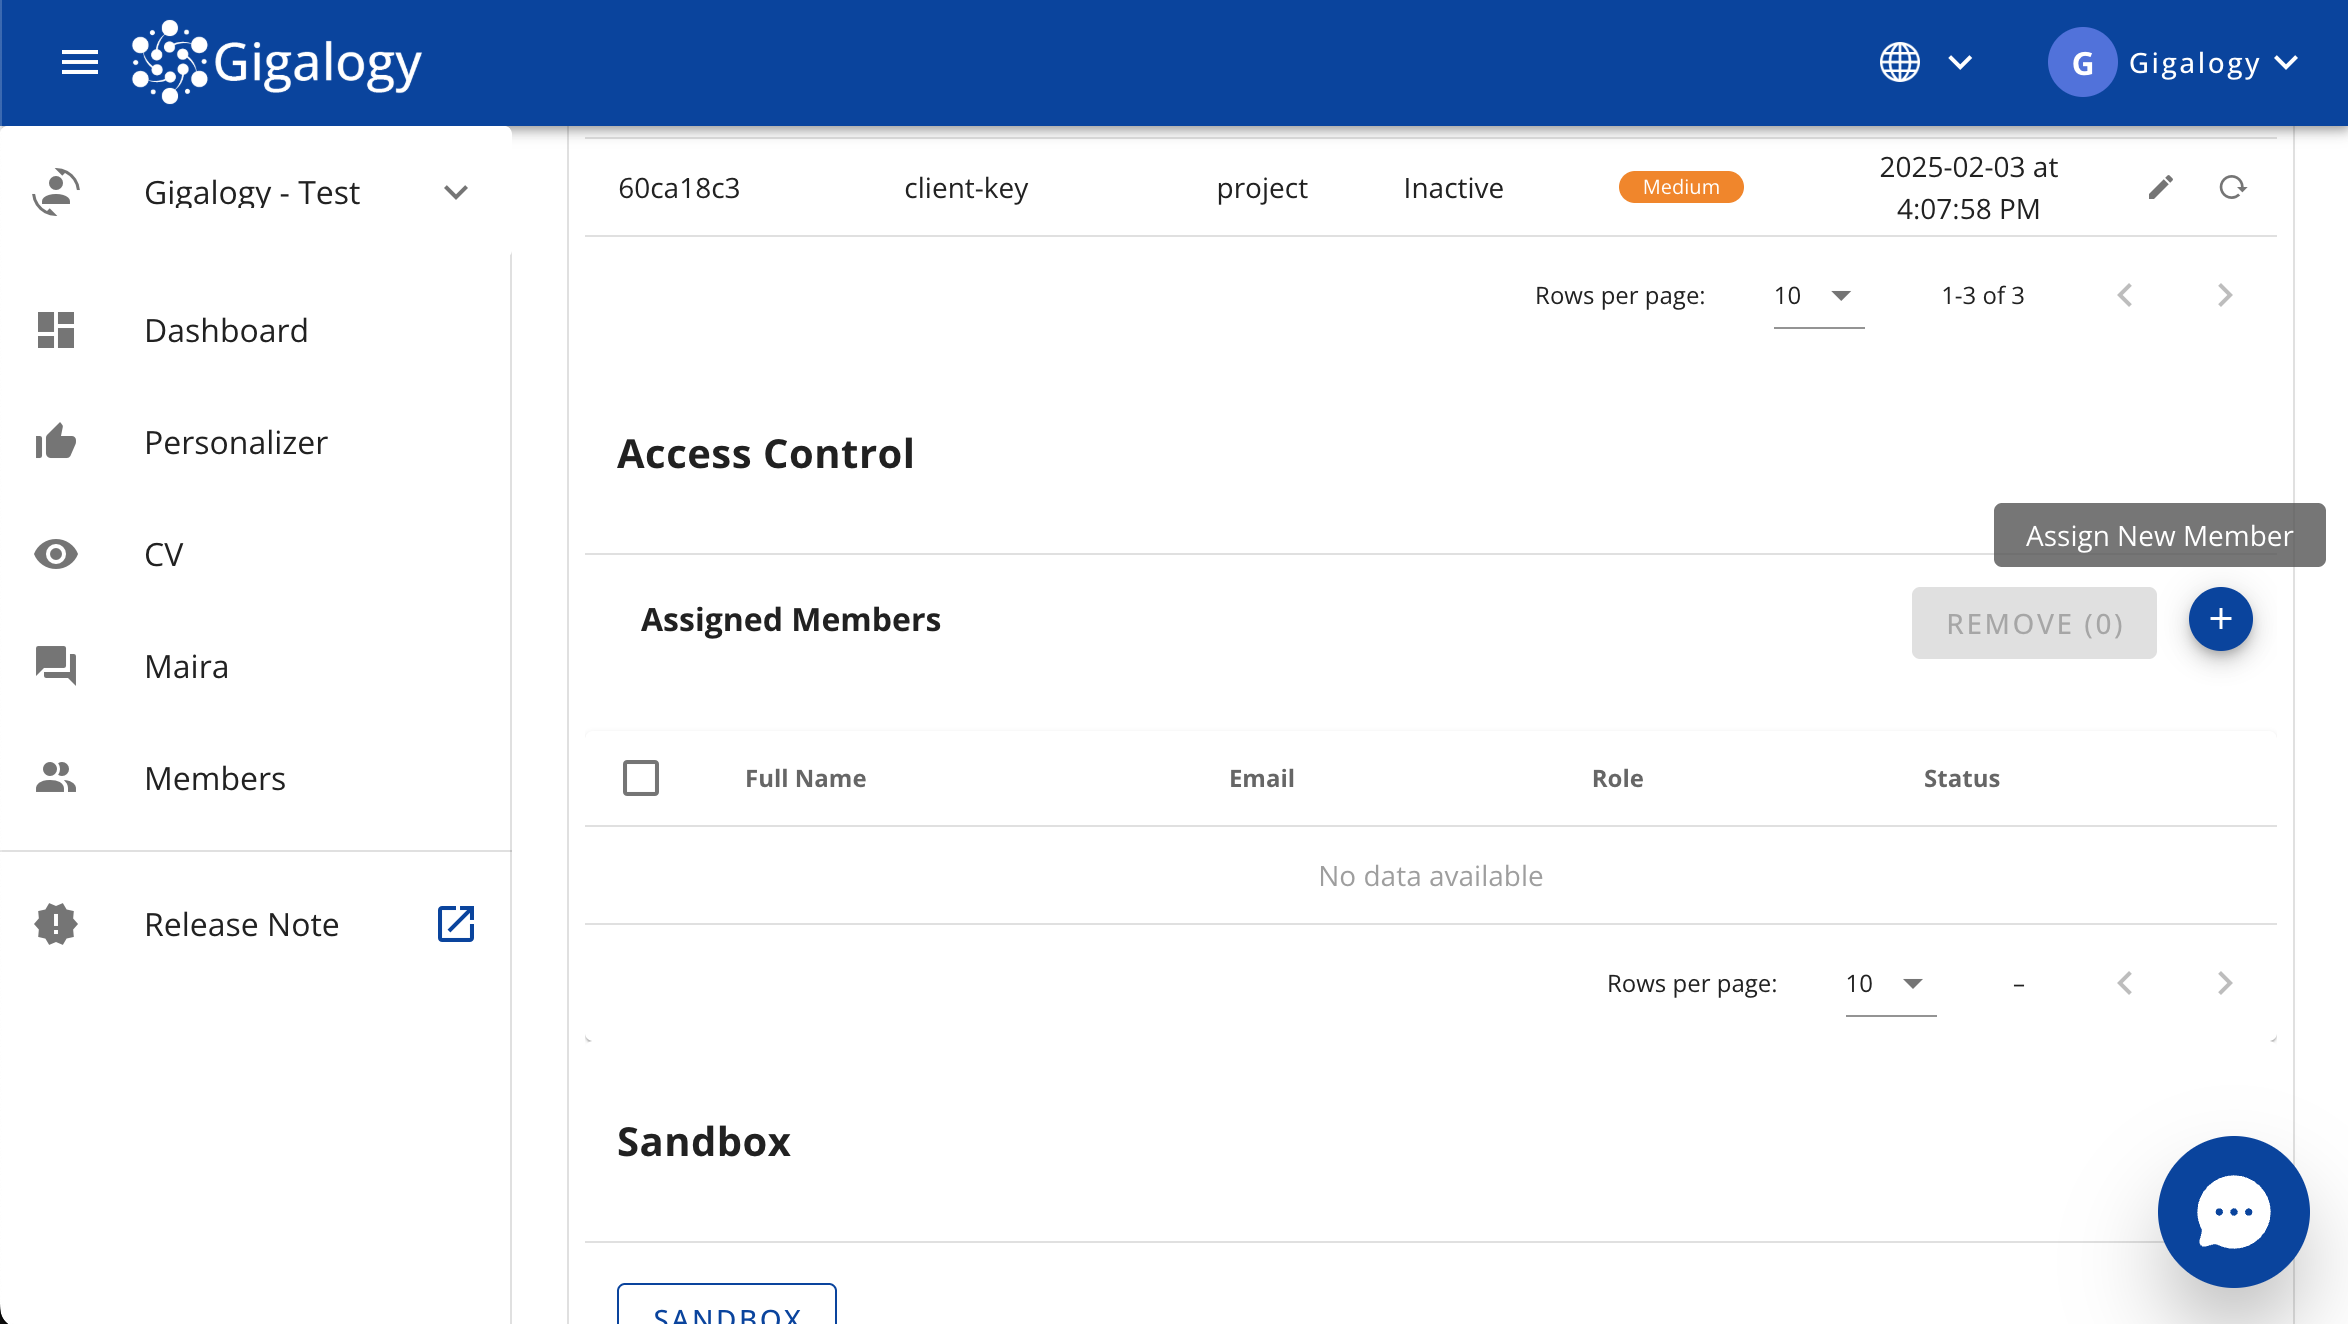
A modal will open, with two tabs.
- Assign Members
- Invite Guests Do add a member to your project, in Maira console, stay in Assign Members Tab.
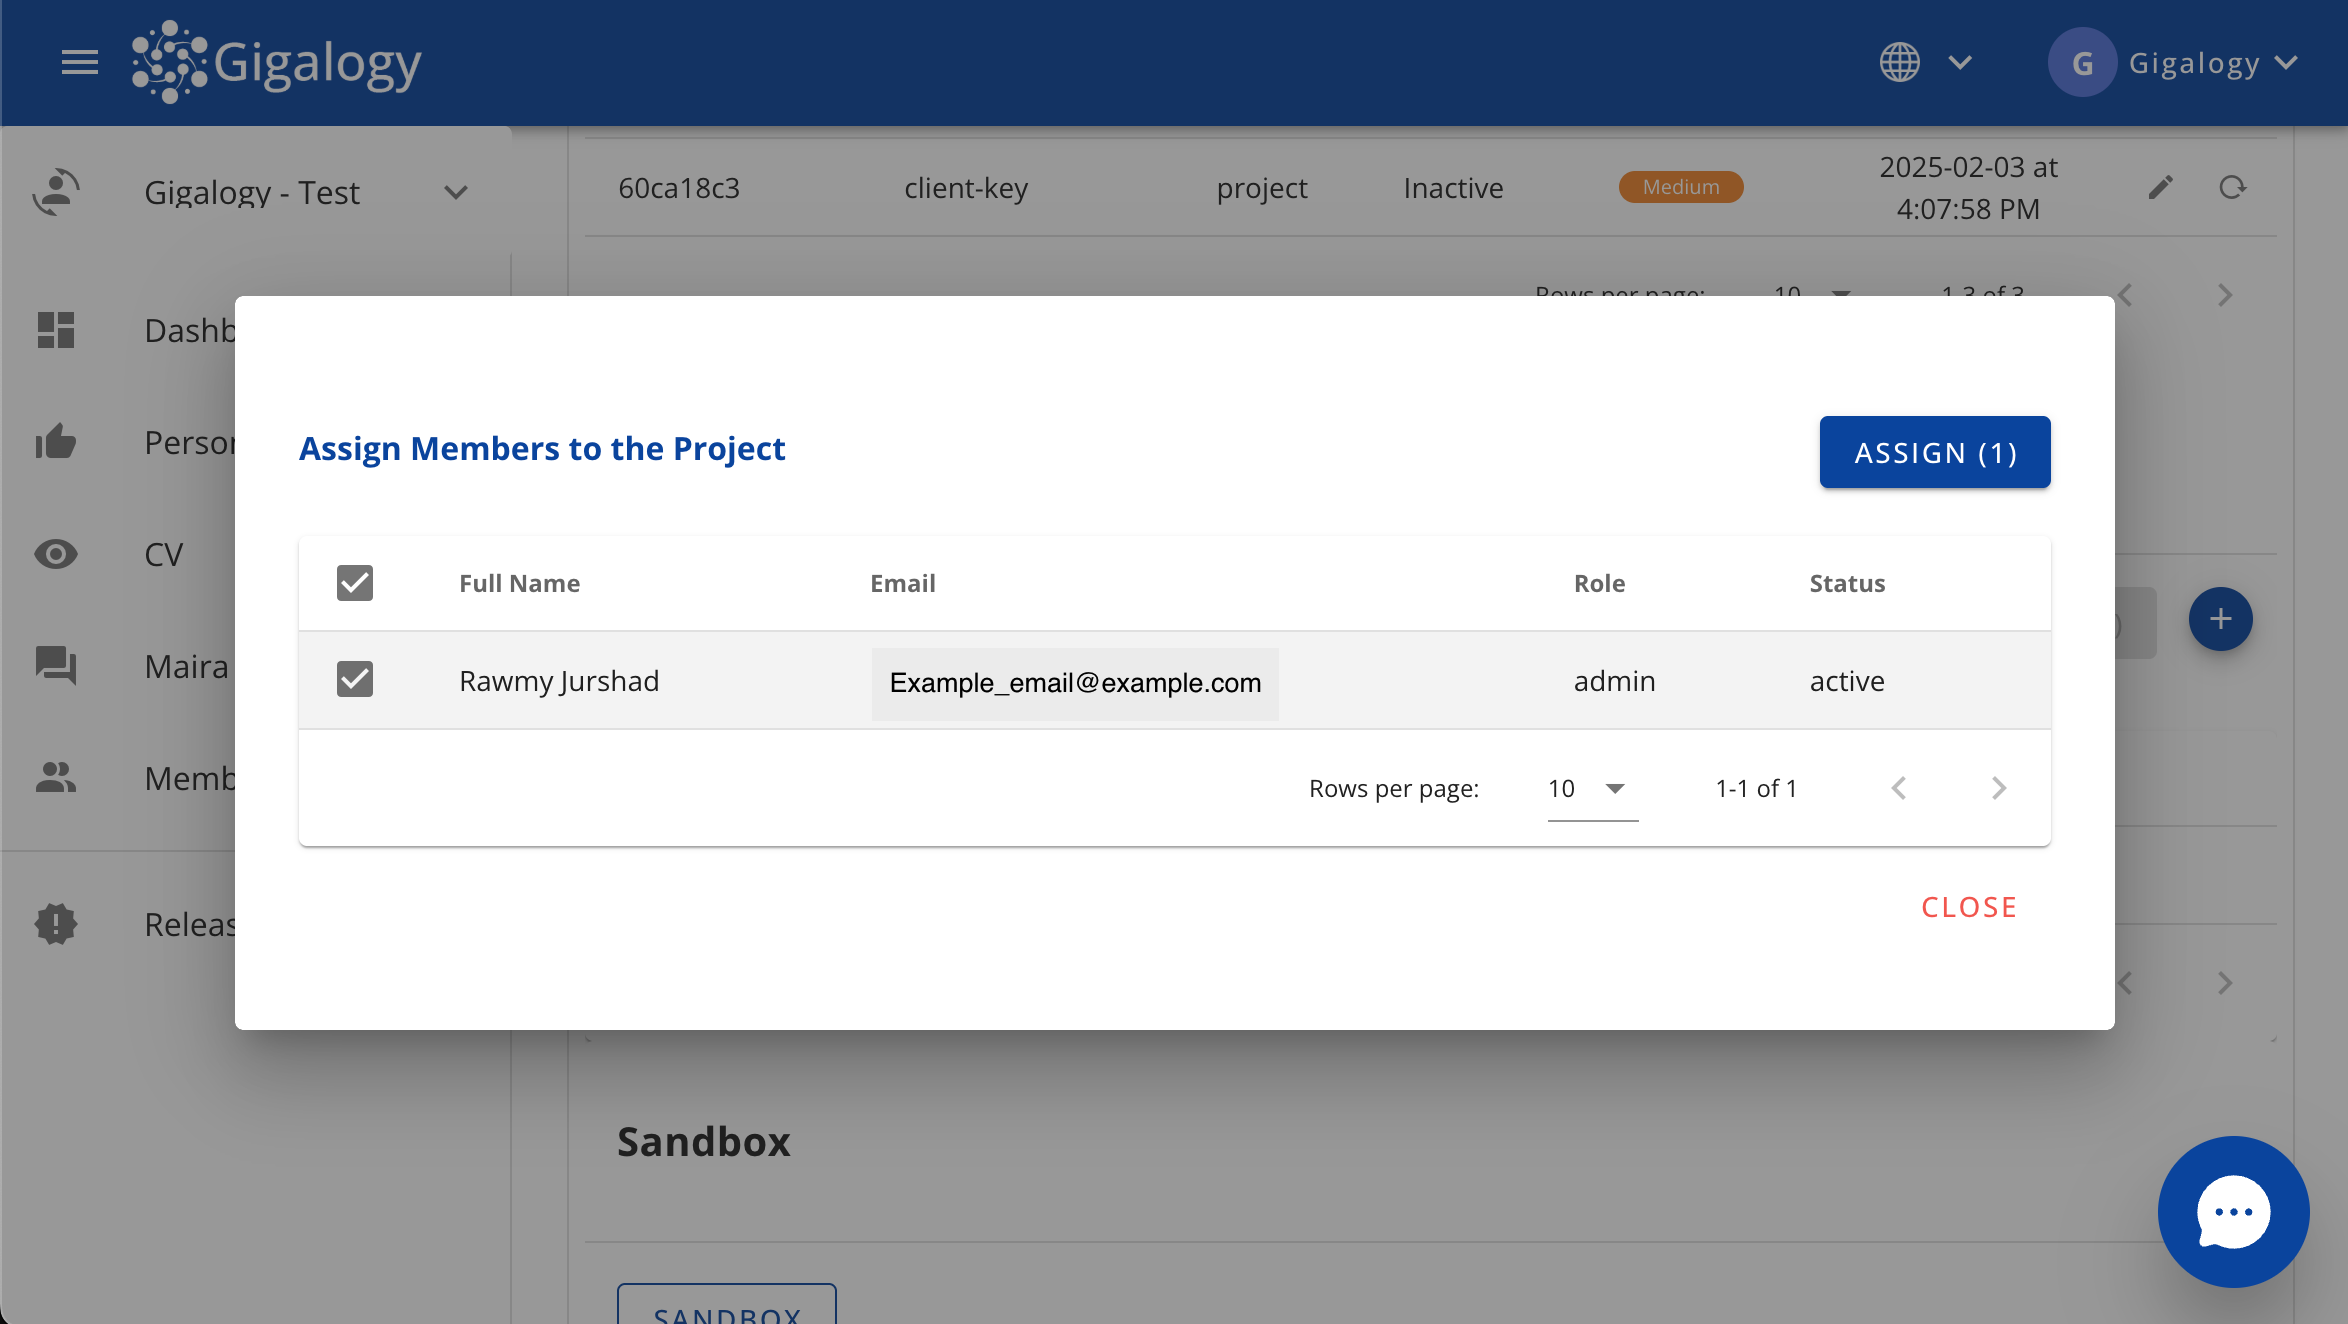
In this tab, all members available in your account are displayed. Select the member you want to add, then click the Assign button
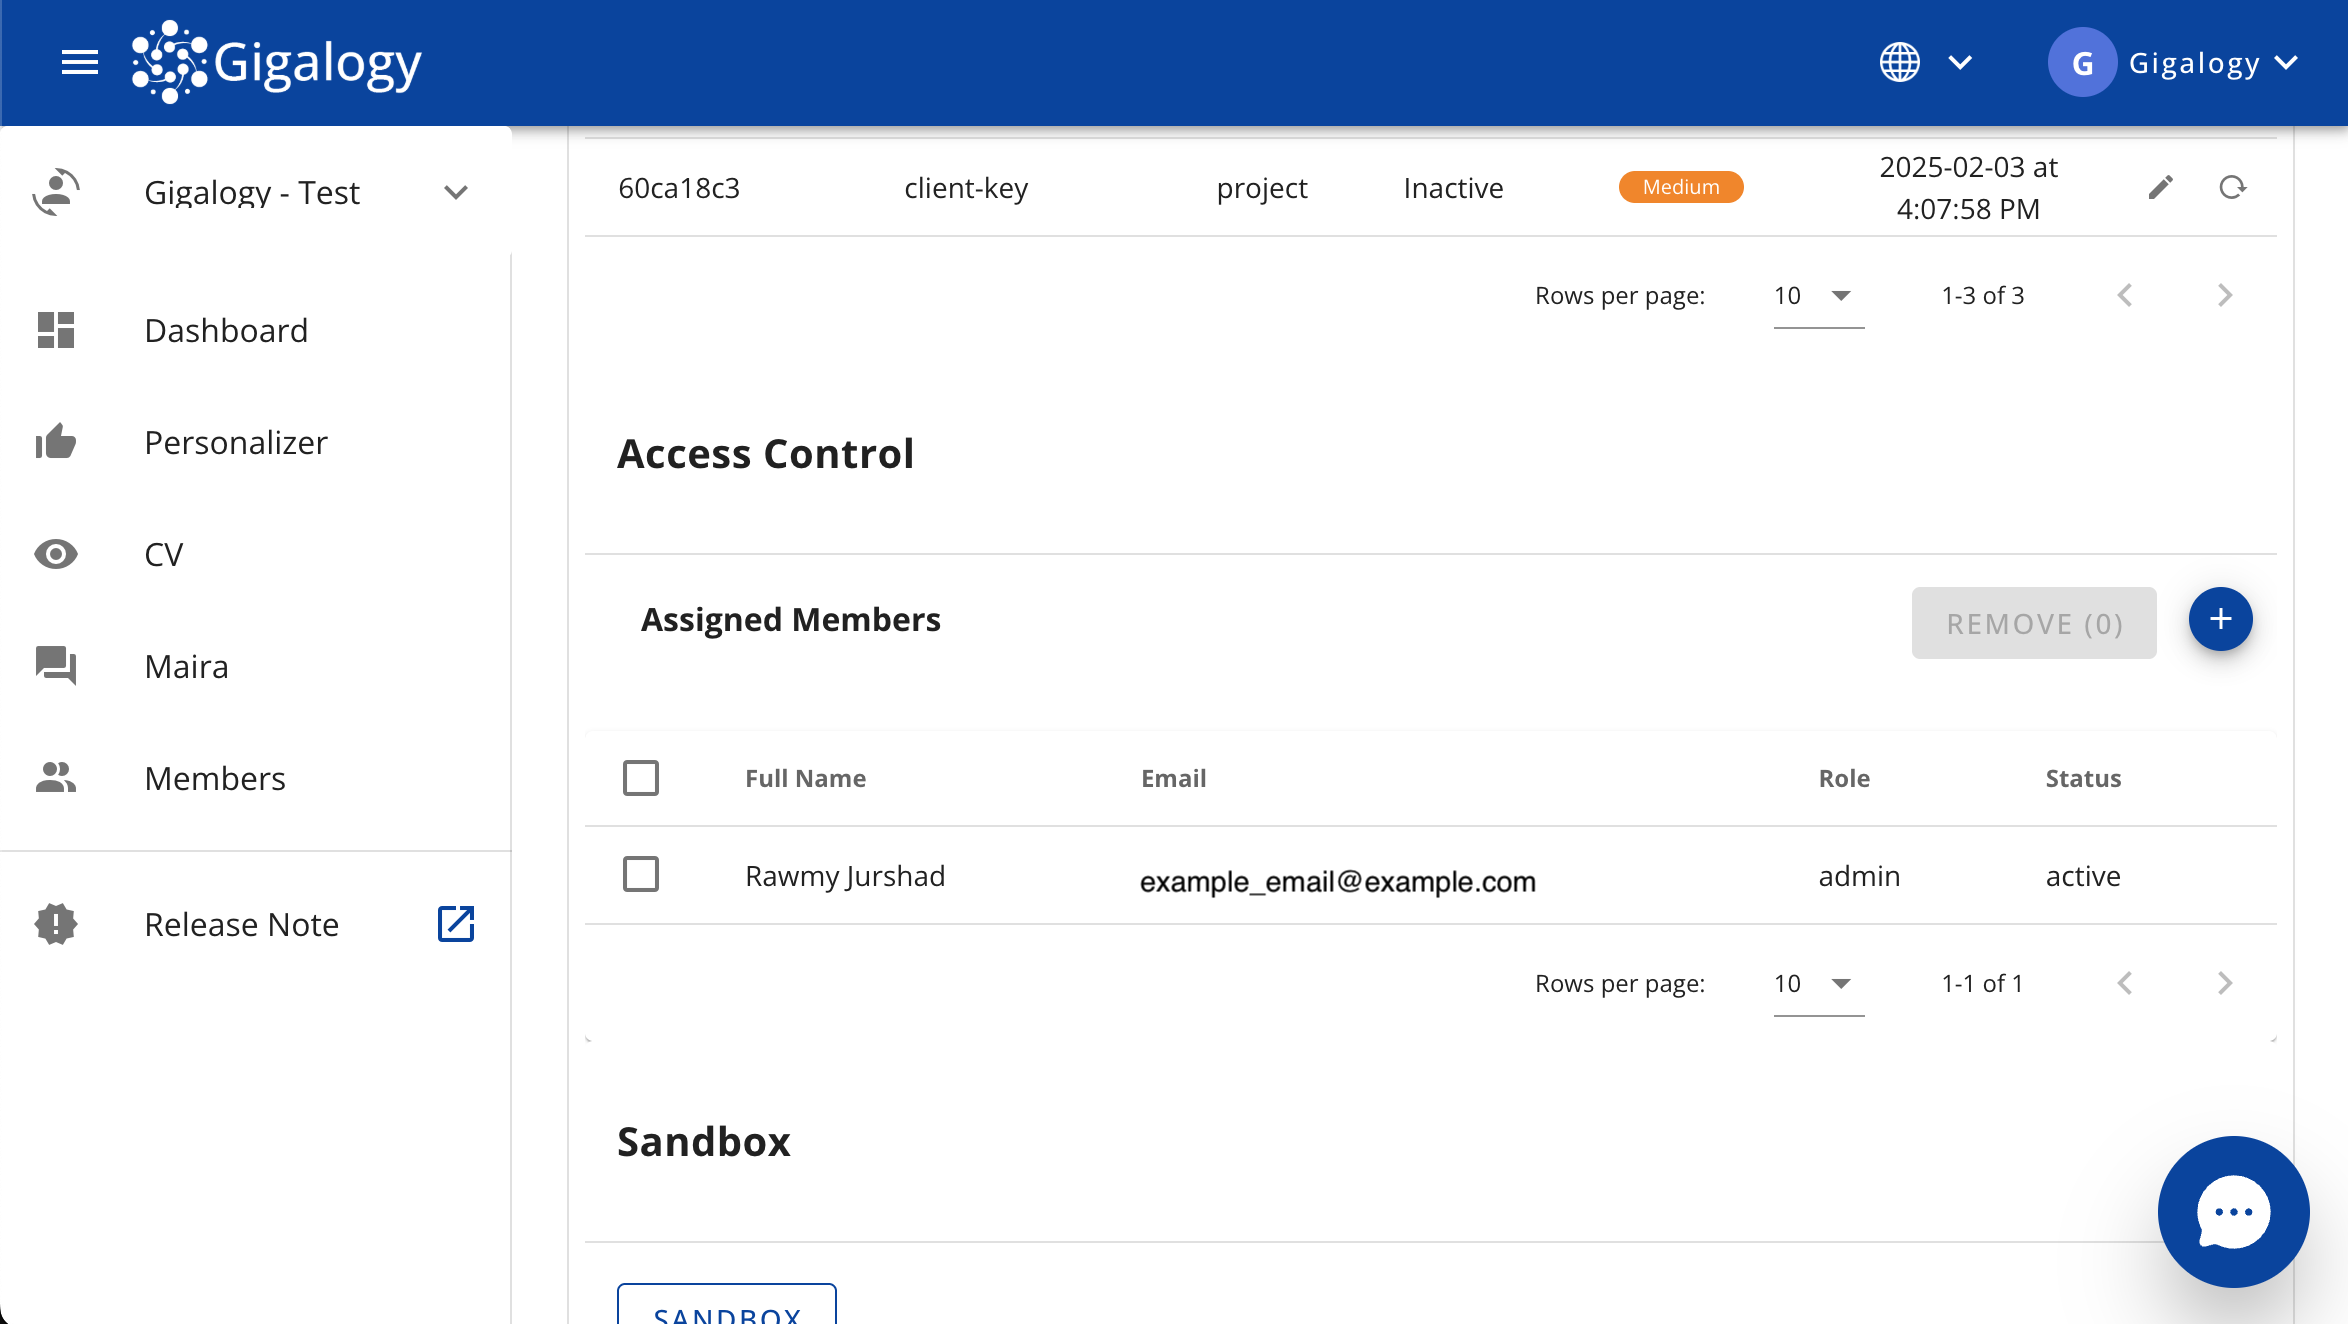
Now in the Access Control section, you can see the newly added member in the list. This list displays all members who have access to this project.
Change Member Role and Status
To change a Member's role or status, click on "Members" in the left navigation bar.
Find the desired member in the Members table.
- Use the dropdown in the Role column to change the member's role/access.
- Use the dropdown in the Status column to change the member's status (active or inactive).
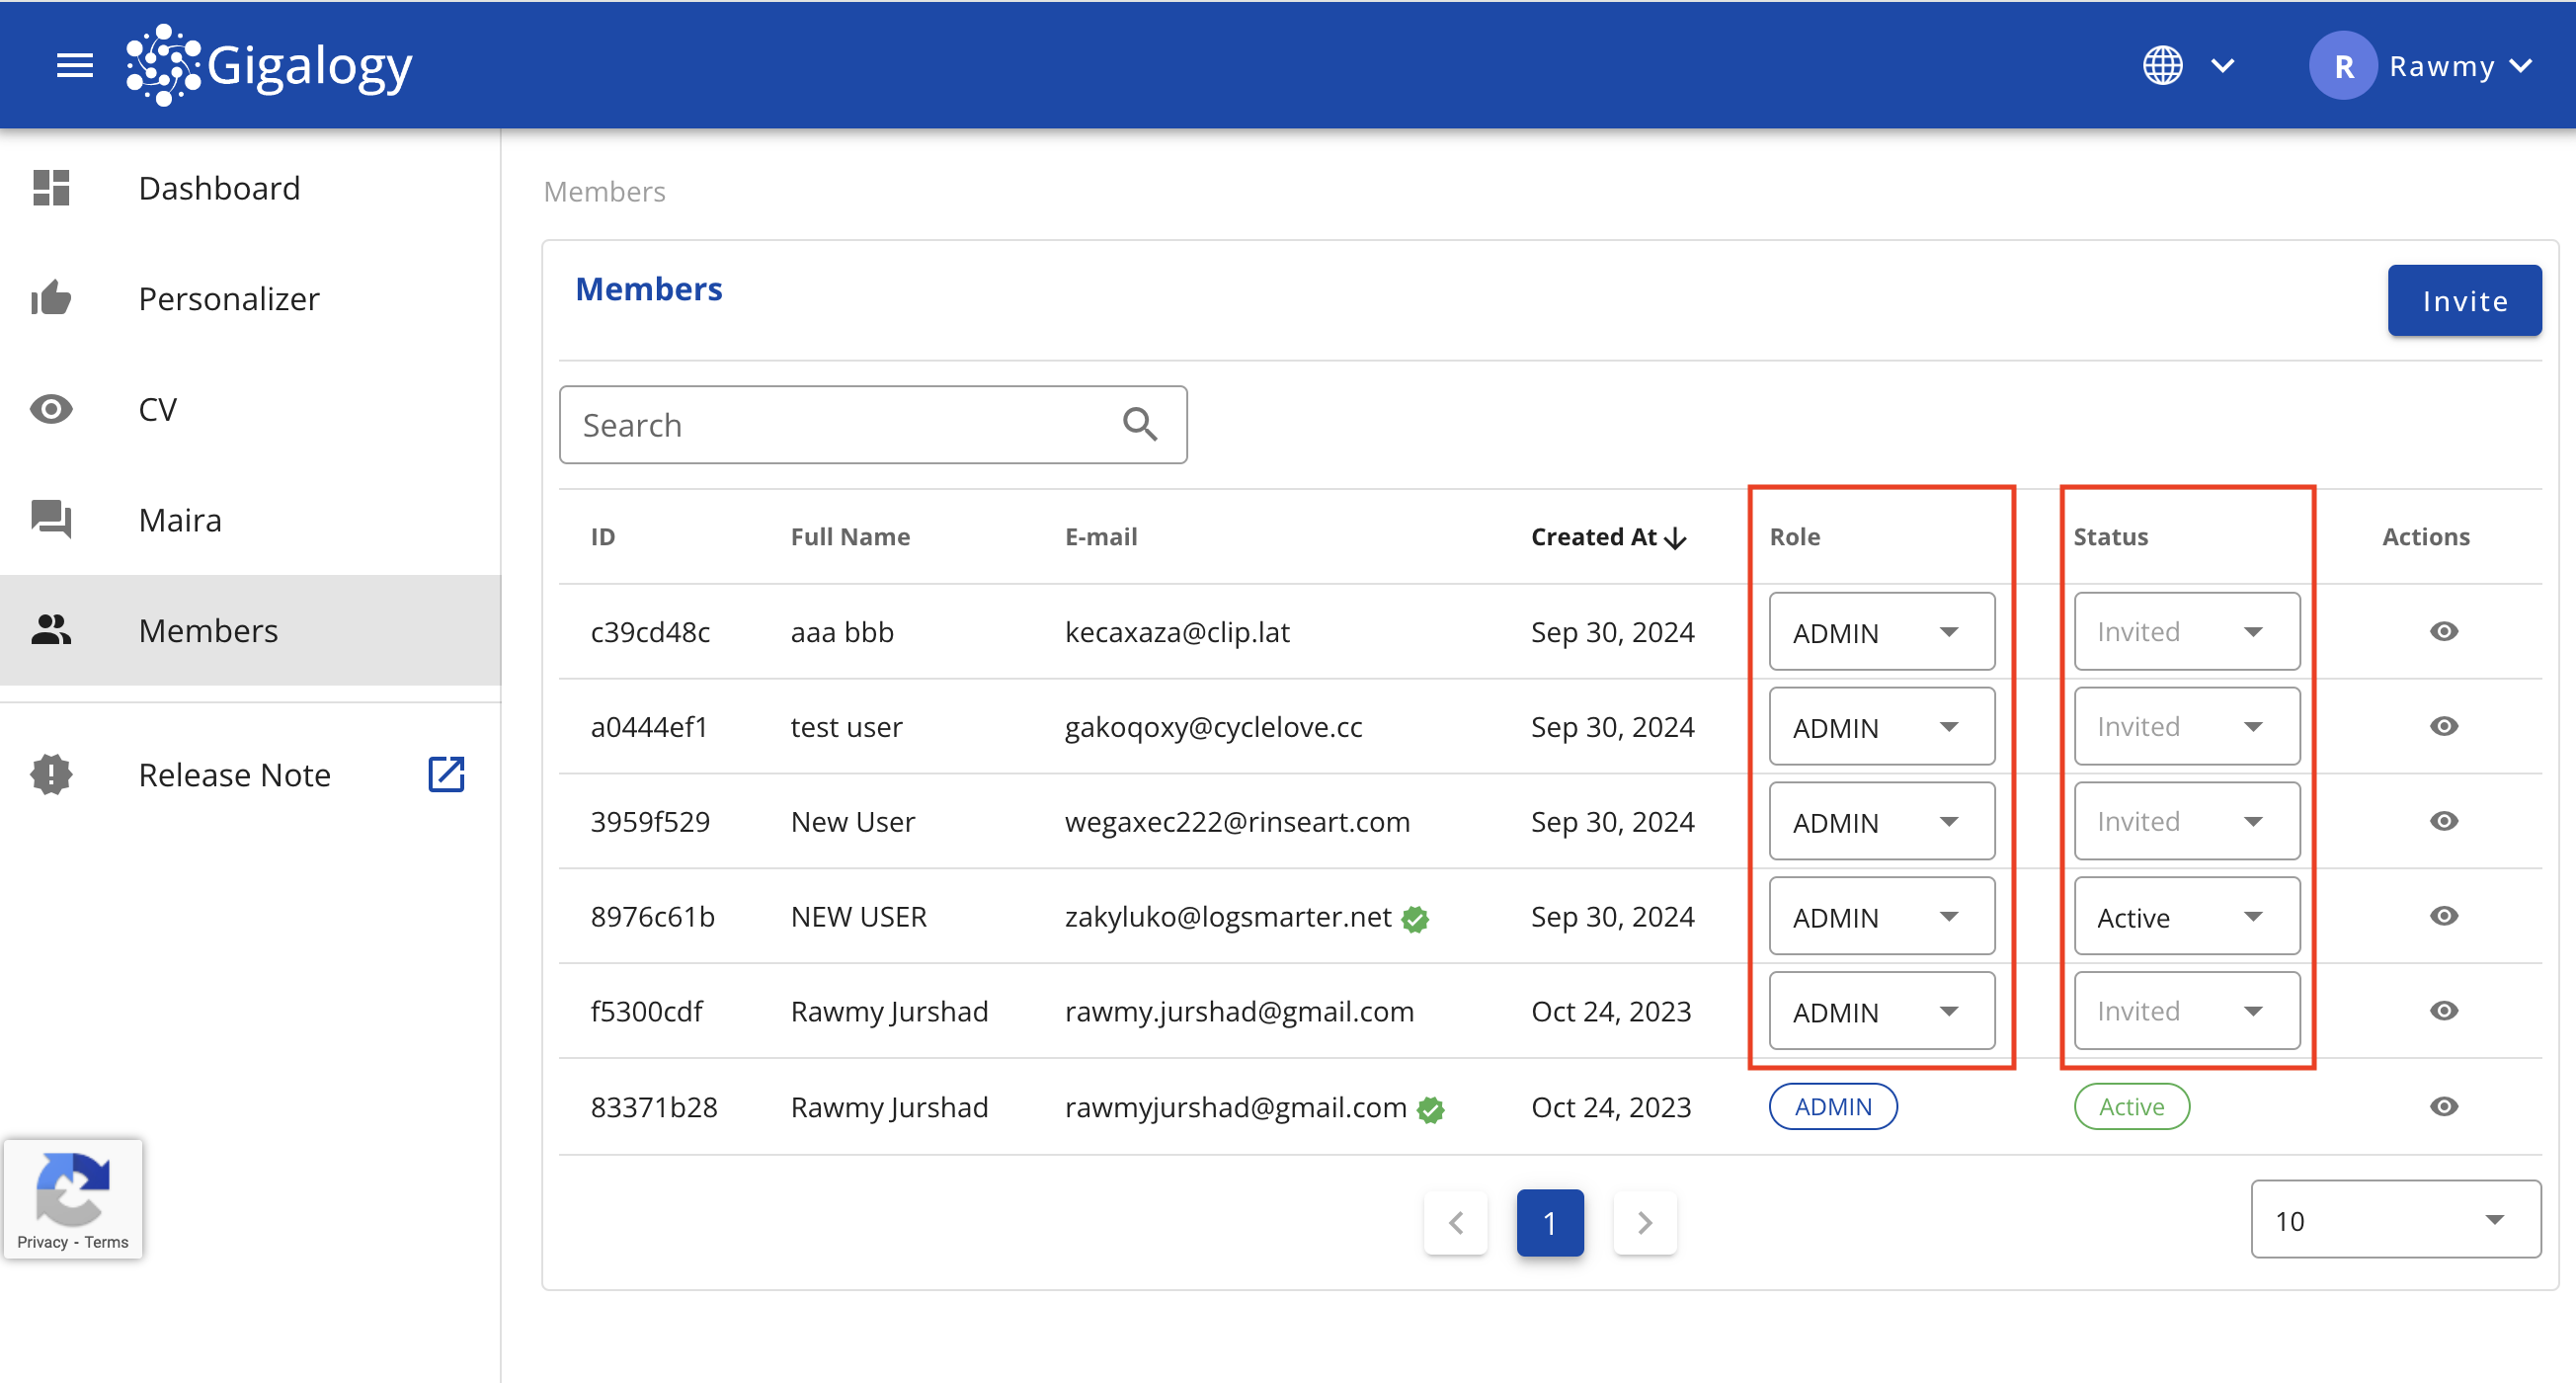
Note: Members with the status "Invited" have not yet accepted the invitation.
User Role Permissions Matrix
| Feature | Action | ADMIN | USER |
|---|---|---|---|
| Dashboard | ✅ | ✅ | |
| Solutions | |||
| List | ✅ | ✅ | |
| Details | ✅ | ✅ | |
| Projects | |||
| List | ✅ | ✅ | |
| Create 🔒 | ✅ | ❌ | |
| Stop 🔒 | ✅ | ❌ | |
| Start 🔒 | ✅ | ❌ | |
| Delete 🔒 | ✅ | ❌ | |
| Details | ✅ | ✅ | |
| Details → Subscription → Update 🔒 | ✅ | ❌ | |
| Settings → Items Train 🔒 | ✅ | ❌ | |
| Settings → Images Train 🔒 | ✅ | ❌ | |
| Settings → Rank Train 🔒 | ✅ | ❌ | |
| Settings → Train History | ✅ | ✅ | |
| Settings → Rank Settings → Update 🔒 | ✅ | ❌ | |
| Settings → Update Mapper 🔒 | ✅ | ❌ | |
| Settings → Credentials → Create 🔒 | ✅ | ❌ | |
| Settings → Credentials → List | ✅ | ✅ | |
| Settings → Credentials → Update 🔒 | ✅ | ❌ | |
| Settings → Credentials → Inactive 🔒 | ✅ | ❌ | |
| Settings → Credentials → Active 🔒 | ✅ | ❌ | |
| Insights → eCommerce Insights | ✅ | ✅ | |
| Insights → eCommerce Insights → CSV download | ✅ | ✅ | |
| Insights → Conversation History | ✅ | ✅ | |
| Insights → Conversation History → Generate File | ✅ | ✅ | |
| Insights → Conversation History → CSV download | ✅ | ✅ | |
| Insights → Questionnaire Logs | ✅ | ✅ | |
| Insights → Questionnaire Logs → CSV download | ✅ | ✅ | |
| Datasets | |||
| Catalog Items List | ✅ | ✅ | |
| Catalog Items Details | ✅ | ✅ | |
| Catalog Items Update 🔒 | ✅ | ❌ | |
| Catalog Items Delete 🔒 | ✅ | ❌ | |
| Catalog Items Upload 🔒 | ✅ | ❌ | |
| Update Logs | ✅ | ✅ | |
| Maira Datasets | |||
| List | ✅ | ✅ | |
| Create 🔒 | ✅ | ❌ | |
| Update 🔒 | ✅ | ❌ | |
| Train 🔒 | ✅ | ❌ | |
| Details | ✅ | ✅ | |
| Documents → Download | ✅ | ✅ | |
| Documents → Download History | ✅ | ✅ | |
| Delete 🔒 | ✅ | ❌ | |
| Documents → List | ✅ | ✅ | |
| Documents → Create 🔒 | ✅ | ❌ | |
| Documents → Upload 🔒 | ✅ | ❌ | |
| Documents → Download | ✅ | ✅ | |
| Documents → Details | ✅ | ✅ | |
| Documents → Update 🔒 | ✅ | ❌ | |
| Documents → Delete 🔒 | ✅ | ❌ | |
| Profiles | |||
| Create 🔒 | ✅ | ❌ | |
| List | ✅ | ✅ | |
| Details | ✅ | ✅ | |
| Update 🔒 | ✅ | ❌ | |
| Delete 🔒 | ✅ | ❌ | |
| Maira Settings | |||
| List | ✅ | ✅ | |
| Update 🔒 | ✅ | ❌ | |
| Default Profile → Delete 🔒 | ✅ | ❌ | |
| Default Vision Profile → Delete 🔒 | ✅ | ❌ | |
| Max Feedback Rating → Delete 🔒 | ✅ | ❌ | |
| Summary Settings → Details | ✅ | ✅ | |
| Summary Settings → Delete 🔒 | ✅ | ❌ | |
| Members | |||
| List | ✅ | ✅ | |
| Invite 🔒 | ✅ | ❌ | |
| Re-invite 🔒 | ✅ | ❌ | |
| Update → Role 🔒 | ✅ | ❌ | |
| Update → Status 🔒 | ✅ | ❌ | |
| Profile | |||
| Basic Information | ✅ | ✅ | |
| Account 🔒 | ✅ | ❌ | |
| Settings | ✅ | ✅ |